 Save
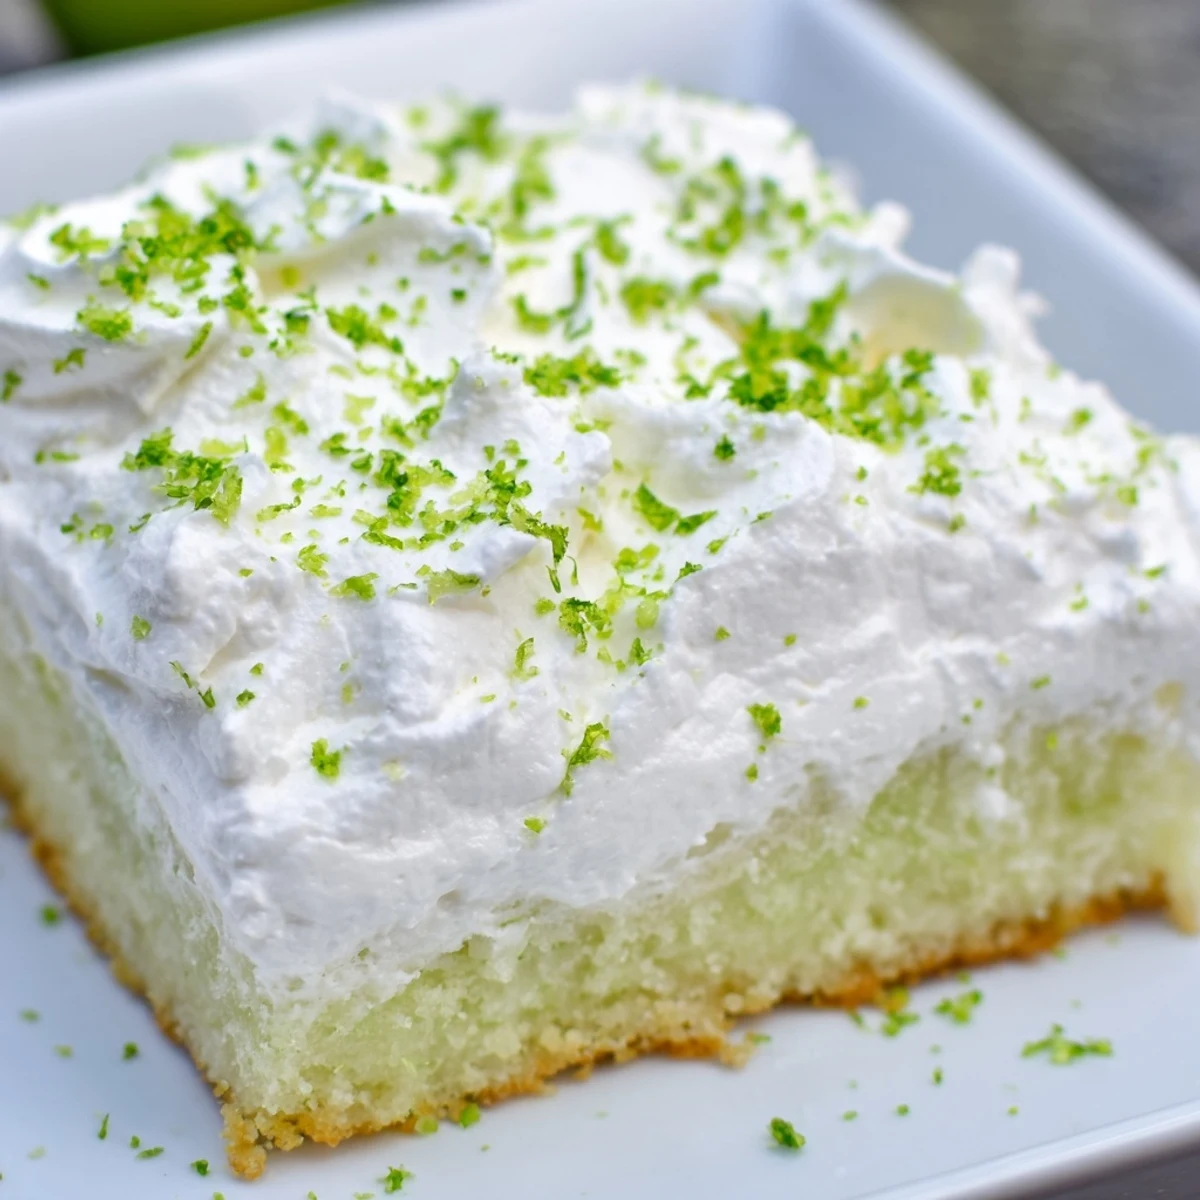
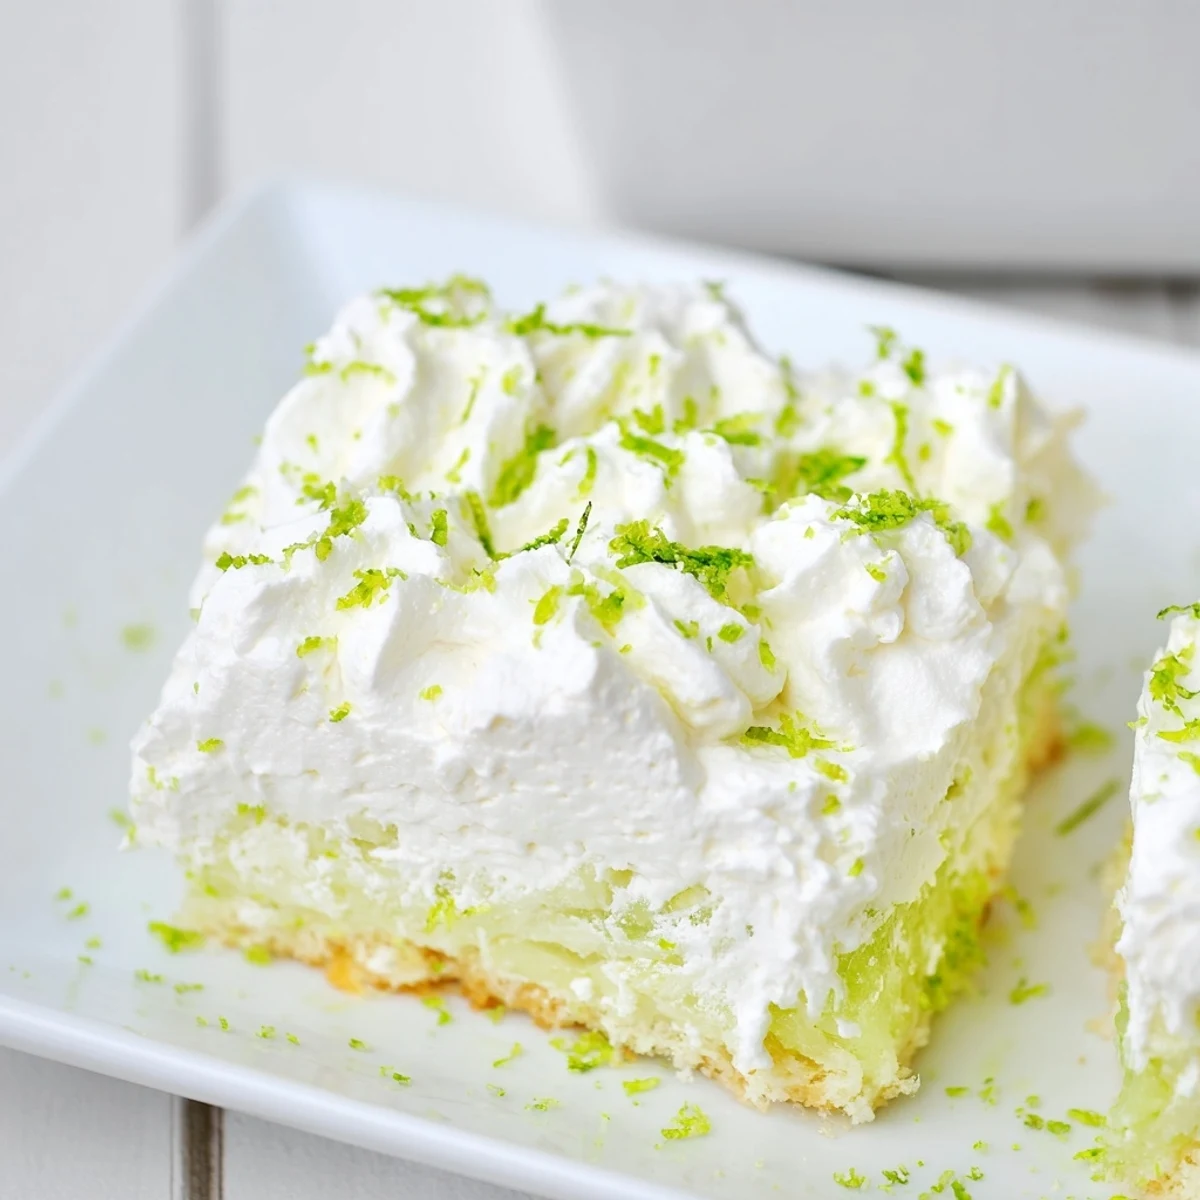
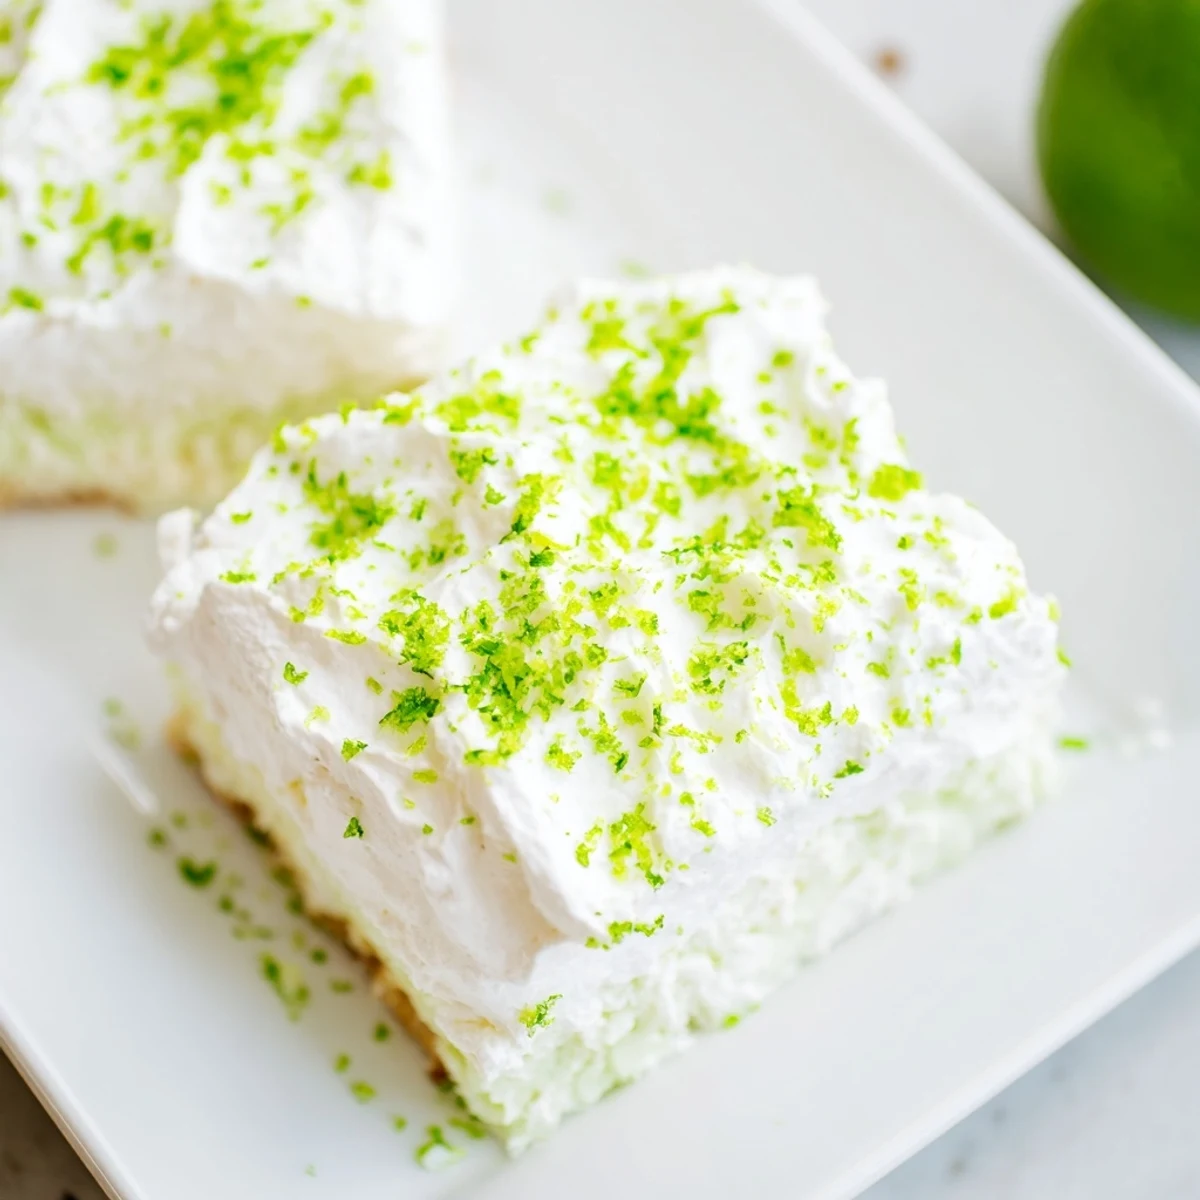
Save This moist lime-flavored cake features a unique gelatin layer that soaks into the baked base through delicate holes, imparting vibrant citrus brightness. The whipped topping adds creamy richness and a light texture, perfectly balancing the slight tartness of lime. Finished with zest and optional sprinkles, it offers an eye-catching presentation. A simple, easy-to-follow approach yields a refreshing dessert that shines at any celebration.
The first time I brought this vibrant green cake to a March dinner party, my friend Sarah actually asked if I had dyed it with food coloring. When I explained it was all lime gelatin magic, she stared at me like I had revealed a culinary secret handshake. Now it is the one dessert that actually disappears faster than the corned beef at any St. Patricks Day gathering I host.
Last year my seven year old niece got assigned the job of poking all the holes in the warm cake, and she took her responsibility so seriously that she meticulously measured each hole placement with a ruler. The cake ended up with perfectly even gelatin distribution, and now she demands to be the official cake poker every single March.
Ingredients
- White cake mix: The neutral canvas lets lime shine through without competing flavors
- Water, oil, eggs: Standard cake mix ingredients that create a tender crumb structure
- Lime gelatin: This is where all that vibrant color and tangy flavor magic happens
- Boiling and cold water: Essential for properly dissolving the gelatin then achieving the right consistency
- Whipped topping: Light and creamy against the bright lime intensity
- Lime zest: Fresh aromatic finish that makes the citrus flavor pop on your tongue
- Green sprinkles or lime slices: Purely for that festive celebration factor
Instructions
- Bake your foundation:
- Preheat that oven to 350°F, grease your 9x13 pan, then beat together cake mix, water, oil and eggs for exactly 2 minutes until silky smooth. Pour into the prepared pan and bake 28 to 32 minutes until a toothpick in the center comes out clean.
- Create the flavor wells:
- Let the cake cool for exactly 15 minutes, then grab a wooden spoon handle and poke holes about 1 inch apart all over the surface. This step is oddly satisfying, like giving your cake a tiny acupuncture treatment.
- Prepare the lime infusion:
- Dissolve the lime gelatin in boiling water, stir in the cold water, then slowly pour this vibrant green liquid over your punctured cake. Watch it disappear into all those little holes you made so carefully.
- Let the magic happen:
- Refrigerate for at least 2 hours so the gelatin sets up completely inside the cake. This patience part is crucial, otherwise you will have a lime soup situation instead of a proper dessert.
- Add the crowning glory:
- Spread the thawed whipped topping evenly across the chilled surface, then finish with fresh lime zest and whatever green decorations make you smile. Cut into squares and serve cold.
 Save
Save My neighbor Bill, who claims to hate dessert in general, ended up eating three squares at our block party last year. He kept saying he was just tasting it to be polite, but I watched him go back for thirds when nobody was looking. Sometimes the simplest conversions are the most convincing.
Getting The Holes Just Right
I have experimented with all kinds of poking tools over the years, from chopsticks to the handle of a whisk. The wooden spoon handle wins every single time for creating holes that are substantial enough to hold plenty of gelatin but not so big that the cake structure collapses. There is something meditative about the rhythm of poking, almost like kitchen therapy that happens to result in dessert.
The Gelatin Timing Secret
Here is something I discovered accidentally one frantic party prep morning, if you let the gelatin cool to room temperature before pouring it over the cake, it absorbs even more thoroughly. I had gotten distracted by a phone call and came back to lukewarm gelatin, worried I had ruined everything. Instead, that cake ended up with the most consistent lime distribution I have ever achieved. Now I deliberately build in a 10 minute cooling window.
Serving Strategy For Maximum Impact
After years of serving this at various gatherings, I have learned that cutting the cake into smaller squares works better than generous portions. The rich combination of sweet cake and tart lime hits harder in modest doses, plus people feel comfortable going back for seconds. Presentation matters too, a platter of neat little green squares looks infinitely more appealing than a messy slab situation.
- Serve chilled straight from the refrigerator for the best texture
- Have extra whipped topping available for guests who want to pile it on
- The cake weeps slightly as it sits, so it is best served the same day you add the topping
 Save
Save There is something genuinely joyful about serving a dessert that makes people smile before they even take a bite. This lime poke cake has become more than just a recipe, it is the official harbinger of spring at my house.
Recipe Questions & Answers
- → How do I ensure the gelatin soaks evenly into the cake?
-
After baking and cooling the cake, use a wooden spoon handle to poke holes evenly about 1 inch apart before pouring the gelatin mixture over. This allows the gelatin to permeate uniformly for vibrant flavor.
- → Can I substitute the whipped topping with something else?
-
Yes, homemade whipped cream can be used for a lighter texture, or you may try mascarpone or cream cheese frosting for a richer finish.
- → What is the best way to enhance the lime flavor in the cake?
-
Incorporate fresh lime juice into the batter or add extra lime zest on top to intensify the citrus brightness and aroma.
- → How long should the cake chill to set properly?
-
Refrigerate the cake for at least 2 hours to allow the gelatin layer to fully set and meld with the cake's texture.
- → Is this dessert suitable for any dietary preferences?
-
This cake fits vegetarian diets, but contains gluten, eggs, and potentially milk or soy depending on the whipped topping used—check ingredient labels carefully.
- → What tools are recommended for preparing this cake?
-
A 9x13-inch baking pan, mixing bowl, electric mixer or whisk, wooden spoon for poking holes, and measuring tools ensure smooth preparation.
