 Save
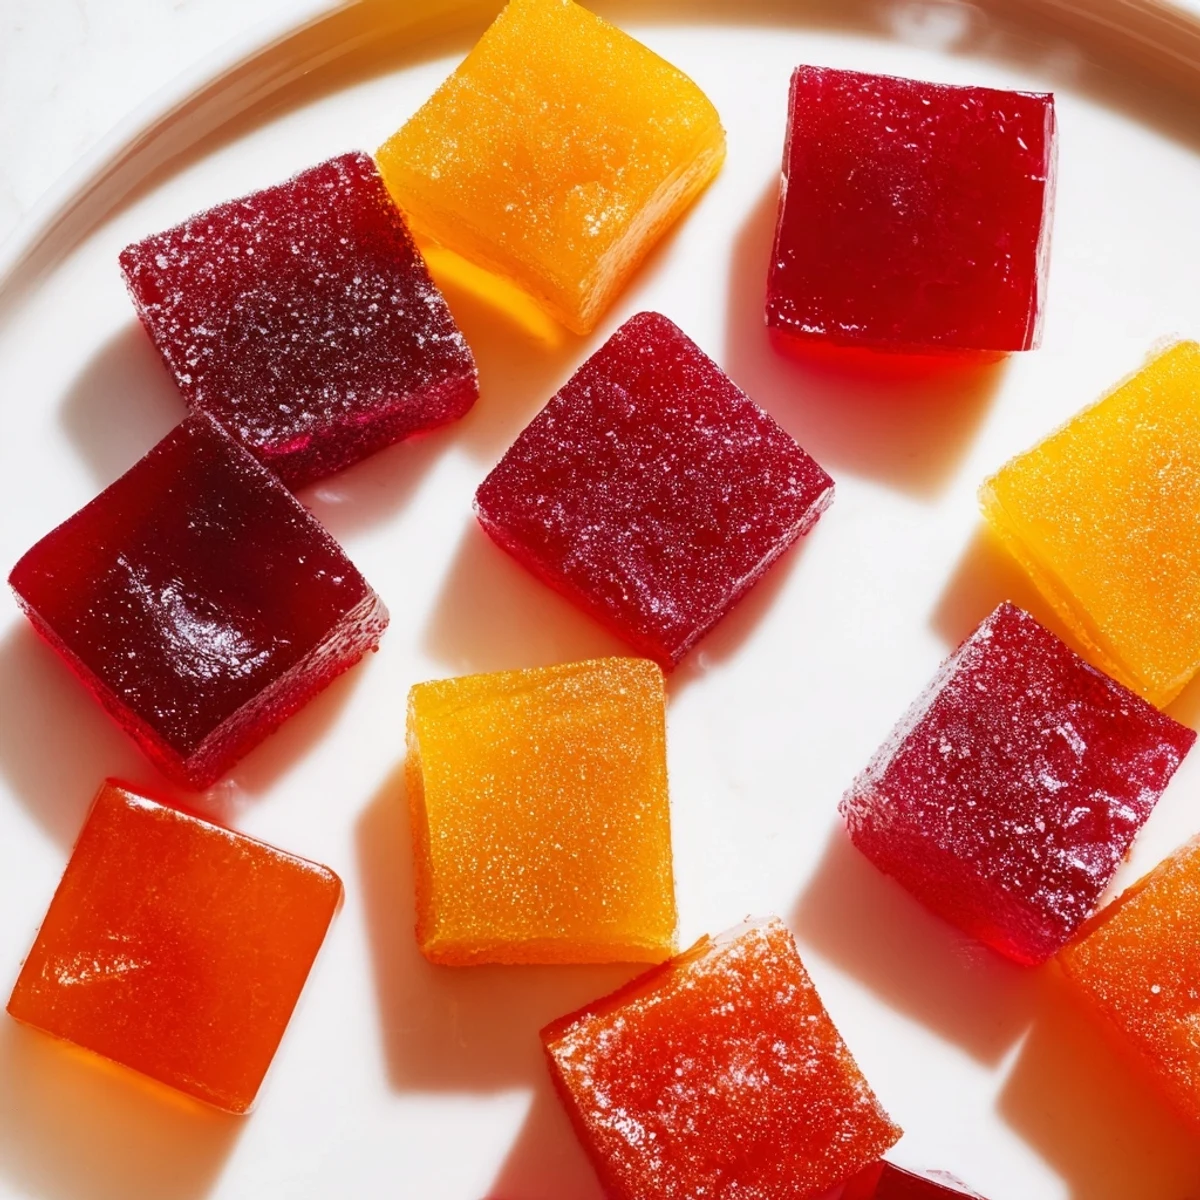
Save These collagen fruit jellies combine 100% fruit juice with grass-fed collagen peptides and unflavored gelatin for a chewy, naturally sweet snack. Ready in about 15 minutes of hands-on prep plus a 2-hour chill, they're an easy way to support skin and joint health while satisfying a sweet tooth.
Each piece clocks in at just 25 calories with 2 g of protein and only 4 g of carbs. They're gluten-free, dairy-free, and easily adapted for vegan diets using agar-agar in place of gelatin. Customize the flavor by switching up your juice blend or adding lemon zest for brightness.
My kitchen smelled like a juice bar the afternoon I stumbled into making these collagen fruit jellies, and honestly that alone was worth the experiment. I had a jar of collagen peptides sitting untouched in my pantry for weeks, and a carton of berry juice that needed using up, so I decided to see what would happen. The result was these little jewel-like squares that wobble on the plate and taste like concentrated fruit with a satisfying chew. Now they live in my fridge more often than not.
I brought a batch of these to a friends picnic last summer, expecting polite nibbles, and watched them vanish in ten minutes flat. Three people texted me that evening asking for the recipe, and one friend admitted she had been sneaking them from her own fridge at midnight.
Ingredients
- Fruit juice (1 cup, 100% juice): Use real juice with no added sugar, because the flavor is the entire personality of these jellies, and watered down juice makes watered down candy.
- Honey or maple syrup (2 to 3 tablespoons, optional): Taste your juice first, because some are naturally sweet enough, and you can always add but never take away.
- Collagen peptides (2 tablespoons): Grass fed dissolves invisibly into warm liquid, and you will never know it is there except in the quiet satisfaction of doing something good for your skin.
- Unflavored gelatin powder (3 tablespoons): This is what does the heavy lifting for texture, so do not skimp or substitute unless you want a sad puddle instead of a bouncy candy.
Instructions
- Bloom the gelatin:
- Pour your juice into a small saucepan and sprinkle the gelatin evenly across the surface, then let it sit undisturbed for two to three minutes until it looks wrinkled and slightly firm on top.
- Gently warm and dissolve:
- Set the pan over low heat and stir constantly with a whisk until the gelatin disappears completely into the liquid, watching carefully that it never comes to a boil.
- Stir in the collagen:
- Take the pan off the heat and whisk in the collagen peptides and your sweetener if you are using it, keeping the motion smooth until everything looks uniform and glossy.
- Pour into molds:
- Transfer the liquid into silicone molds or a small parchment lined dish, moving quickly before it starts to set, and give the molds a gentle tap on the counter to release any stubborn air bubbles.
- Chill until firm:
- Slide everything into the refrigerator and let it rest for at least two full hours, resisting the urge to poke at them every twenty minutes like I always do.
- Unmold and slice:
- Pop the jellies out of their molds or cut the slab into neat little squares with a paring knife, wiping the blade between cuts for cleaner edges.
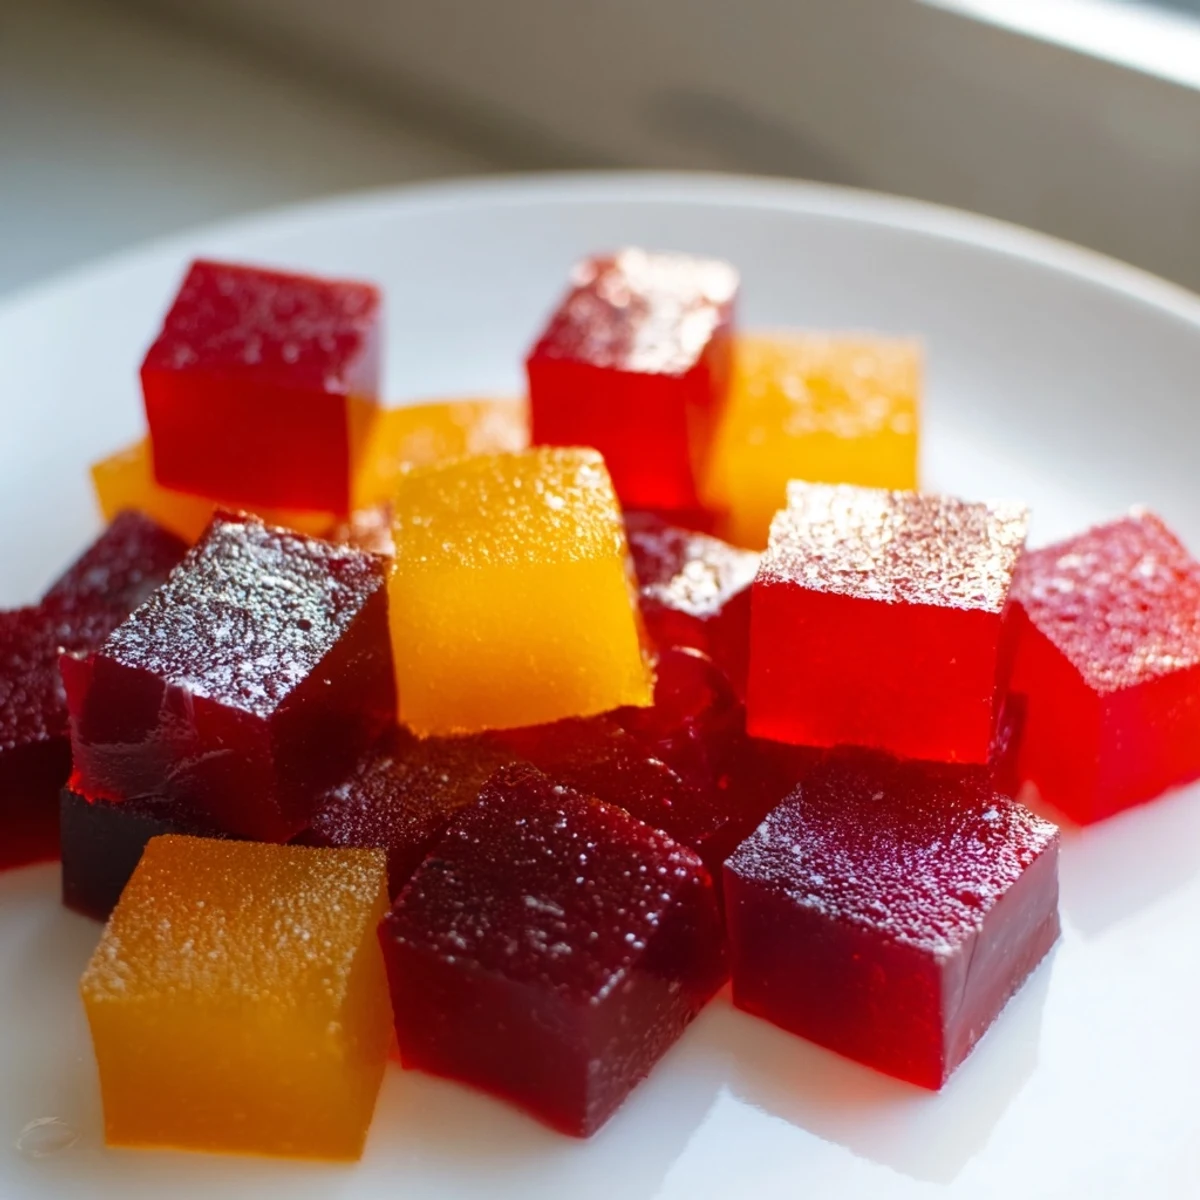 Save
Save There is something quietly satisfying about opening the fridge and seeing a row of colorful jellies waiting like tiny edible gemstones.
Choosing the Right Juice
Berry blends give you the deepest color and the most dramatic looking results, but orange juice creates a sunny, candy-like sweetness that kids gravitate toward immediately. Apple works beautifully too, though the paler color means your jellies will look more understated and elegant. Avoid anything labeled juice cocktail or juice drink, because those almost always contain additives that interfere with the set.
Storing Your Jellies
Keep them in an airtight container in the fridge and they will hold their texture for up to a week, though in my experience they rarely last that long. If you stack them, dust each layer lightly with cornstarch to prevent sticking, because even slightly tacky surfaces will fuse together overnight. Freezing is not recommended, as the texture changes dramatically and becomes unpleasantly grainy upon thawing.
Fun Variations to Try
Once you have the basic technique down, the possibilities open up in every direction and that is when this recipe becomes genuinely exciting.
- Add a teaspoon of lemon juice and some zest for a tangy version that tastes like a grown up gummy.
- Layer two different juice flavors by pouring one color, chilling partially, then adding the second for a striped effect.
- Roll the finished jellies in a little cornstarch or coconut sugar for a professional looking finish that also keeps them from sticking to your fingers.
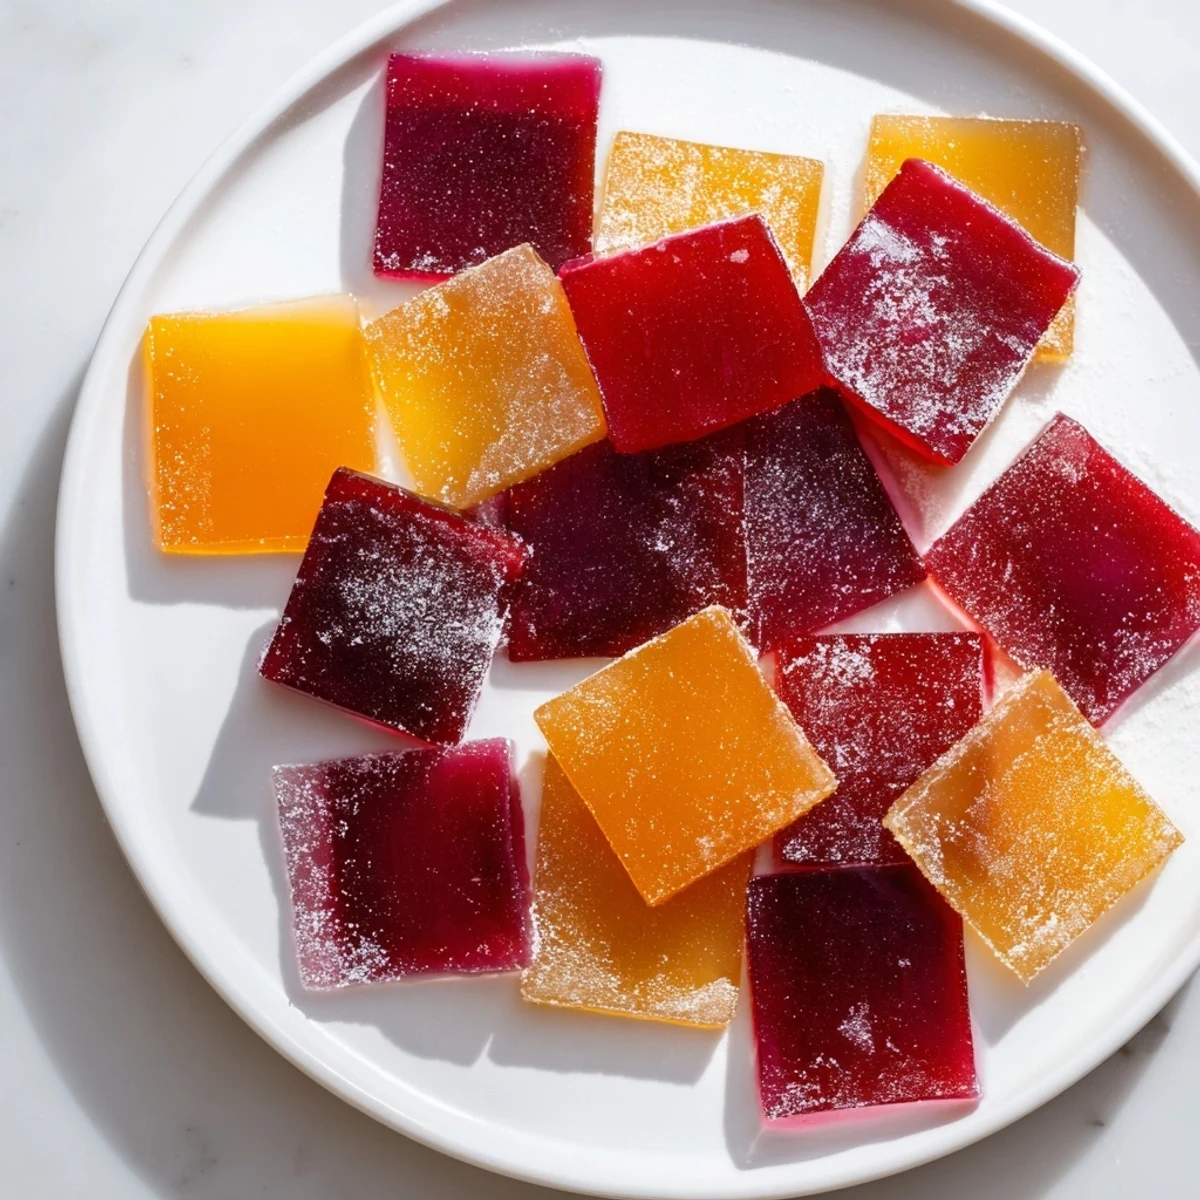 Save
Save These little jellies are proof that the best recipes often come from using up what you already have. Make a batch, share them generously, and watch how fast an empty container becomes a request for more.
Recipe Questions & Answers
- → Can I use flavored gelatin instead of unflavored?
-
It's best to stick with unflavored gelatin so you control the sweetness and flavor entirely through your choice of fruit juice. Flavored gelatin mixes contain added sugar and artificial ingredients that will alter both the taste and nutritional profile.
- → How long do collagen fruit jellies stay fresh?
-
Stored in an airtight container in the refrigerator, they will keep for up to one week. Because they're made with fresh juice and no preservatives, they should always be refrigerated and not left at room temperature for extended periods.
- → Can I make these without collagen peptides?
-
Absolutely. You can omit the collagen peptides and simply use the gelatin as directed. The texture and set will remain the same, though you'll lose the added protein and potential skin and joint benefits that collagen provides.
- → What fruit juices work best?
-
Orange, mixed berry, and apple juice all work well. Choose 100% juice with no added sugar or artificial flavors for the cleanest results. Tart juices like cranberry or pomegranate also work beautifully and pair nicely with a touch of honey or maple syrup.
- → Can I make a vegan version?
-
Yes. Replace the gelatin with an equal amount of agar-agar powder and swap honey for maple syrup or agave. Note that agar-agar sets more firmly than gelatin, so the texture will be slightly different—firmer and less chewy—but still delicious.
- → Why won't my jellies set properly?
-
The most common reason is not allowing the gelatin to bloom fully before heating, or overheating the mixture. Sprinkle gelatin evenly over cold juice and let it sit 2–3 minutes. Then heat gently over low heat, stirring constantly, and never let it boil. Also ensure you're chilling for at least 2 full hours.
- → Do I need silicone molds?
-
Silicone molds make it easy to pop out individual jellies in fun shapes, but they aren't required. You can pour the mixture into a small baking dish lined with parchment paper and cut it into bite-sized squares once fully set.
