 Save
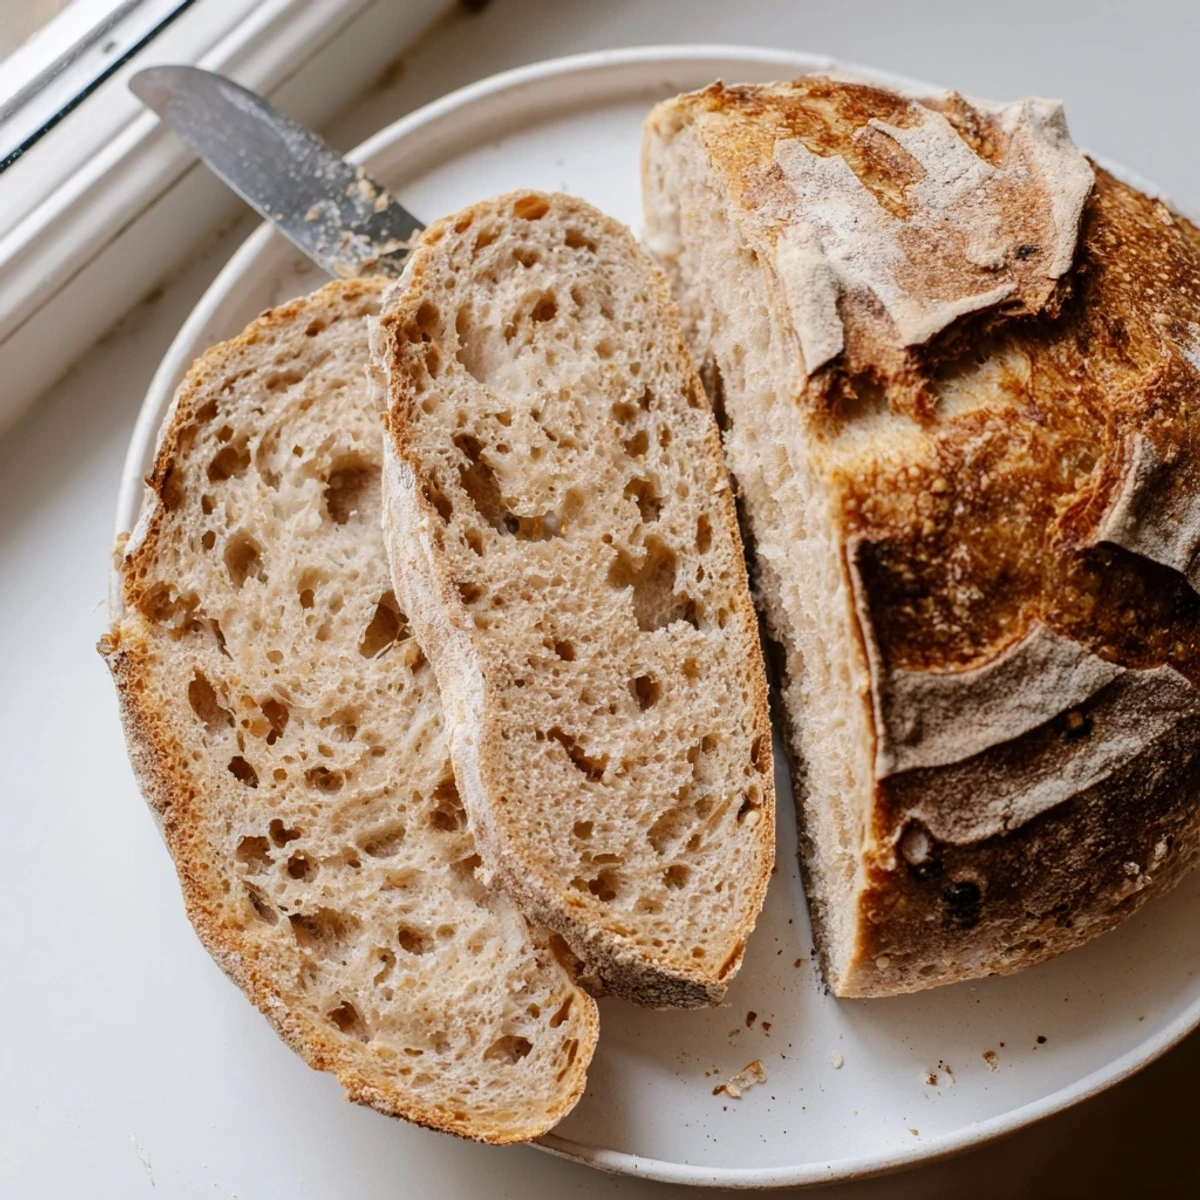
Save Craft an exceptional artisan loaf using just flour, water, salt, and active starter. The natural fermentation process develops complex flavors and a signature tangy taste.
With only 25 minutes of active preparation, this bread develops through patient fermentation and careful folding techniques. The result is a professional-quality loaf with crackling crust and airy interior.
My first sourdough attempt produced a dense brick that my husband politely nicknamed "the doorstop." We laughed about it, but I was determined to figure out what went wrong. Three years and countless loaves later, I finally understand that sourdough isn't about perfection—it's about developing a relationship with living ingredients that respond to temperature, humidity, and patience.
Last winter, during a snowstorm that kept us housebound for three days, I made loaf after loaf while my kids played board games at the kitchen table. Something about the rhythm of stretch and folds became meditative, and by the time we dug out from the snow, I'd given loaves to three neighbors who became regular baking buddies.
Ingredients
- 100 g active sourdough starter: Your starter should be fed 6-8 hours before baking and doubled in size with bubbles throughout
- 375 g bread flour: High protein flour (around 12-14%) creates the structure needed for that beautiful oven spring
- 25 g whole wheat flour: Just enough to add depth and complexity without making the bread too dense
- 275 g water room temperature: Adjust slightly based on humidity—dough should feel tacky but not sticky
- 10 g sea salt: Enhances fermentation and tightens the gluten structure for better texture
Instructions
- Mix the autolyse:
- Combine bread flour, whole wheat flour, and water in a large bowl until no dry flour remains. The dough will look shaggy and rough—this is exactly what you want. Cover and walk away for one hour to let the flour hydrate fully.
- Incorporate starter and salt:
- Add your bubbly starter and sea salt to the rested dough. Use your hand to pinch and squeeze everything together until fully incorporated. The dough will start to feel smoother and more elastic.
- Bulk fermentation with stretch and folds:
- Let the dough rest covered at room temperature for 4-5 hours. Every 30-45 minutes, grab one edge of the dough and pull it up and over toward the center. Repeat four times, rotating the bowl each time. Watch how the dough transforms from shaggy to smooth and billowy.
- Pre-shape and rest:
- Turn the dough onto a lightly floured surface and gently fold the edges toward the center to create a round shape. Flip it over, cover with a towel, and let it relax for 20 minutes while you prepare your proofing basket with a generous dusting of flour.
- Final shape:
- Shape the dough into a tight round by folding the edges to the center and creating tension on the surface. Place it seam side up in your floured basket or bowl. The smooth surface will become the bottom of your baked loaf.
- Proof:
- Cover and let rise at room temperature for 2-3 hours until the dough has grown by about 75% and jiggles like a water balloon when you move the basket. For deeper flavor, refrigerate overnight.
- Preheat your oven:
- Place your Dutch oven on the center rack and heat to 250°C (480°F) for at least 30 minutes. This intense heat is what creates that spectacular crispy crust.
- Score and bake:
- Invert the dough onto parchment paper and use a sharp blade to make a confident slash across the surface. Transfer to your preheated pot, cover, and bake for 20 minutes. Remove the lid, reduce temperature to 220°C (430°F), and bake another 25 minutes until deeply golden.
- Cool completely:
- Remove the bread from the pot and let it cool on a wire rack for at least 2 hours. The crust will continue to crisp and the interior will finish cooking—slicing too early will release steam and leave you with a gummy crumb.
 Save
Save My daughter now asks for "the bread that sings" because she loves the crackling sound it makes as it cools on the counter. That symphony of crust settling is the soundtrack of a job well done.
Flour Variations That Work
I've found that replacing the whole wheat with an equal amount of rye flour adds a subtle earthiness and slightly darker crumb. Spelt flour creates a sweeter, nuttier flavor that's absolutely delicious toasted with salted butter.
Timing Your Bake
Mornings work best for me—I mix the dough before bed, do the final shape first thing, and bake while the coffee brews. The house smells incredible all day long.
Storing Your Sourdough
Store your loaf cut side down on a cutting board for up to two days. After that, slice and freeze in a sealed bag—toast straight from frozen and it tastes freshly baked.
- Never refrigerate your bread as it accelerates staling
- Revive a day old crust with a 5 minute stint in a 375°F oven
- Stale sourdough makes the best French toast you've ever tasted
 Save
Save There's something profoundly grounding about making bread from nothing but flour and water. Once you get the rhythm, you'll wonder why you ever bought bread at the store.
Recipe Questions & Answers
- → What makes sourdough different from regular bread?
-
Sourdough relies on wild yeast and beneficial bacteria naturally present in flour, creating distinct tangy flavors and improved digestibility. The long fermentation breaks down gluten naturally, making nutrients more bioavailable than commercial yeasted alternatives.
- → How do I know my starter is ready?
-
An active starter should double in size within 4-8 hours after feeding, display numerous bubbles throughout, and have a pleasantly sour aroma. The surface should appear dome-shaped rather than flat, indicating vigorous fermentation activity.
- → Can I shorten the fermentation time?
-
While possible through warmer temperatures or adding commercial yeast, authentic sourdough requires extended fermentation for proper flavor development and texture. Rushing the process compromises the characteristic tang, open crumb structure, and crust quality.
- → Why is my dough too sticky to handle?
-
High hydration doughs naturally feel tacky. Lightly moistening hands or using a bench scraper helps manage working consistency. The dough strengthens through stretch-and-fold sequences during bulk fermentation, gradually becoming more manageable.
- → What if I don't have a Dutch oven?
-
Any heavy oven-safe pot with a tight-fitting lid works well. Alternatively, bake on a preheated baking stone or baking sheet, creating steam by placing a pan of hot water on the lower rack during the initial baking phase.
- → How should I store the finished loaf?
-
Wrap completely cooled bread in a cotton cloth or paper bag, storing cut side down at room temperature for 2-3 days. For longer storage, slice and freeze in airtight bags. Refrigeration accelerates staling and is not recommended.
