 Save
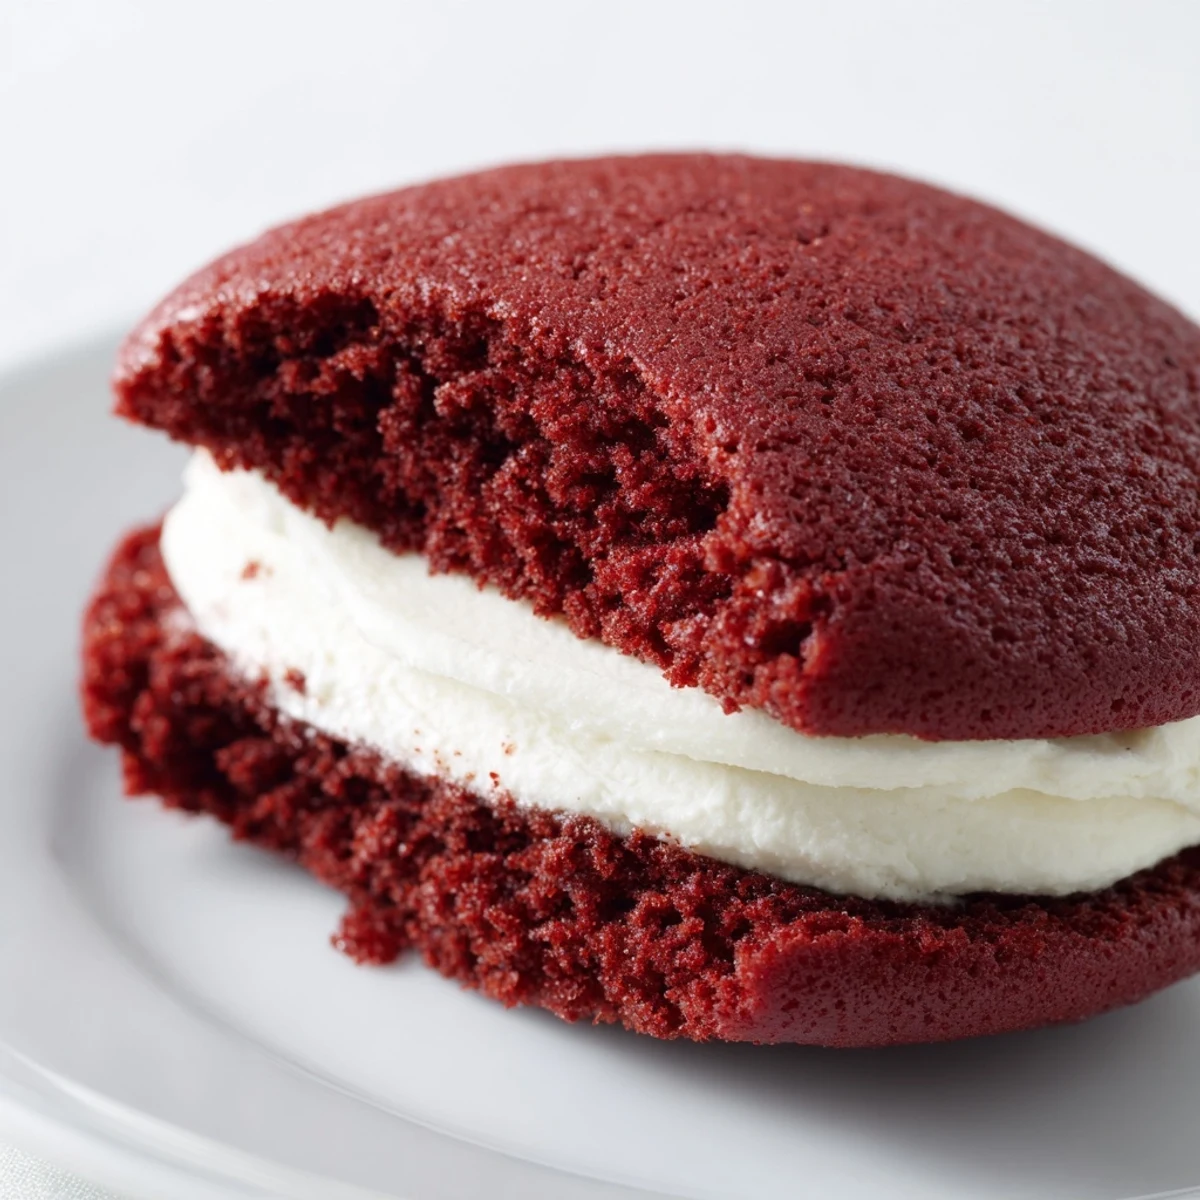
Save These red velvet whoopie pies feature soft, cocoa-infused cakes layered with a luscious cream cheese filling. The gentle balance of tangy buttermilk and smooth vanilla enhances the rich cocoa and vibrant red coloring. Baking until just set yields a tender yet sturdy base, perfect for sandwiching the creamy center. Chilling helps meld flavors and ensures clean slices. Enjoy these classic American sweets fresh or slightly chilled, and try variations like adding chocolate chips or sprinkles on the edges for added texture and flair.
The first time I made whoopie pies, I was babysitting my niece and she wanted something "fun and red" for her class party. We ended up with food coloring everywhere, including somehow on the ceiling, but those sandwich cookies disappeared faster than anything I have ever baked.
Last winter I brought a batch to a neighborhood potluck and watched three different people ask for the recipe within ten minutes of each other. Something about that classic cream cheese filling just makes people nostalgic, even if they have never actually had a whoopie pie before.
Ingredients
- All-purpose flour: The foundation for tender, cake-like cookies that hold their shape
- Unsweetened cocoa powder: Just enough to give depth without overpowering the delicate red velvet flavor
- Baking powder and baking soda: Work together to give these cookies their signature puffy, risen texture
- Unsalted butter: Softened to room temperature so it incorporates perfectly into both cookies and filling
- Granulated sugar: Sweetens and helps create that tender, cake-like crumb we love
- Large egg: Adds structure and richness to the cookie batter
- Vanilla extract: Pure vanilla extract makes both the cookies and filling taste professionally made
- Red food coloring: Gel coloring gives the most vibrant red without thinning the batter
- Buttermilk: The secret ingredient that makes red velvet so tender and gives a subtle tang
- White vinegar: Reacts with the buttermilk and baking soda for extra lift
- Cream cheese: Use full-fat, brick-style cream cheese for the silkiest, most stable filling
- Powdered sugar: Sifting first prevents any lumps in your perfectly smooth filling
Instructions
- Prep your baking space:
- Preheat oven to 350°F and line baking sheets with parchment paper so nothing sticks.
- Mix the dry ingredients:
- Whisk together flour, cocoa powder, baking powder, baking soda, and salt in a medium bowl.
- Cream the butter and sugar:
- Beat butter and sugar until light and fluffy, about 2 to 3 minutes, to create a tender crumb.
- Add the wet ingredients:
- Mix in the egg and vanilla, then add red food coloring and vinegar until combined.
- Combine everything:
- Alternate adding dry ingredients and buttermilk, mixing until just combined but not overmixed.
- Scoop and bake:
- Drop tablespoon-sized mounds onto baking sheets and bake for 10 to 12 minutes until set.
- Make the filling:
- Beat cream cheese and butter until smooth, then gradually add powdered sugar and vanilla.
- Assemble the pies:
- Pair similar-sized cookies and spread filling on one before topping with another.
 Save
Save My sister once tried to assemble these while the cookies were still warm and ended up with cream cheese everywhere. Now we both know patience is not optional with whoopie pies, though the mess was still delicious.
Getting That Perfect Red Color
I used to think liquid food coloring was enough, but gel coloring gives such a deeper red without changing the batter consistency. The difference is stunning, especially for photographs or special occasions.
Making Uniform Cookies
A cookie scoop changed everything for me when making whoopie pies. Before that, my cookies were all different sizes and pairing them up became a puzzle of mismatched pieces.
Storage and Serving Tips
These actually taste better after chilling in the fridge for a few hours because the flavors meld together beautifully. The texture becomes more like a petit four.
- Bring them to room temperature 20 minutes before serving for the best texture
- Place a sheet of wax paper between layers if stacking in containers
- The filling firms up nicely in the cold, making them easier to transport
 Save
Save Every time I make these now, I think about that messy afternoon with my niece and how the best recipes always have the best stories attached to them.
Recipe Questions & Answers
- → What gives these cakes their red color?
-
The vibrant red hue comes from red food coloring, either gel or liquid, which enhances the natural cocoa tones.
- → How do I keep the cakes tender?
-
Using buttermilk and avoiding overmixing the batter maintains moisture and a soft crumb in the cakes.
- → Can I prepare the filling in advance?
-
Yes, the cream cheese filling can be made ahead and refrigerated to allow flavors to meld and thicken.
- → What’s the best way to assemble the pies?
-
Match similarly sized cakes, then spread or pipe the filling evenly between two halves for a neat sandwich.
- → How should these treats be stored?
-
Store them in an airtight container in the refrigerator for up to three days to maintain freshness.
