 Save
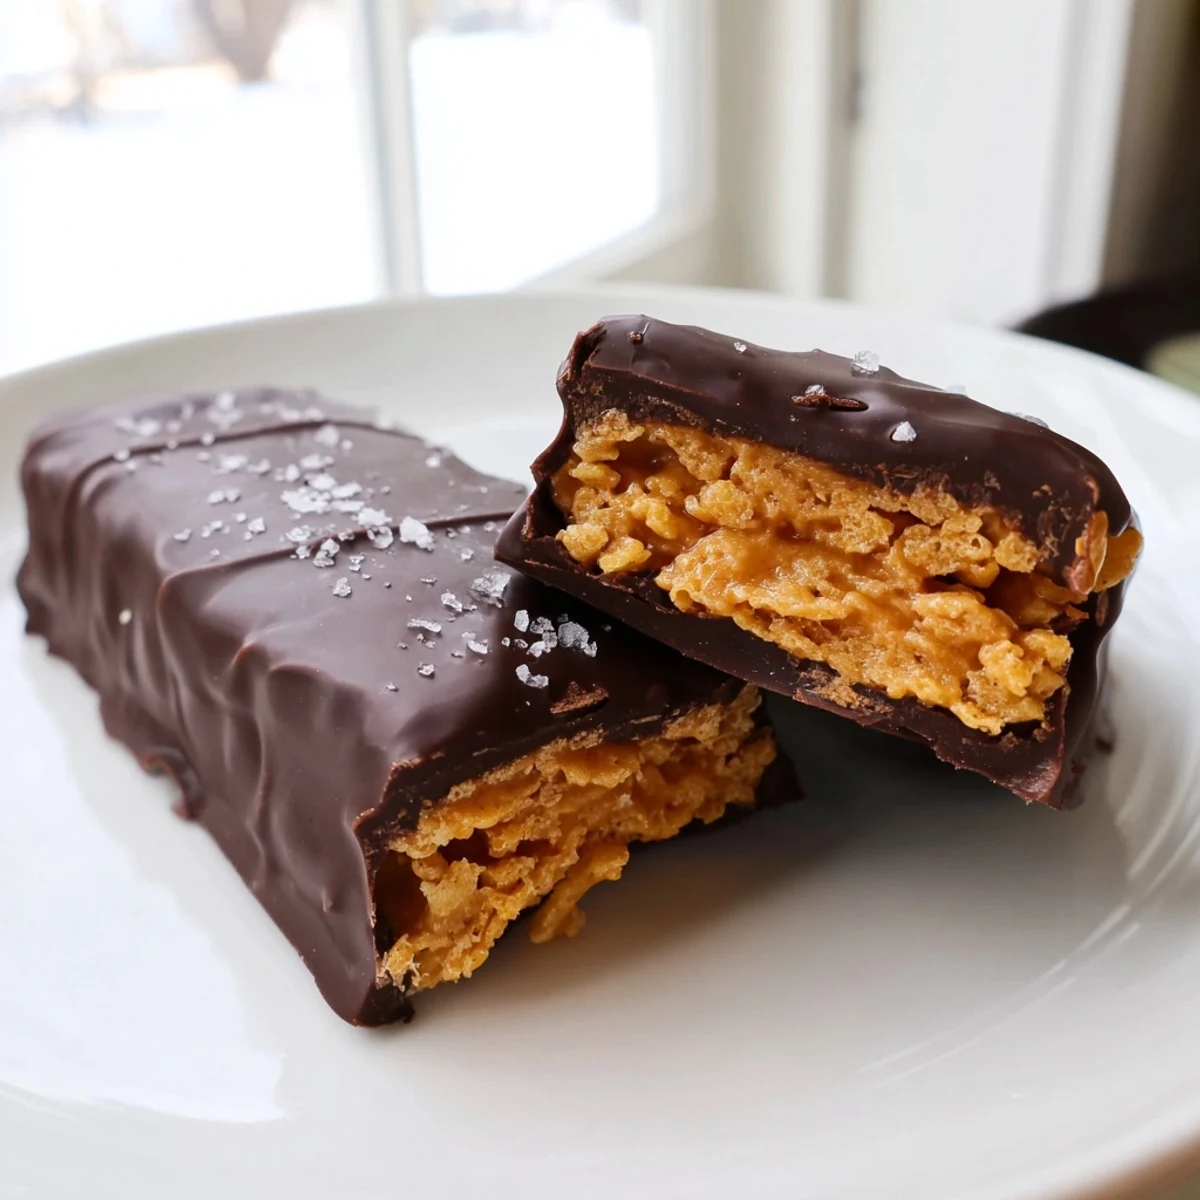
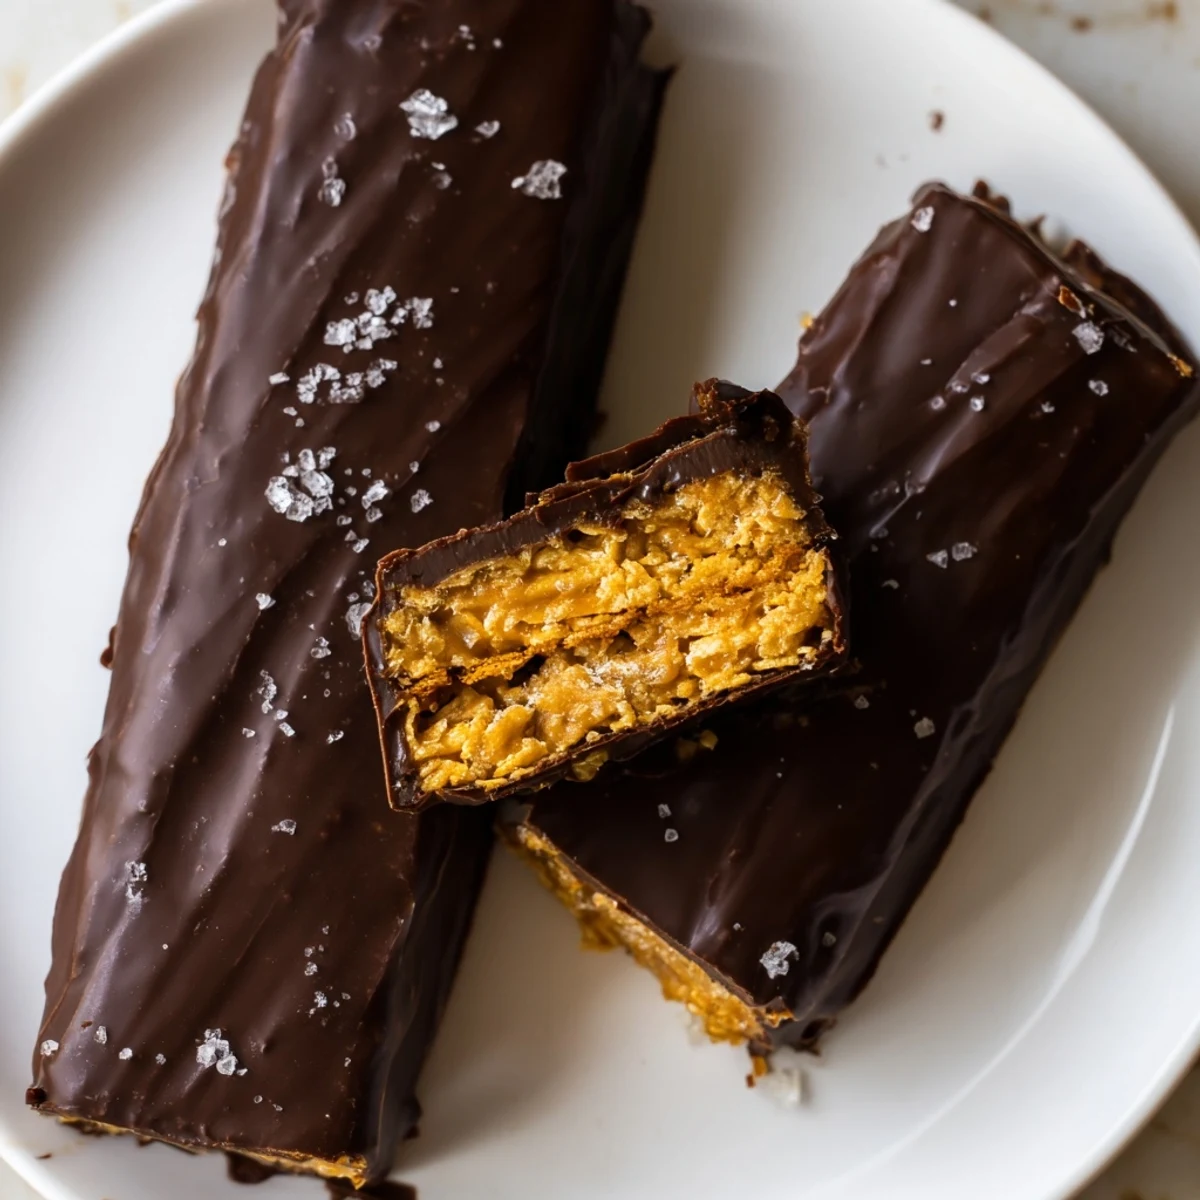
Save These healthy homemade Butterfingers deliver everything you love about the classic candy bar — a crunchy, peanutty center enrobed in smooth dark chocolate — without the artificial ingredients.
A simple mixture of creamy peanut butter, maple syrup, and crushed cornflakes forms the crisp filling. After a quick chill, each bar gets dipped in melted dark chocolate and sets in the fridge.
Ready in about an hour with only 10 minutes of active cooking, these no-bake bars are vegetarian, easily made vegan and gluten-free, and store well for weeks.
The candy aisle at the grocery store always got me, those bright orange Butterfinger packages calling my name like an old friend. One rainy Tuesday evening, I decided to stop fighting the craving and figure out how to make something similar at home with ingredients I actually recognized. My kitchen counter was a mess of cornflake crumbs and chocolate smears within the hour, but the result was shockingly close to the real thing.
I brought a plate of these to a movie night with friends, not telling anyone they were homemade. The debate that erupted over whether they were store bought or not lasted longer than the opening credits.
Ingredients
- Natural creamy peanut butter (1 cup): Use the kind with just peanuts and salt, no added oils or sugars, because it melts smoother and tastes more honest.
- Pure maple syrup or honey (1/2 cup): Maple syrup keeps it vegan and adds a warm caramel depth that pairs beautifully with the peanut butter.
- Vanilla extract (1 teaspoon): A small amount rounds out the sweetness and makes the flavors taste more complete.
- Cornflakes, lightly crushed (2 cups): These are the secret to that signature Butterfinger crunch, so do not crush them too finely or you lose the texture.
- Sea salt (pinch): Just a pinch in the mixture balances the sweetness and enhances the peanut flavor.
- Dark chocolate chips (1 1/2 cups): Dark chocolate gives a richer coating than milk chocolate and cuts through the sweetness of the filling.
- Coconut oil (1 tablespoon): This thins the chocolate slightly so it coats evenly and sets with a nice snap.
Instructions
- Prep your pan:
- Line an 8x8 inch baking dish with parchment paper, leaving some overhang on the sides so you can lift the whole block out later without a struggle.
- Melt the base:
- In a saucepan over medium low heat, stir the peanut butter and maple syrup together until they become one smooth, glossy mixture, about 2 to 3 minutes. Take it off the heat the moment everything blends smoothly, then stir in the vanilla and salt.
- Build the crunch:
- Gently fold in the crushed cornflakes, stirring with a spatula until every flake is coated in that golden peanut butter mixture. Work carefully so you do not crush the flakes further while mixing.
- Freeze the slab:
- Spread the mixture into your prepared pan, pressing it flat and even with your spatula, then tuck it into the freezer for 20 to 30 minutes until it holds its shape when pressed.
- Cut into bars:
- Lift the set slab out of the pan using the parchment overhang, set it on a cutting board, and slice it into 16 even bars with a sharp knife.
- Melt the chocolate:
- Combine the chocolate chips and coconut oil in a microwave safe bowl, heating in 30 second bursts and stirring between each, until the chocolate is completely smooth and pourable.
- Coat each bar:
- One at a time, dip a bar into the melted chocolate, using a fork to flip it and coat every side, then place it on a parchment lined tray. Let any excess chocolate drip off before setting it down.
- Chill until set:
- Slide the tray into the fridge for 15 to 20 minutes, just until the chocolate shell hardens and loses its shine slightly.
 Save
Save There is something deeply satisfying about making your own candy bars, knowing every single ingredient that went into them.
Storing Your Candy Bars
These bars keep beautifully in an airtight container in the refrigerator for up to two weeks, though mine have never lasted that long. You can also freeze them for up to three months, layered between sheets of parchment so they do not stick together. Let frozen bars sit at room temperature for about 10 minutes before eating so the chocolate coating softens slightly.
Making It Your Own
Swapping the dark chocolate for milk chocolate gives you a sweeter, more traditional candy bar experience that kids especially love. A sprinkle of flaky sea salt on top of each bar right after dipping adds a grown up twist that makes them feel almost gourmet. You could also try rolling the edges in crushed peanuts or toffee bits before the chocolate sets for extra texture.
Quick Reference Tips
After making these dozens of times, a few small habits have become second nature in my kitchen.
- Crush the cornflakes in a zip top bag with a rolling pin for the most even texture without making a mess.
- Use a fork to dip the bars into chocolate, tapping the handle gently on the bowl edge to shake off excess.
- Always taste your peanut butter before starting, as some brands are saltier than others and you may want to adjust accordingly.
 Save
Save Keep a stash of these in your freezer and you will never be tempted by the candy aisle again. They are proof that homemade always tastes better when you make it with ingredients you trust.
Recipe Questions & Answers
- → Can I make these Butterfinger bars vegan?
-
Yes. Use maple syrup instead of honey and choose dairy-free dark chocolate chips. Coconut oil remains the same. Always check your cornflake brand for any hidden animal-derived ingredients.
- → How should I store the finished bars?
-
Keep them in an airtight container in the refrigerator for up to 2 weeks. For longer storage, freeze them for up to 3 months. Let frozen bars sit at room temperature for a few minutes before eating.
- → Can I substitute the cornflakes with something else?
-
Crushed rice cereal works well as a direct swap. You could also try crushed pretzels for a saltier twist or graham cracker crumbs, though the signature Butterfinger crunch comes from the flaked cereal texture.
- → Why do my bars fall apart when dipping in chocolate?
-
The peanut butter layer needs to be thoroughly chilled before cutting and dipping. Freeze for at least 30 minutes until very firm. Working quickly while the bars are cold helps them hold their shape during coating.
- → What type of peanut butter works best?
-
Natural creamy peanut butter without added sugar or oils gives the best texture and flavor. Avoid stir-free or whipped varieties, as they contain stabilizers that can affect how the mixture sets. If using a salted peanut butter, adjust the added salt accordingly.
- → Can I use milk chocolate instead of dark chocolate?
-
Absolutely. Milk or semi-sweet chocolate both work for the coating. Dark chocolate provides a nice contrast to the sweet filling, but milk chocolate makes the bars closer to the original Butterfinger taste.
