 Save
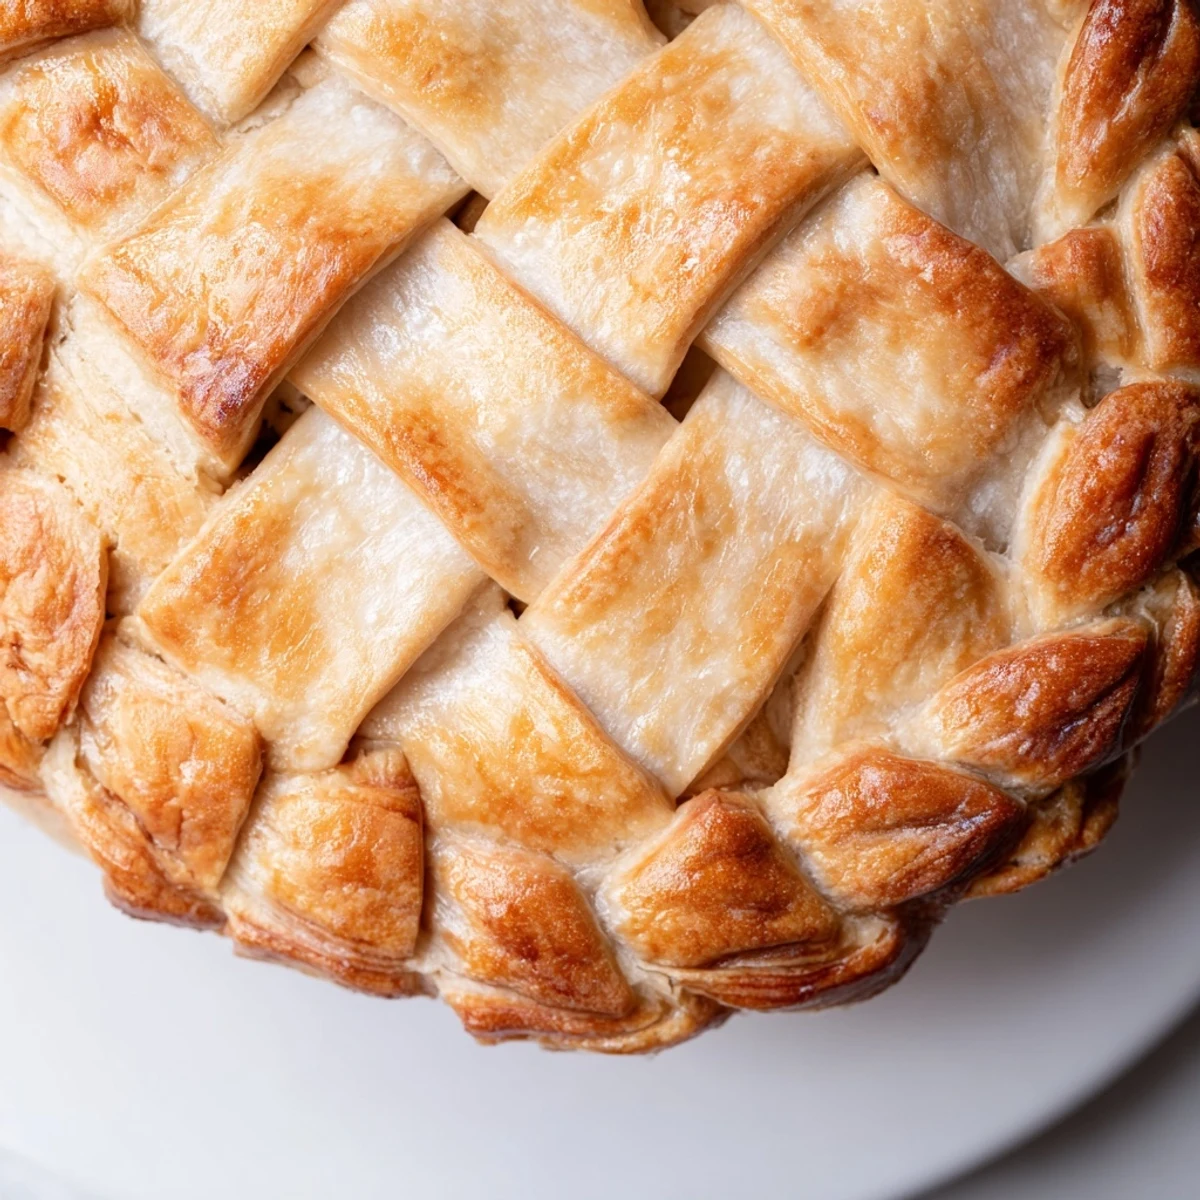
Save Master the art of fishtail braiding with pie dough to create a stunning decorative edge for your homemade pies. This elegant technique weaves strips of buttery pastry into an intricate fishtail pattern that bakes into a golden, professional-looking finish. Perfect for fruit pies, quiches, or savory pot pies, this crust elevates your baking from homemade to artisanal.
The process involves cutting your prepared dough into even strips, then weaving them using a simple cross-over technique that creates the signature fishtail appearance. While the method requires patience and cool dough, the results are worth the effort—your pies will look like they came from a specialty bakery.
The afternoon sunlight hit my kitchen counter just right, revealing those flaky, golden layers I had spent hours perfecting. I remember leaning against the counter, flour dusting my apron, wondering if I could make something beautiful out of something so simple as pie dough. That fishtail braid seemed impossible until I realized it was just patience and practice wrapped up in butter.
My sister-in-law actually asked if I had bought the crust from a fancy bakery the first time I made this for Thanksgiving. The way the braid catches the light and creates those little pockets of perfect golden color makes even a simple apple pie feel like a celebration. There is something so satisfying about turning humble ingredients into something that looks like it belongs in a magazine.
Ingredients
- 2 1/2 cups all-purpose flour: The backbone of your crust, providing structure and that tender bite we all love in a good pie dough
- 1 cup unsalted butter, cold: Cold butter is non-negotiable here, it creates those magical flaky layers as it melts during baking
- 1 tsp salt: Enhances flavor and helps strengthen the gluten structure for a dough that is easy to work with
- 1 tbsp sugar: Optional but lovely for sweet pies, adding just a hint of sweetness that balances the butter
- 1/4 to 1/2 cup ice water: The magic that brings everything together, use just enough to make the dough hold its shape
- 1 egg, beaten: For that professional finish that makes your crust look like it came from a bakery
- 1 tbsp milk or water: Thins the egg wash just enough for an even, golden glaze
Instructions
- Prepare the perfect dough foundation:
- Whisk together your flour, salt, and sugar in a large bowl until well combined. Cut in those cold butter cubes with a pastry cutter or your fingertips until the mixture looks like coarse crumbs with scattered pea-sized butter pieces throughout. Drizzle in the ice water gradually, mixing gently with your hands just until the dough holds together when squeezed. Divide into two disks, wrap tightly, and let them rest in the fridge for at least an hour.
- Roll and cut your braid strips:
- On a lightly floured surface, roll one chilled disk into a rectangle about 1/8 inch thick. Use a ruler and pizza cutter or knife to cut at least six even strips, each about 12 inches long and 1/2 inch wide. Keep everything cool, working quickly so the butter does not start melting.
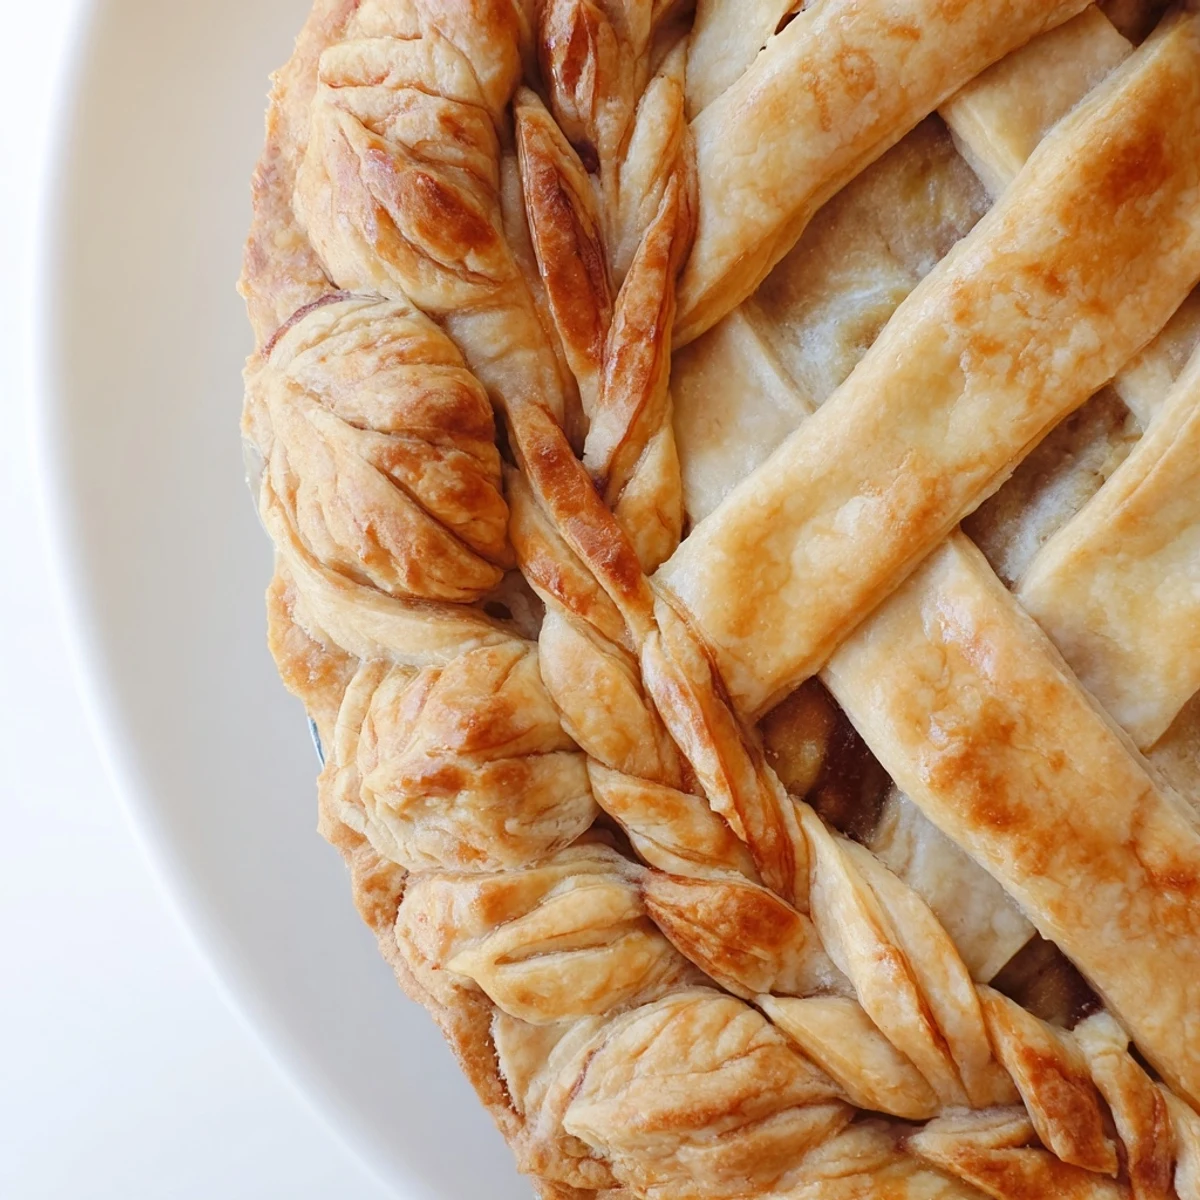
- Master the fishtail braid technique:
- Lay three strips side by side, pressing the ends together to hold them. Start with a regular braid, crossing right over middle, then left over the new middle. Switch to the fishtail method by taking the outermost right strip and crossing it to center, then outermost left to center, always pulling from the outside. Continue this pattern until you reach the end, then press the final ends together securely.
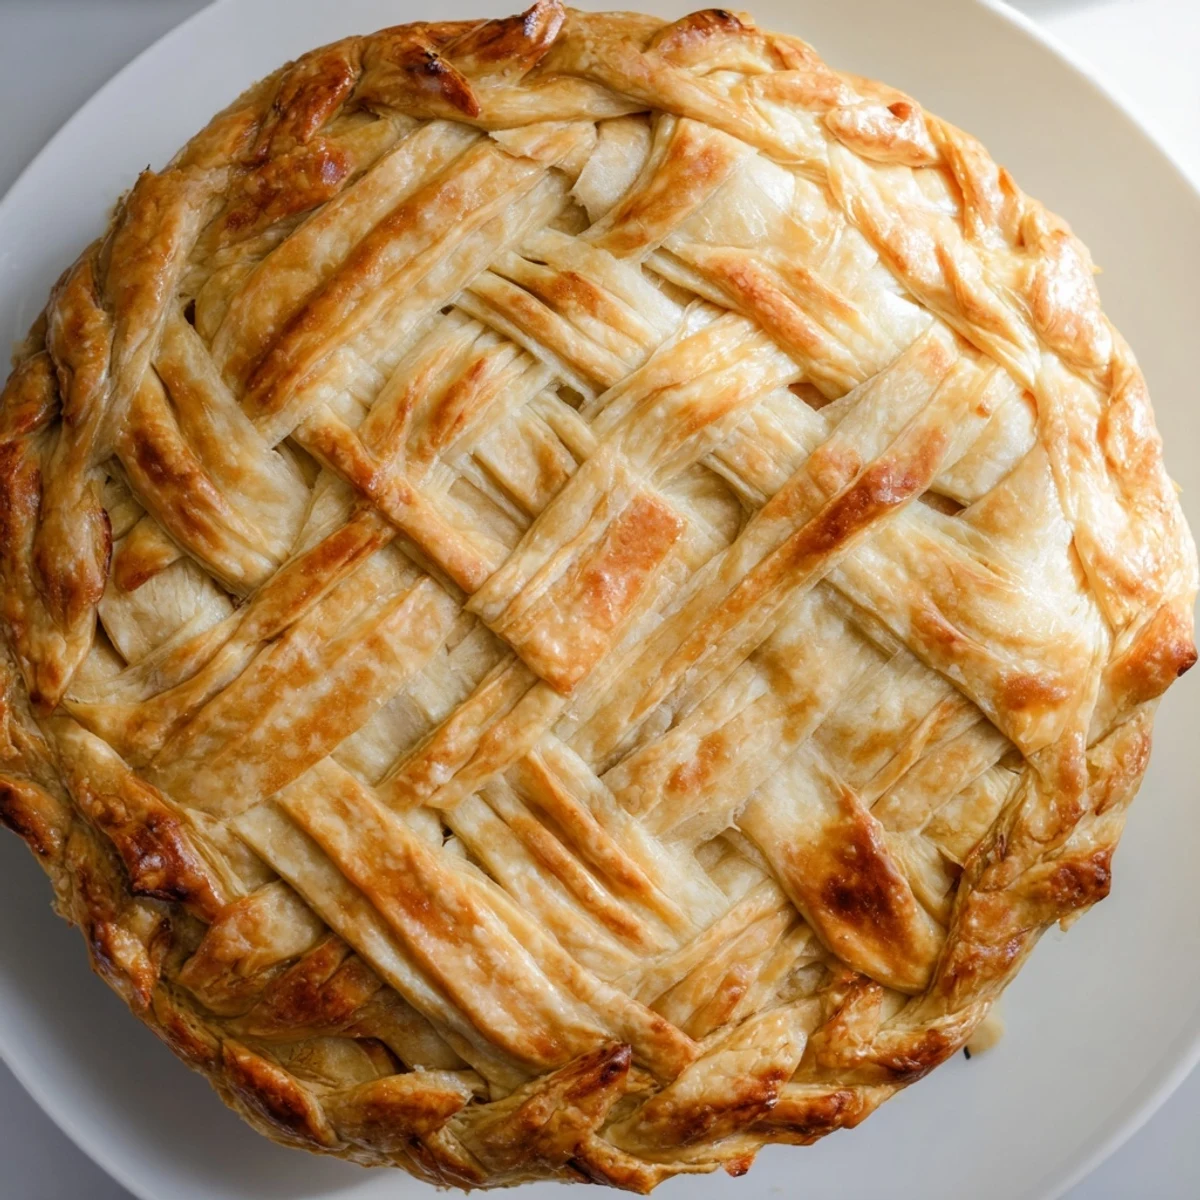
- Assemble your show stopping crust:
- Trim any excess dough from your filled pie edge and brush lightly with water to help the braid adhere. Gently lift and position your braided strips around the pie rim, pressing lightly to seal. Brush the entire braid with your egg wash for that gorgeous golden finish.
- Bake to golden perfection:
- For filled pies, add the braid before your normal baking time. If blind baking, chill the assembled crust for 15 minutes, then bake at 375°F for 12 to 15 minutes until deeply golden. Keep an eye on it during those final minutes, as the detailed braid can brown quickly.
 Save
Save My daughter now requests this crust for her birthday pie every year, claiming it tastes better just because it looks so special. There is a quiet pride that comes with serving something handmade that looks so incredibly professional.
Temperature Control Secrets
I keep a small bowl of ice water nearby and dip my hands in it occasionally while working the dough. The cold water prevents the heat from your hands from softening the butter too quickly, which is crucial for maintaining those flaky layers we are after.
Braid Length Planning
Measure your pie circumference before cutting your strips, then add about two inches to account for the braiding process which naturally shortens the length. Nothing is more frustrating than reaching the end of your braid only to find it is an inch too short to complete the circle around your pie.
Creative Variations
Sometimes I mix a pinch of dried herbs into the dough for savory pies, or a little cinnamon and extra sugar for fruit pies. The braid technique works beautifully with colored dough too, just wrap beets or spinach in cheesecloth and squeeze the juice into half your dough before chilling.
- Try brushing the braid with cream instead of egg wash for a deeper, richer golden color
- Sprinkle coarse sugar or herbs over the egg wash before baking for extra texture and flavor
- If any part of the braid starts to brown too quickly, tent it loosely with foil for the remaining bake time
 Save
Save Every time I serve a pie with this crust, someone asks for the recipe, and I get to share the secret that it is just regular pie dough with a little extra patience and love.
Recipe Questions & Answers
- → What makes fishtail braiding different from regular braiding?
-
Fishtail braiding uses a cross-over technique where you take the outermost strip and bring it to the center, alternating sides, rather than the traditional three-strand over-and-under method. This creates a flatter, more intricate woven appearance that resembles a fishtail pattern.
- → Why does my dough fall apart when braiding?
-
Your dough may be too warm. Keep it chilled throughout the process, and work quickly. Warm dough becomes soft and difficult to handle. If strips become sticky, return them to the refrigerator for 10-15 minutes before continuing.
- → Can I make this crust in advance?
-
Absolutely. Prepare the braided crust up to 24 hours ahead, wrap it carefully in plastic, and refrigerate. You can also freeze unbaked braided crusts for up to 3 months. Thaw in the refrigerator before baking.
- → What fillings work best with this decorative crust?
-
Fruit fillings like apple, cherry, or berry pies bake beautifully underneath this crust. It also works wonderfully with quiches, chicken pot pies, and savory vegetable tarts. The sturdy braid holds up well during baking.
- → How do I prevent the braid from burning?
-
Brush the braid with egg wash, which creates a protective barrier. If it begins to brown too quickly, tent the pie loosely with aluminum foil during the final minutes of baking. The braid typically finishes at the same time as the rest of the crust.
- → Can I use store-bought dough for this technique?
-
Yes, refrigerated pie dough works well for fishtail braiding. Let it thaw according to package directions, then proceed with cutting and braiding. Homemade dough typically produces richer flavor and better browning.
