 Save
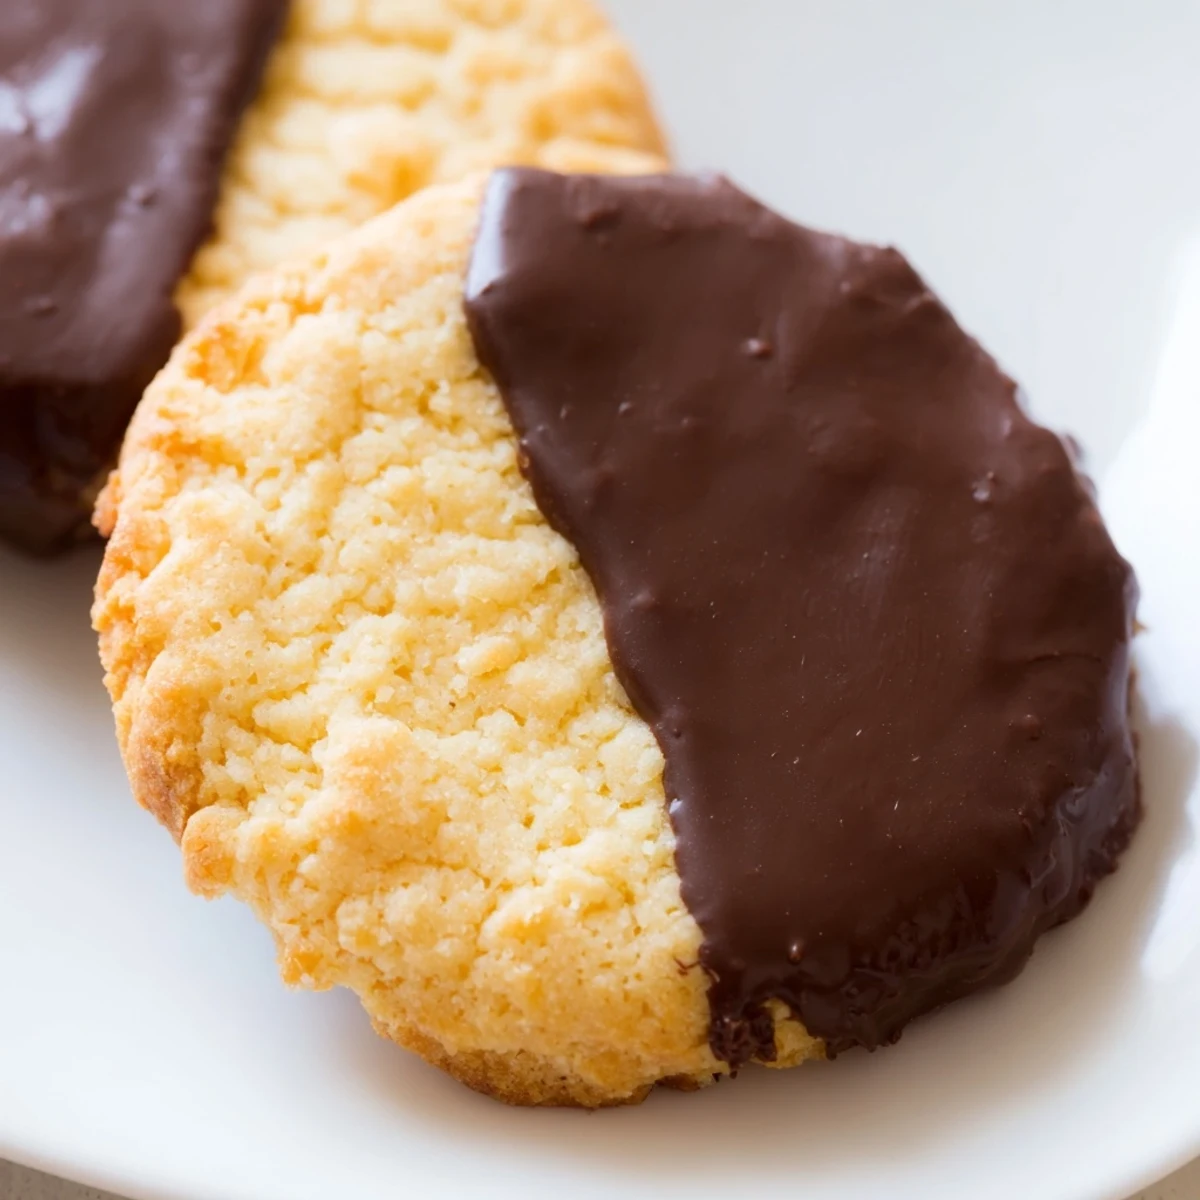
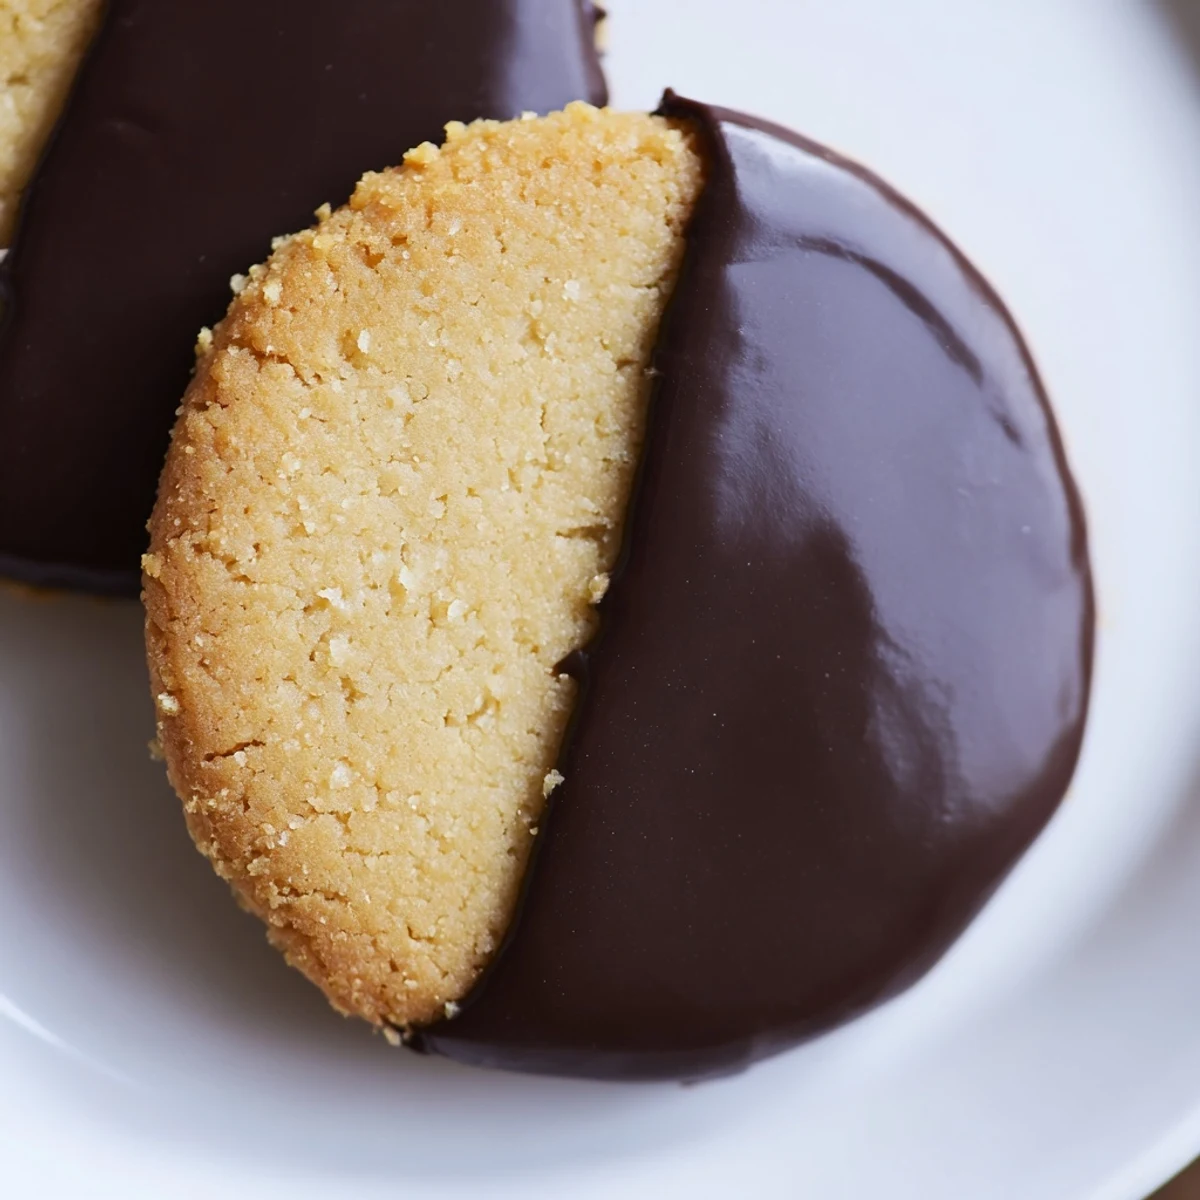
Save Create irresistibly tender shortbread by creaming butter and powdered sugar until fluffy, then gently fold in flour and salt. Chill the dough before rolling and cutting into elegant shapes, then bake until edges turn golden. Once cooled completely, dip each cookie halfway into melted chocolate and let set. Customize with toppings like chopped nuts or flaked sea salt for extra flair.
The bright winter light streamed through my kitchen window as I carefully dipped each shortbread cookie into glossy melted chocolate. The contrast between the pale golden cookies and rich dark chocolate reminded me of the elegant teatime treats my grandmother served on her best china. Something about that buttery, melt-in-your-mouth texture paired with a snap of good chocolate makes even the simplest afternoon feel special.
Last December, when holiday baking overwhelm hit, these became my secret weapon for gifting. My colleague Amanda nearly cried when I presented her with a small tin, confessing these reminded her of cookies her Scottish grandmother made. The kitchen smelled of butter and vanilla as I packaged dozens, each half-moon of chocolate setting with a perfect sheen.
Ingredients
- Room Temperature Butter: The foundation of good shortbread—cold butter creates a tough texture while too-soft butter makes cookies that spread too much.
- Powdered Sugar: Creates that signature melt-away texture that distinguishes proper shortbread from ordinary butter cookies.
- Quality Chocolate: Splurge on the good stuff here, as the chocolate flavor stands front and center without competing flavors to hide behind.
- Coconut Oil: My accidental discovery when I ran out of butter one day—it gives the chocolate dip a beautiful shine and clean snap when you bite in.
Instructions
- Cream With Patience:
- Beat the butter and powdered sugar until the mixture lightens several shades to almost white. This incorporates air for that perfect sandy texture.
- Handle With Care:
- Mix the flour in gently until just combined. Overworking develops gluten, turning delicate shortbread into tough cookies.
- Chill For Success:
- That 30-minute refrigeration isnt optional. Watch how the dough firms up, making it easier to roll without sticking and helping cookies hold their shape during baking.
- Look For Golden Edges:
- These cookies shouldnt brown all over. Pull them from the oven when just the very edges turn a pale gold—theyll continue cooking slightly on the hot pan.
- Master The Chocolate Dip:
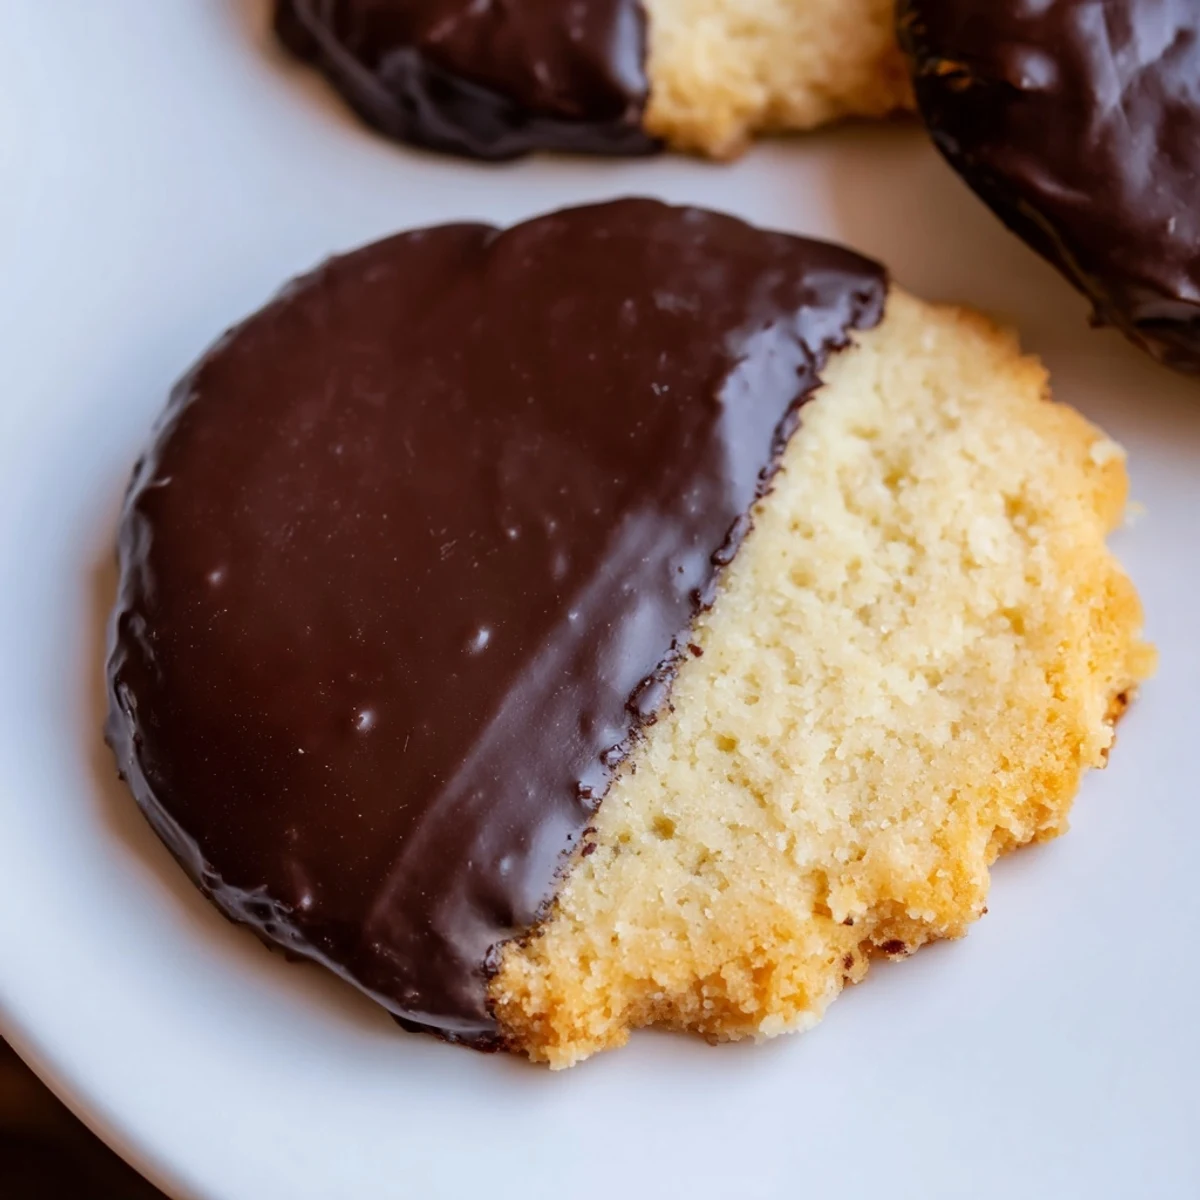
- Hold each cookie at an angle, dipping halfway and letting excess chocolate drip back into the bowl. A slight twist of your wrist creates that professional finish without chocolate pooling on the parchment.
 Save
Save My friend Sarah claimed she couldnt bake to save her life until we made these together one rainy Sunday afternoon. The look of accomplishment on her face when she pulled that first perfect batch from the oven made me realize why I love sharing recipes. Sometimes the simplest things—like pressing a fork into shortbread dough to create a pattern—connect us to traditions we never knew we were missing.
Storage Secrets
After ruining a batch by storing them while the chocolate was still tacky, I learned to let them set completely before layering between parchment paper. These cookies actually improve after a day in an airtight container, as the flavors meld and the texture settles into that perfect sandy-yet-sturdy consistency that defines classic shortbread.
Flavor Variations
While testing this recipe during a summer heatwave, I discovered a delightful twist by adding lemon zest to the dough and using white chocolate for dipping. The bright citrus cuts through the sweetness, creating a completely different cookie with the same technique. Orange zest paired with dark chocolate creates a sophisticated flavor reminiscent of those chocolate oranges I loved as a child.
Gifting Ideas
These cookies have rescued me from countless last-minute gift emergencies, from unexpected dinner invitations to teacher appreciation days I nearly forgot. Something about their elegant appearance belies how simple they are to make.
- Stack them in clear cellophane bags tied with ribbon for a gift that looks professionally packaged but costs a fraction of store-bought treats.
- For holiday gifting, add a small sprinkle of crushed candy canes to the wet chocolate before it sets.
- Package with a small jar of quality tea for a thoughtful hostess gift that feels personal without requiring enormous effort.
 Save
Save Every time the scent of vanilla and butter fills my kitchen, I remember why these cookies have earned their permanent spot in my recipe collection. Theyre not just delicious—theyre moments of joy waiting to be shared.
Recipe Questions & Answers
- → Why is it important not to overwork the dough?
-
Overworking develops gluten, making shortbread tough and dense instead of tender and crumbly. Gentle mixing creates the delicate, melt-in-your-mouth texture that defines classic shortbread.
- → Can I prepare the dough in advance?
-
Yes, wrap the dough disks in plastic and refrigerate for up to 2 days, or freeze for up to 3 months. Thaw slightly before rolling if frozen. This advance prep actually improves flavor development.
- → How do I prevent the chocolate from cracking when dipped?
-
Ensure cookies are completely cooled before dipping. Melt chocolate gently over low heat or in microwave bursts. Adding a small amount of coconut oil creates a thinner coating that sets more smoothly without cracking.
- → What's the best way to store these cookies?
-
Keep in an airtight container at room temperature for up to one week. Layer parchment between cookies to prevent sticking. Avoid humid environments, as they can soften the chocolate coating.
- → Can I substitute the chocolate type?
-
Absolutely. White, milk, or dark chocolate all work beautifully. Choose based on preference—dark offers richness, milk brings creaminess, and white provides delicate sweetness that complements the buttery shortbread.
- → How do I get perfectly shaped cookies?
-
Use quality cookie cutters and dip them in flour between cuts to prevent sticking. Roll dough to consistent thickness using guides or a ruler. Chill cut shapes briefly before baking to maintain sharp edges.
