 Save
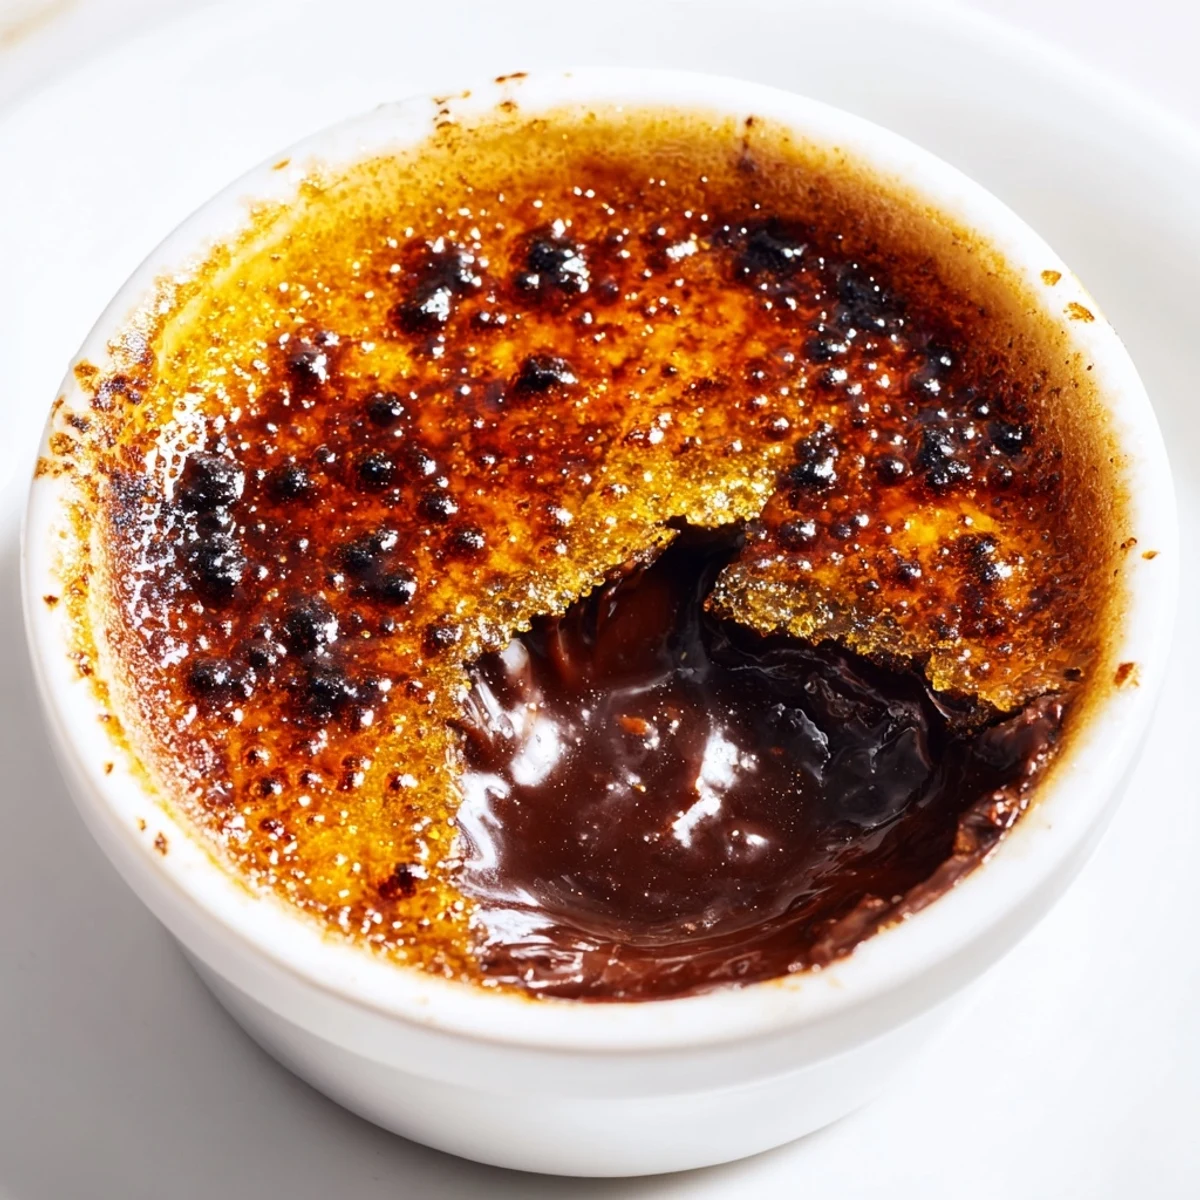
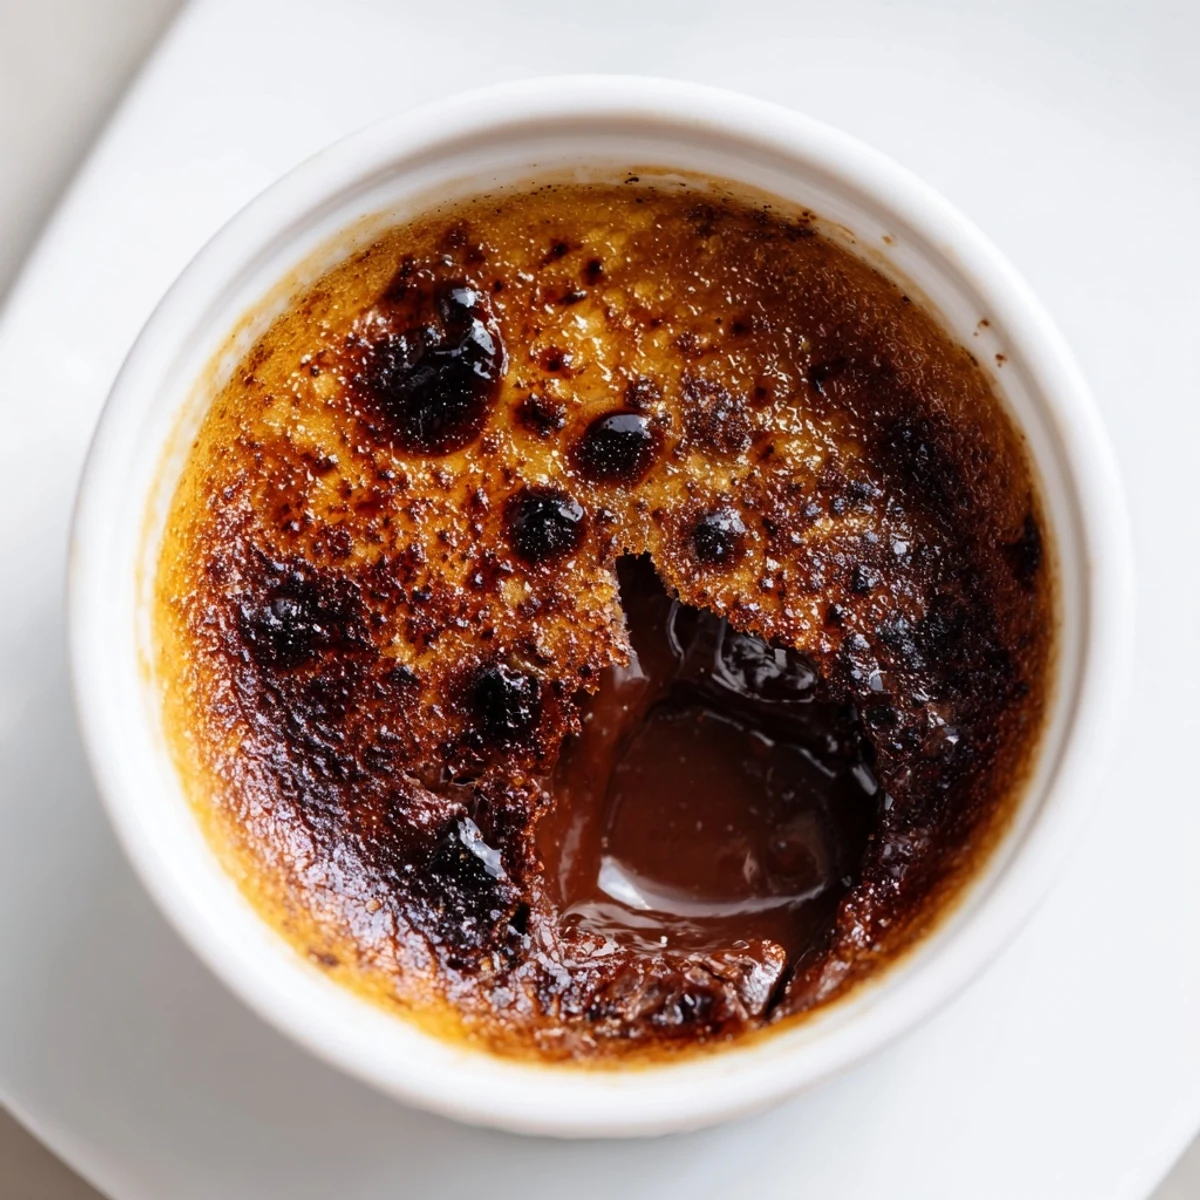
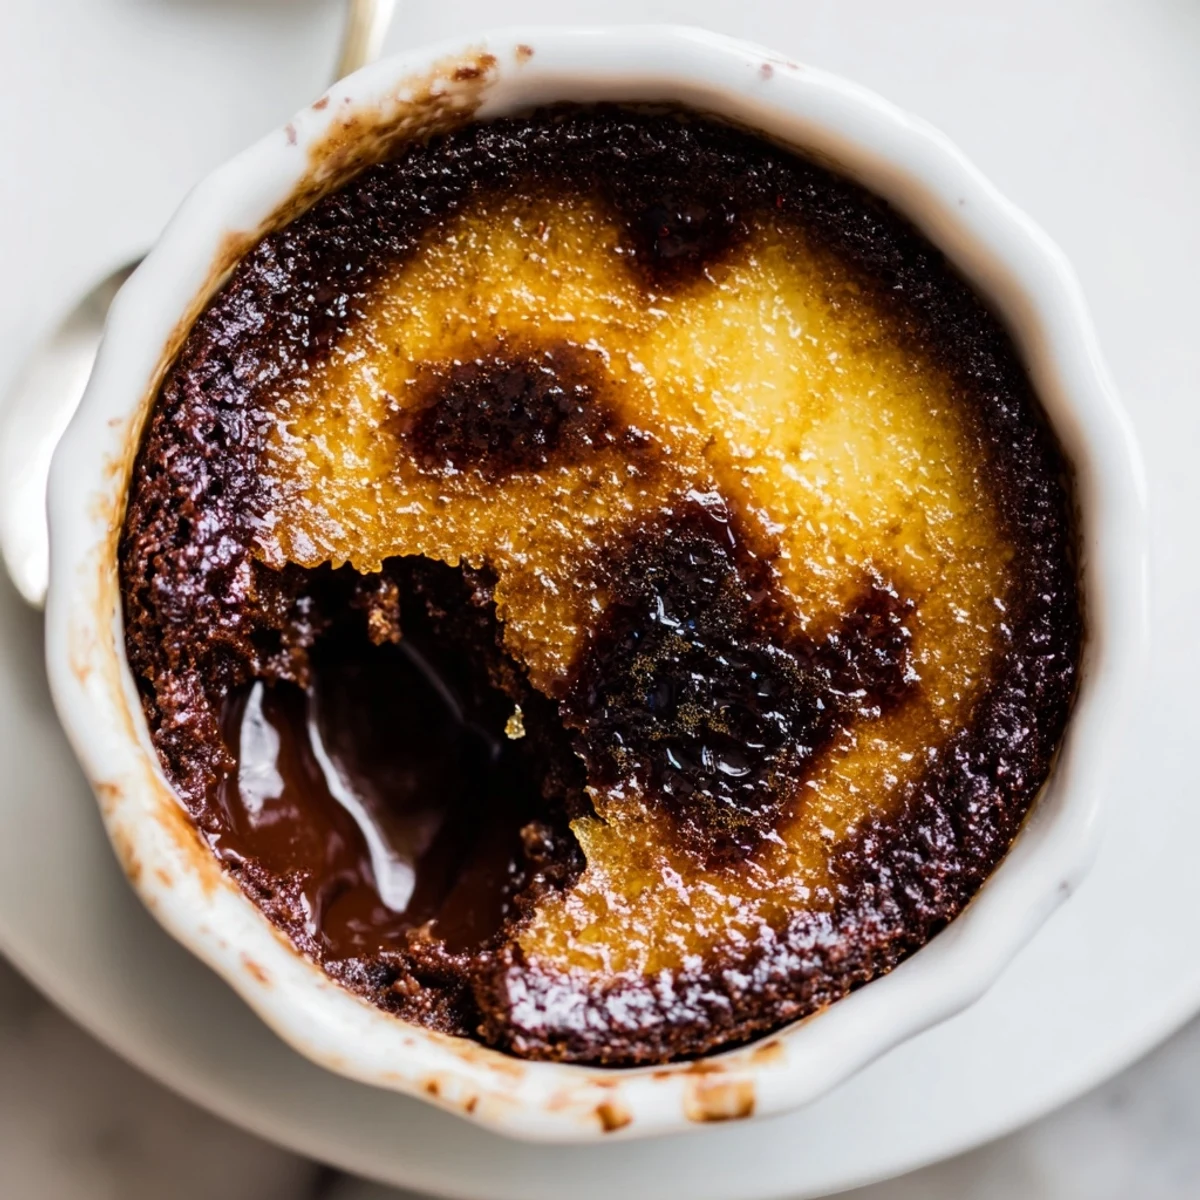
Save This indulgent French dessert transforms the classic crème brûlée with bittersweet chocolate. The silky custard base combines heavy cream, milk, and premium chocolate, baked until just set. A crisp caramelized sugar crown creates the signature crackling contrast. Perfect for intimate celebrations, these individual servings offer luxurious texture and deep chocolate flavor.
The kitchen was quiet except for the gentle crackle of sugar transforming under my torch, that unmistakable caramel scent filling the air. I had made these for a Valentine's dinner years ago, hands slightly shaky, hoping the chocolate custard beneath would live up to the anticipation. When we broke through that first burnt sugar crust, the silence that followed said everything.
Last February I made a batch for friends who claimed they did not even like dessert, watching with satisfaction as their skepticism evaporated. One of them actually asked if there was some secret ingredient, as if chocolate custard was something I had invented in a laboratory rather than a slightly tweaked French classic. There is something undeniably romantic about serving individual ramekins, each person getting their own perfect little world of chocolate and sugar.
Ingredients
- Heavy cream: The fat content here is non negotiable for achieving that silky mouthfeel that separates good custard from great custard
- Whole milk: Lightens the mixture just enough so the chocolate flavor does not become overwhelming or heavy
- Bittersweet chocolate: Choose something you would eat straight from the bar because the quality directly affects the final result
- Egg yolks: Four large yolks provide the structure and richness needed for a proper set without becoming rubbery
- Granulated sugar: Split between the custard and topping, with a quarter cup creating subtle sweetness in the base
- Vanilla extract: Pure vanilla rounds out the chocolate notes without competing with them
- Salt: Just a pinch wakes up all the flavors and prevents the chocolate from tasting flat
Instructions
- Set up your water bath station:
- Position oven rack to center position and heat to 325°F, then arrange four ramekins in a deep baking dish so you are not scrambling later when everything is hot
- Infuse the dairy with chocolate:
- Warm cream and milk until tiny bubbles form around the edges, then remove from heat and stir in chopped chocolate until completely melted and smooth
- Prepare the egg base:
- Whisk yolks with sugar, vanilla, and salt until the mixture turns pale and slightly thickened, about one minute of enthusiastic whisking
- Combine everything gradually:
- Slowly stream about one cup of the warm chocolate mixture into the eggs while whisking constantly, then add the remaining liquid in a thin stream
- Strain for silkiness:
- Pour the custard through a fine mesh sieve set over a measuring cup to catch any bits of egg that may have cooked during mixing
- Fill and bake:
- Divide custard evenly among ramekins, pour carefully into the water bath until it reaches halfway up the sides, and bake for 30 to 35 minutes until just set with a slight wobble
- Chill thoroughly:
- Cool at room temperature for 30 minutes before refrigerating for at least two hours, though overnight gives even better texture
- Create the burnt sugar crust:
- Sprinkle one teaspoon sugar over each chilled custard and torch until deep amber, letting it harden for two minutes before serving
 Save
Save These became my go to for dinner parties because they can be made completely ahead of time, leaving me free to enjoy the evening instead of stressing over dessert. There is something profoundly satisfying about that moment when the torch hisses to life and sugar begins to bubble, knowing something wonderful is about to happen.
Getting That Perfect Crack
The sugar topping needs to be spread in an even layer, slightly thicker than you might think, because too thin equals burnt rather than caramelized. Work in circles with the torch rather than holding it in one spot, moving constantly until the sugar melts and turns deep amber everywhere. This takes practice and the first one might look imperfect but the second will teach you everything.
Making It Your Own
Milk chocolate works beautifully if you prefer something sweeter and less intense, though the custard will be slightly softer. A tablespoon of espresso powder dissolved in the warm cream enhances the chocolate flavor without making it taste like coffee. Sometimes I fold fresh raspberries into the custard before baking, letting them sink slightly and create pockets of tartness.
Timing Is Everything
The difference between a memorable custard and a disappointing one often comes down to when you decide to call it done. The centers should wobble like soft pudding when you gently shake the pan, not ripple like water or sit completely still. Carryover cooking completes the process as they cool, so trusting that slightly underdone feeling yields the silkiest results.
- Caramelize the sugar right before serving because the crust starts softening after about 20 minutes
- Let the torched tops rest for at least two minutes so the sugar fully hardens
- Room temperature custard caramelizes more evenly than cold straight from the refrigerator
 Save
Save There is something timeless about cracking through that burnt sugar ceiling into cool chocolate custard beneath. This is the kind of dessert that makes ordinary evenings feel like celebrations.
Recipe Questions & Answers
- → How far ahead can I make these?
-
The custards can be prepared up to 2 days in advance and refrigerated. Caramelize the sugar just before serving for the best crackly texture.
- → What chocolate works best?
-
High-quality bittersweet chocolate (60-70% cocoa) creates the ideal balance. Milk chocolate yields a sweeter result, while dark chocolate intensifies the flavor.
- → Can I make these without a torch?
-
A broiler works as an alternative. Place ramekins under the preheated broiler for 1-2 minutes, watching closely to prevent burning the sugar.
- → Why use a water bath?
-
The water bath (bain-marie) ensures gentle, even heat distribution. This prevents curdling and creates the silky, wobbly texture characteristic of perfect custards.
- → How do I know when they're done?
-
The custards should be just set around the edges but slightly wobbly in the center. They will continue firming during chilling.
- → Can I double the batch?
-
Yes, simply use additional ramekins and a larger baking dish. Keep the water level consistent and baking time the same.
