 Save
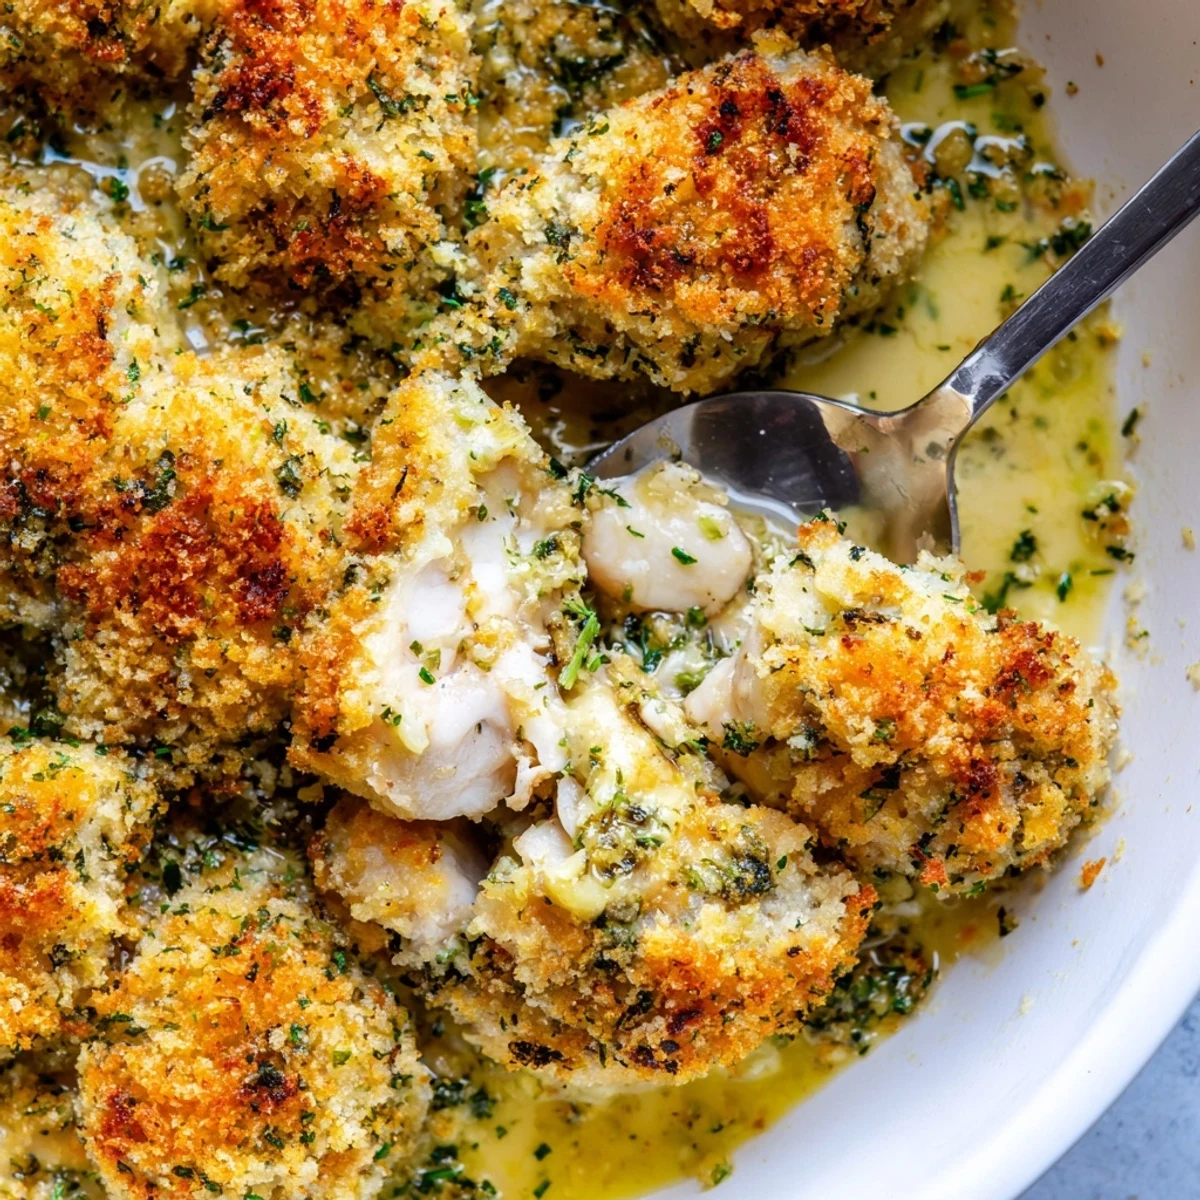
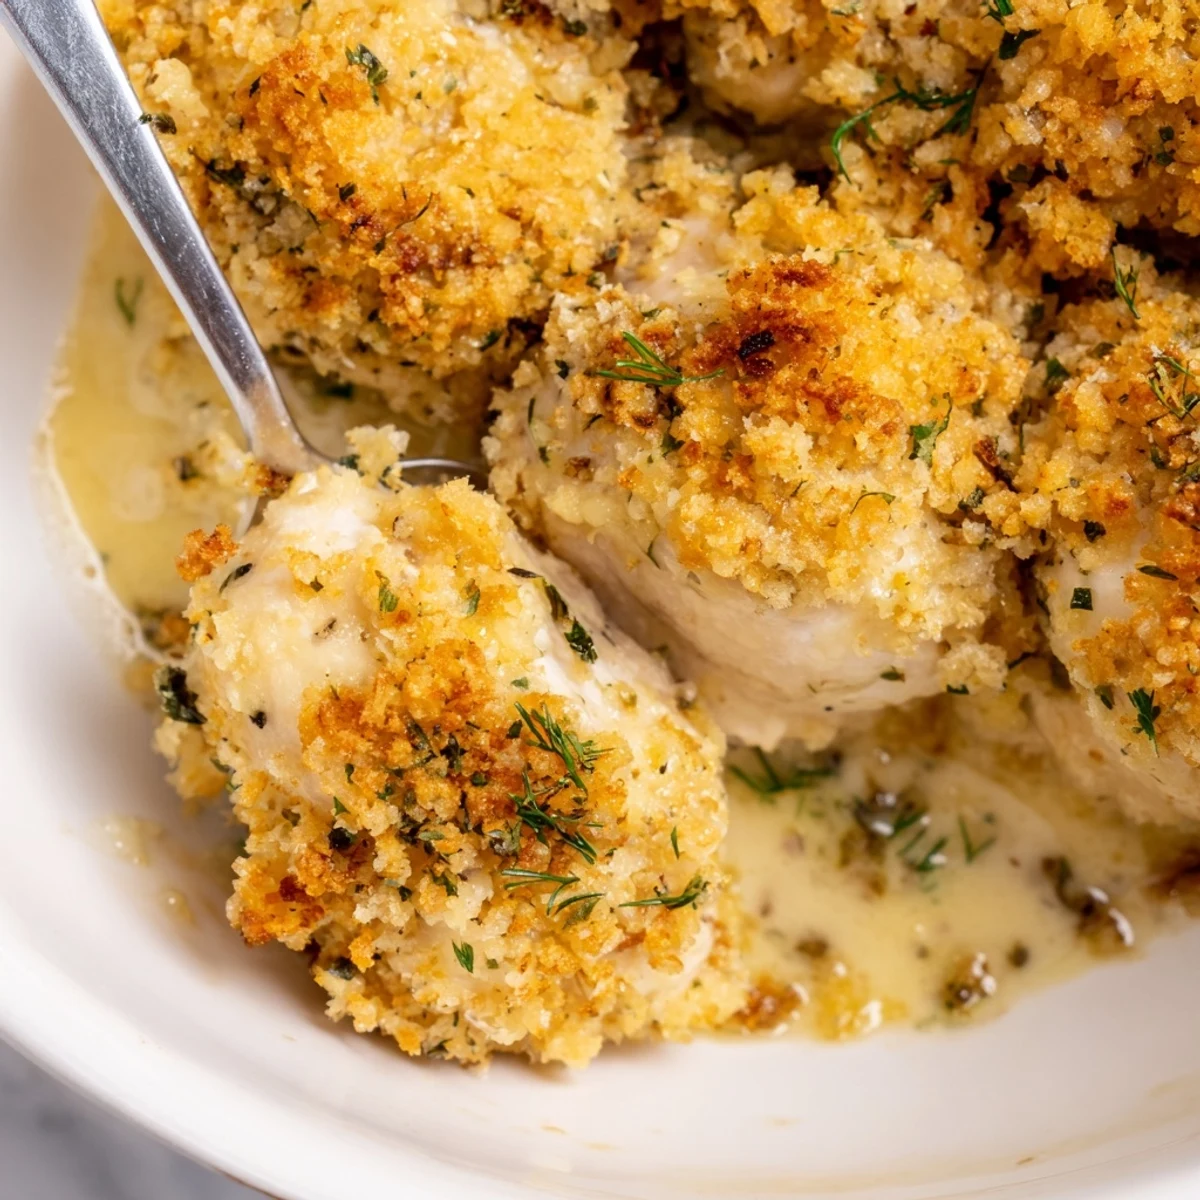
Save This deconstructed Chicken Kiev casserole transforms the classic Eastern European dish into an effortless one-pan meal. Tender pieces of seared chicken breast are nestled in a rich, velvety garlic-herb butter sauce, then crowned with a crispy Parmesan and panko breadcrumb topping.
Ready in under an hour with just 20 minutes of prep, it feeds six comfortably and pairs beautifully with steamed vegetables or a fresh green salad.
The rain was hammering against the kitchen window the evening I first attempted to deconstruct Chicken Kiev into a casserole, mostly because rolling and frying individual cutlets felt impossible with a toddler clinging to my leg. What emerged from the oven forty minutes later was something neither my grandmother nor any cookbook would recognize, but the smell alone had my whole family hovering around the stove. Golden, bubbling, and unapologetically messy, it captured everything I love about the original without any of the fussiness.
My neighbor Laura stopped by unannounced one Sunday carrying a bottle of white wine and the expectation that I would feed her, which is how this casserole became our standing agreement whenever either of us has a rough week. She now texts me emoji combinations of a chicken and a heart at least twice a month.
Ingredients
- Boneless, skinless chicken breasts (1.5 lbs): Cut into even bite-sized pieces so everything cooks at the same rate and stays juicy throughout the bake.
- Unsalted butter, softened (6 tbsp): The soul of this dish, so use good quality butter and let it come to room temperature naturally for the herb mixture.
- Garlic cloves, minced (3): Fresh garlic only, pounded into a paste with the flat of your knife for the most even distribution through the butter.
- Fresh parsley, chopped (2 tbsp for butter and 2 tbsp for garnish): Flat-leaf parsley brings a brightness that dried parsley simply cannot match here.
- Fresh dill, chopped (1 tbsp, optional): A quiet nod to the Eastern European roots of Chicken Kiev that makes the whole dish taste more rounded.
- Salt (1/2 tsp) and black pepper (1/4 tsp): For the garlic herb butter, these measurements are a starting point you can adjust after tasting.
- Lemon juice (1 tsp): Just enough to wake up the herbs without making the butter taste distinctly lemony.
- Whole milk (1 cup): Whole milk gives the sauce body and a gentle sweetness that skim or plant milks cannot replicate.
- Low-sodium chicken broth (1 cup): Low-sodium lets you control the salt level, since the cheese and butter already contribute plenty.
- All-purpose flour (2 tbsp): Cooked briefly in the skillet to remove the raw taste and thicken the sauce to a silky consistency.
- Olive oil (1 tbsp): Used for searing the chicken, it adds a subtle fruitiness without overpowering the butter.
- Panko breadcrumbs (1 cup): Panko creates a lighter, shatteringly crisp topping that regular breadcrumbs struggle to achieve.
- Grated Parmesan cheese (1/4 cup): Stirred into the crumbs for a savory depth that melts into the topping as it bakes.
- Unsalted butter, melted (2 tbsp): Drizzled over the breadcrumb mixture to encourage that beautiful golden color in the oven.
Instructions
- Preheat and prepare the dish:
- Set your oven to 375 degrees Fahrenheit and grease a 9 by 13 inch baking dish with butter or a light coating of oil so nothing sticks.
- Make the garlic herb butter:
- Mash the softened butter with the minced garlic, parsley, dill, salt, pepper, and lemon juice in a small bowl until it looks like a fragrant green-flecked paste. Taste it on your fingertip and adjust the salt if needed.
- Sear the chicken:
- Heat olive oil in a large skillet over medium-high heat, add the chicken pieces in a single layer with a pinch of salt and pepper, and cook until lightly golden on the edges but not fully cooked through, about five to seven minutes. Transfer the chicken to your prepared baking dish.
- Build the sauce:
- In the same skillet, sprinkle flour over the remaining juices and stir constantly for one minute until it smells toasty. Slowly pour in the milk and broth while whisking to prevent lumps, then simmer until the sauce coats the back of a spoon.
- Enrich with herb butter:
- Pull the skillet off the heat and drop in the garlic herb butter, whisking until it melts completely into a glossy, aromatic sauce. Pour this mixture evenly over the chicken in the baking dish, nudging pieces around so the sauce seeps into every gap.
- Top with breadcrumbs:
- Toss the panko with Parmesan and melted butter in a bowl until the crumbs are evenly coated, then scatter them generously across the entire surface of the casserole.
- Bake until golden:
- Slide the dish uncovered into the oven and bake for twenty-five minutes, or until the topping is deeply golden and the sauce is bubbling up around the edges.
- Rest and garnish:
- Let the casserole sit for five minutes after removing it from the oven so the sauce can settle, then scatter fresh parsley over the top before bringing it to the table.
 Save
Save The second time I made this, my daughter grabbed the biggest spoon she could find and declared it her official birthday dinner request, which told me everything I needed to know about whether it was worth keeping in the rotation.
Serving Suggestions That Actually Work
This casserole is rich enough on its own that it genuinely benefits from something sharp or green beside it, and a pile of roasted broccoli with a squeeze of lemon cuts through the butter beautifully.
Making It Your Own
Swap the chicken breasts for thighs if you prefer darker meat that stays even more tender, or tuck a handful of shredded Gruyere under the breadcrumb layer for an extra cheesy middle that pulls apart like a dream.
Storing and Reheating Like a Pro
Cover leftovers tightly and refrigerate for up to three days, reheating individual portions in the oven at 350 degrees rather than the microwave so the topping stays crisp instead of turning soggy.
- Freeze unbaked portions wrapped tightly in foil for a make-ahead meal ready to go on busy nights.
- Refresh leftover topping with a quick drizzle of melted butter and a sprinkle of extra panko before reheating.
- Always let a frozen casserole thaw completely in the refrigerator overnight before baking for the most even results.
 Save
Save Some dishes earn a permanent spot in your kitchen not because they are impressive, but because they make people pull up a chair and stay. This is one of those casseroles.
Recipe Questions & Answers
- → Can I use chicken thighs instead of chicken breasts?
-
Yes, boneless, skinless chicken thighs work wonderfully in this casserole. They remain juicier and more forgiving during baking. Simply cut them into bite-sized pieces and follow the same sautéing instructions.
- → How do I store and reheat leftovers?
-
Store leftovers in an airtight container in the refrigerator for up to 3 days. To reheat, cover with foil and warm in a 350°F oven for about 15–20 minutes, or microwave individual portions until heated through.
- → Can I prepare this casserole ahead of time?
-
Absolutely. You can assemble the entire casserole up to 24 hours in advance, cover tightly, and refrigerate. Add an extra 5–10 minutes to the baking time if going straight from the refrigerator to the oven.
- → What can I substitute for panko breadcrumbs?
-
Regular fresh breadcrumbs work fine, though panko yields the crispiest result. For a gluten-free alternative, use crushed rice cereal or gluten-free breadcrumbs. Avoid seasoned breadcrumbs as the dish is already well-flavored.
- → Can I freeze this casserole?
-
Yes, you can freeze it before or after baking. Wrap tightly in foil and freeze for up to 2 months. Thaw overnight in the refrigerator before reheating. Note that the breadcrumb topping may lose some crispness after freezing.
- → What should I serve with Chicken Kiev Casserole?
-
This casserole pairs well with steamed broccoli, roasted asparagus, buttered noodles, rice, or a simple mixed green salad with a light vinaigrette to balance the richness of the butter sauce.
