 Save
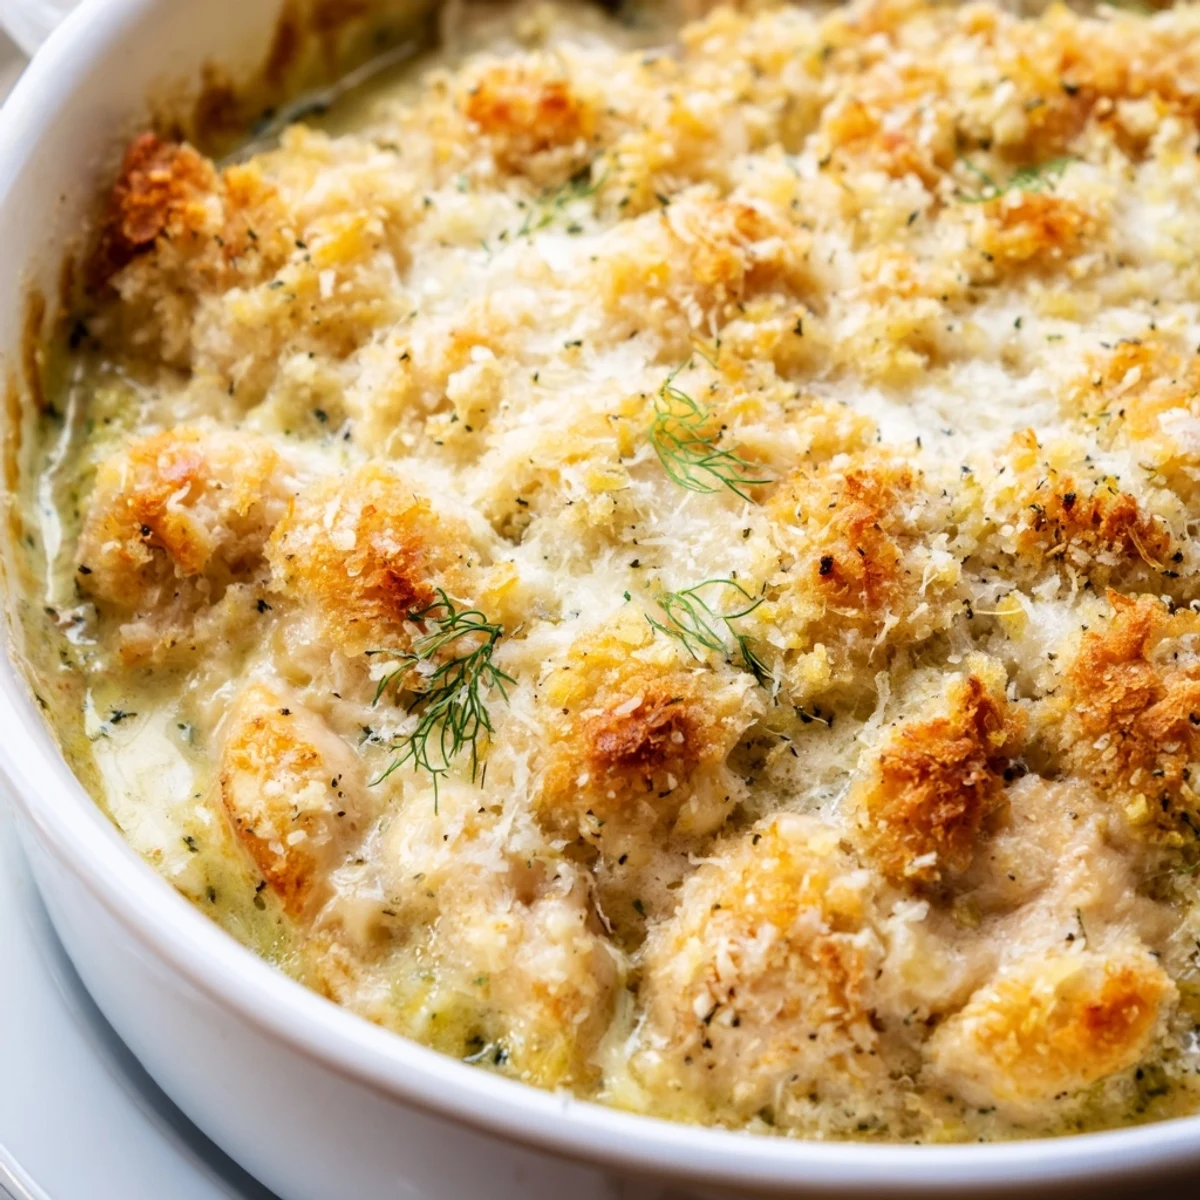
Save This deconstructed Chicken Kiev casserole transforms the beloved Eastern European classic into an effortless one-pan dinner. Tender pieces of sautéed chicken breast are nestled in a luscious garlic-herb butter sauce, then crowned with a golden, crispy Parmesan-breadcrumb topping.
Ready in just 55 minutes with minimal prep, it's perfect for busy weeknights when you crave something warm and satisfying. The signature garlic-parsley butter melts into the creamy sauce, delivering all the flavors of traditional Chicken Kiev without the fuss of rolling and stuffing.
Serve it alongside steamed vegetables or a crisp green salad for a complete meal the whole family will love.
The smell of garlic butter hitting a hot pan is my weakness, and this casserole version of Chicken Kiev delivers that moment in spades without the fussy rolling and sealing. One rainy Tuesday my daughter walked in, sniffed the air, and announced that whatever was in the oven needed to be on the table immediately. She was not wrong.
I made this for a potluck once and watched three people go back for seconds before anyone even touched the dessert table. My neighbor Elena pulled me aside and whispered the recipe title back to me like it was a secret password, then asked if I could teach her.
Ingredients
- Boneless skinless chicken breasts (1.5 lbs): Cut into even bite sized pieces so everything cooks uniformly and stays juicy.
- Unsalted butter (6 tbsp, softened): Softened butter blends smoothly with the herbs and garlic, creating that signature Kiev flavor throughout the sauce.
- Garlic (3 cloves, minced): Fresh garlic is non negotiable here, the jarred version lacks the sharp sweetness that makes this dish sing.
- Fresh parsley and dill: These two herbs together create the classic Eastern European flavor profile that defines Chicken Kiev.
- Lemon juice (1 tsp): Just a splash brightens the entire sauce and keeps the richness from feeling heavy.
- Whole milk and chicken broth: The combination creates a silky sauce that coats every piece of chicken without being too thick or too thin.
- All purpose flour (2 tbsp): This small amount thickens the sauce just enough to bind everything together in the oven.
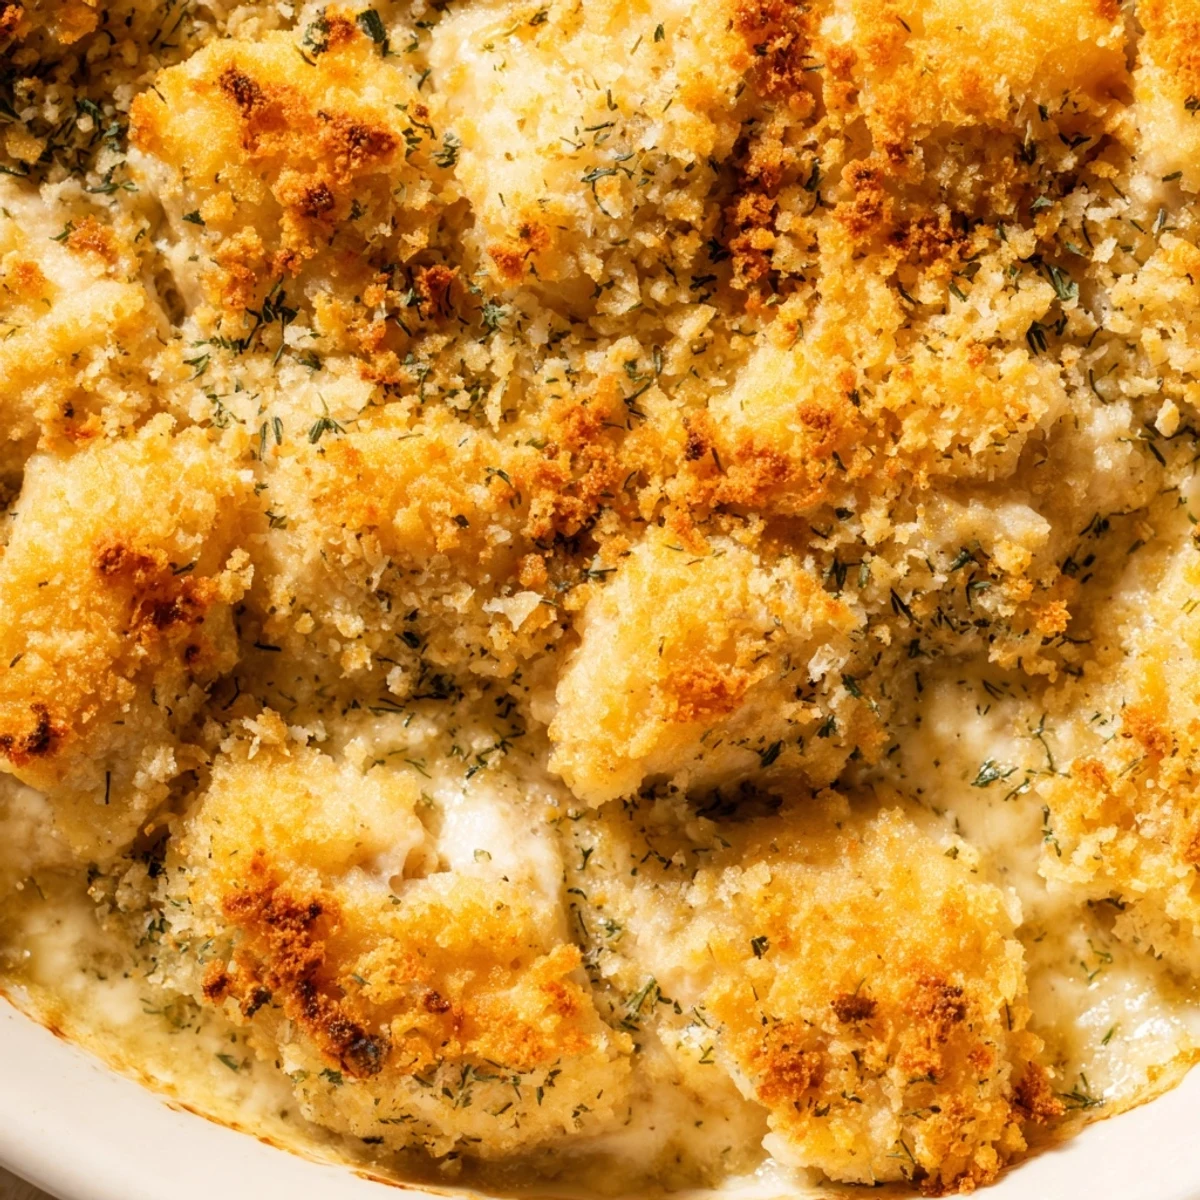
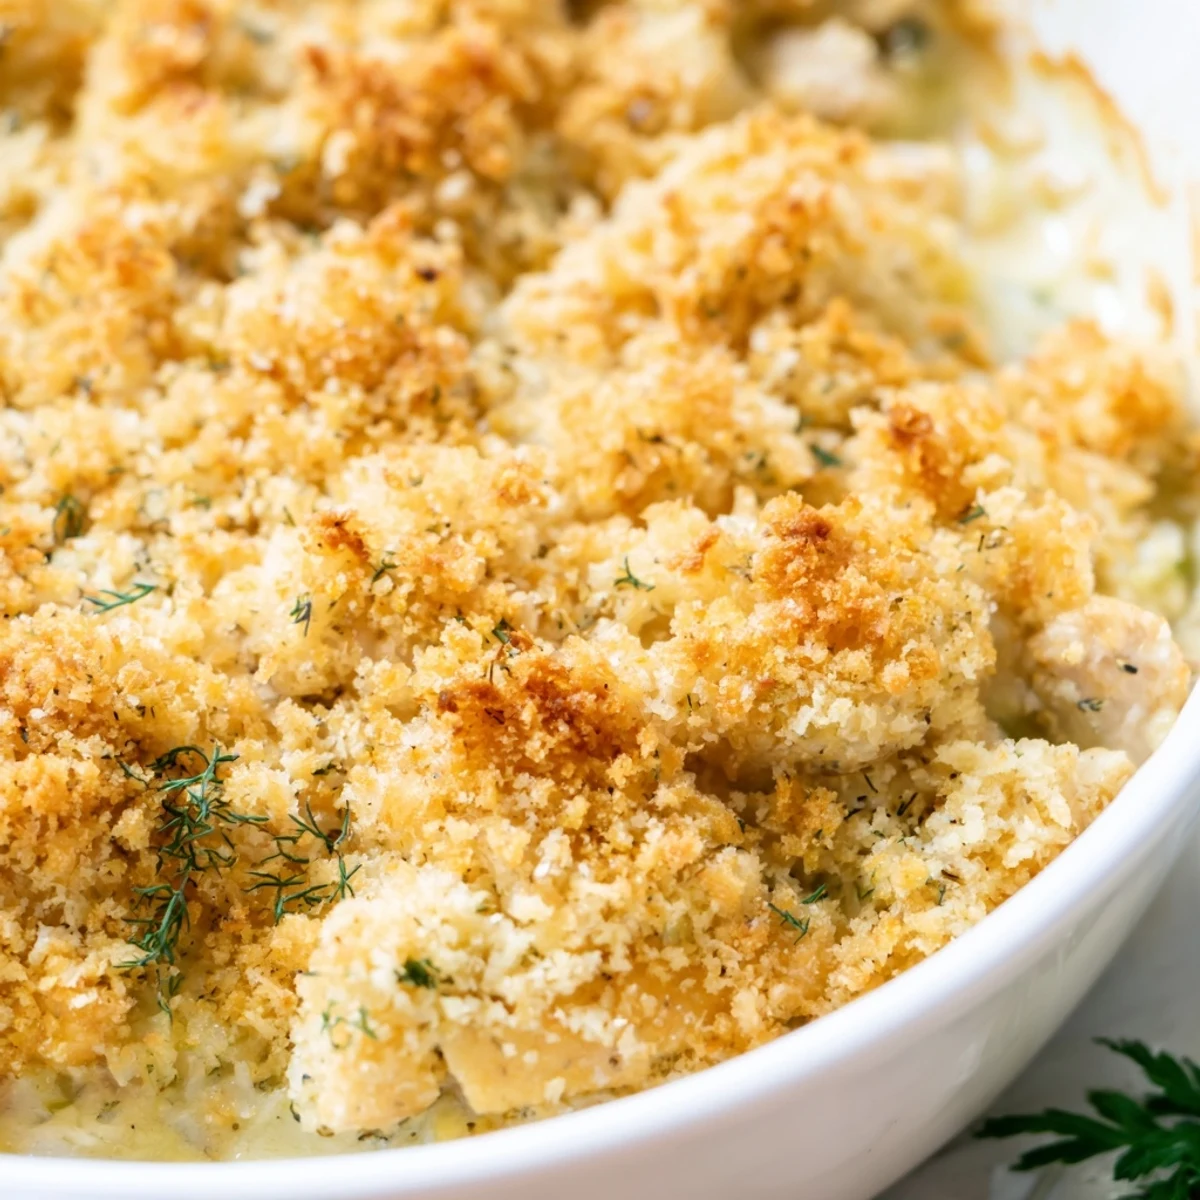
- Panko breadcrumbs (1 cup): Panko gives you that satisfying crunch on top that contrasts perfectly with the creamy base.
- Parmesan cheese (1/4 cup, grated): Mixed into the topping, it adds a salty, nutty depth that regular breadcrumbs alone cannot achieve.
Instructions
- Preheat and prep:
- Set your oven to 375 degrees F and grease a 9 by 13 inch baking dish with a little butter or nonstick spray.
- Make the garlic herb butter:
- Mash together the softened butter, minced garlic, parsley, dill, salt, pepper, and lemon juice in a small bowl until it looks like a fragrant green flecked paste, then set it aside.
- Cook the chicken:
- Heat olive oil in a large skillet over medium high heat, add the chicken pieces with a pinch of salt and pepper, and sauté until lightly golden and cooked through, about 5 to 7 minutes, then transfer to your baking dish.
- Build the sauce:
- In that same skillet, sprinkle in the flour and stir constantly for one minute, then gradually whisk in the milk and broth until smooth, letting it simmer until it coats the back of a spoon.
- Add the magic butter:
- Take the skillet off the heat and whisk in your prepared garlic herb butter until the sauce turns glossy and smells incredible, then pour it evenly over the chicken.
- Make the crunchy topping:
- Toss panko, Parmesan, and melted butter together in a bowl until the crumbs are evenly coated, then sprinkle generously over the entire casserole.
- Bake until golden:
- Slide the dish into the oven uncovered for about 25 minutes, until the topping is deeply golden and the edges are bubbling with enthusiasm.
- Rest and garnish:
- Let it sit for 5 minutes after removing from the oven so the sauce can settle, then scatter fresh parsley over the top and serve.
 Save
Save The night I realized this casserole had become a weekly request in my house, I stopped trying to rotate new recipes every week and just accepted that some dishes earn a permanent spot.
What to Serve Alongside
A crisp green salad with a simple vinaigrette cuts through the richness perfectly, and steamed green beans or roasted broccoli add color without competing for attention on the plate.
Making It Your Own
Chicken thighs work beautifully if you prefer darker meat, just keep in mind they may need an extra minute or two in the skillet to cook through completely.
Storage and Leftovers
This casserole keeps well covered in the refrigerator for up to three days, and the flavor actually deepens overnight which makes it one of those rare dishes that tastes better as a leftover.
- Reheat individual portions in the microwave at 70 percent power to keep the chicken tender.
- A quick sprinkle of fresh panko on top before reheating revives the crunch nicely.
- Always let the casserole cool completely before covering and refrigerating to avoid a soggy topping.
 Save
Save Some recipes are just dinner, but this one feels like a warm conversation on a cold evening. Keep it close because you will come back to it again and again.
Recipe Questions & Answers
- → Can I use chicken thighs instead of breasts?
-
Yes, boneless skinless chicken thighs work beautifully in this casserole. They remain even juicier and more forgiving during baking. Simply cut them into bite-sized pieces and follow the same sautéing instructions.
- → How do I store and reheat leftovers?
-
Store leftover casserole in an airtight container in the refrigerator for up to 3 days. To reheat, cover with foil and warm in a 350°F oven for about 15 minutes, or microwave individual portions until heated through.
- → Can I assemble this casserole ahead of time?
-
Absolutely. You can prepare the garlic-herb butter, sauté the chicken, and make the sauce up to 24 hours in advance. Assemble everything in the baking dish, cover tightly, and refrigerate. Add the breadcrumb topping just before baking, and add about 5-10 extra minutes to the baking time if going straight from the refrigerator.
- → What can I substitute for panko breadcrumbs?
-
Regular fresh breadcrumbs work well, or you can use crushed crackers, cornflake crumbs, or even gluten-free breadcrumbs for a gluten-free version. Each will give a slightly different texture but will still create a satisfying crispy topping.
- → Can I freeze this Chicken Kiev casserole?
-
Yes, you can freeze it before or after baking. For best results, assemble without the breadcrumb topping, wrap tightly in foil and freeze for up to 2 months. Thaw overnight in the refrigerator, add the topping, and bake as directed. If already baked, reheat from frozen at 350°F covered for about 30-35 minutes.
- → What sides pair well with this dish?
-
Steamed green beans, roasted asparagus, or buttered peas complement the rich, garlicky flavors perfectly. A simple mixed green salad with a light vinaigrette also balances the creaminess of the casserole beautifully. Mashed potatoes or rice work if you want a heartier meal.
