 Save
Save This dish features hearty chickpea and tofu cutlets blended with vital wheat gluten and seasoned with smoked paprika and garlic powder for depth. The mixture forms a dough that's shaped, breaded with panko, and pan-fried until golden and crispy. Ready in under an hour, these cutlets serve four and offer a satisfying, protein-rich option that pairs well with mashed potatoes, salad, or sandwiches. For variety, consider adding herbs like thyme or rosemary.
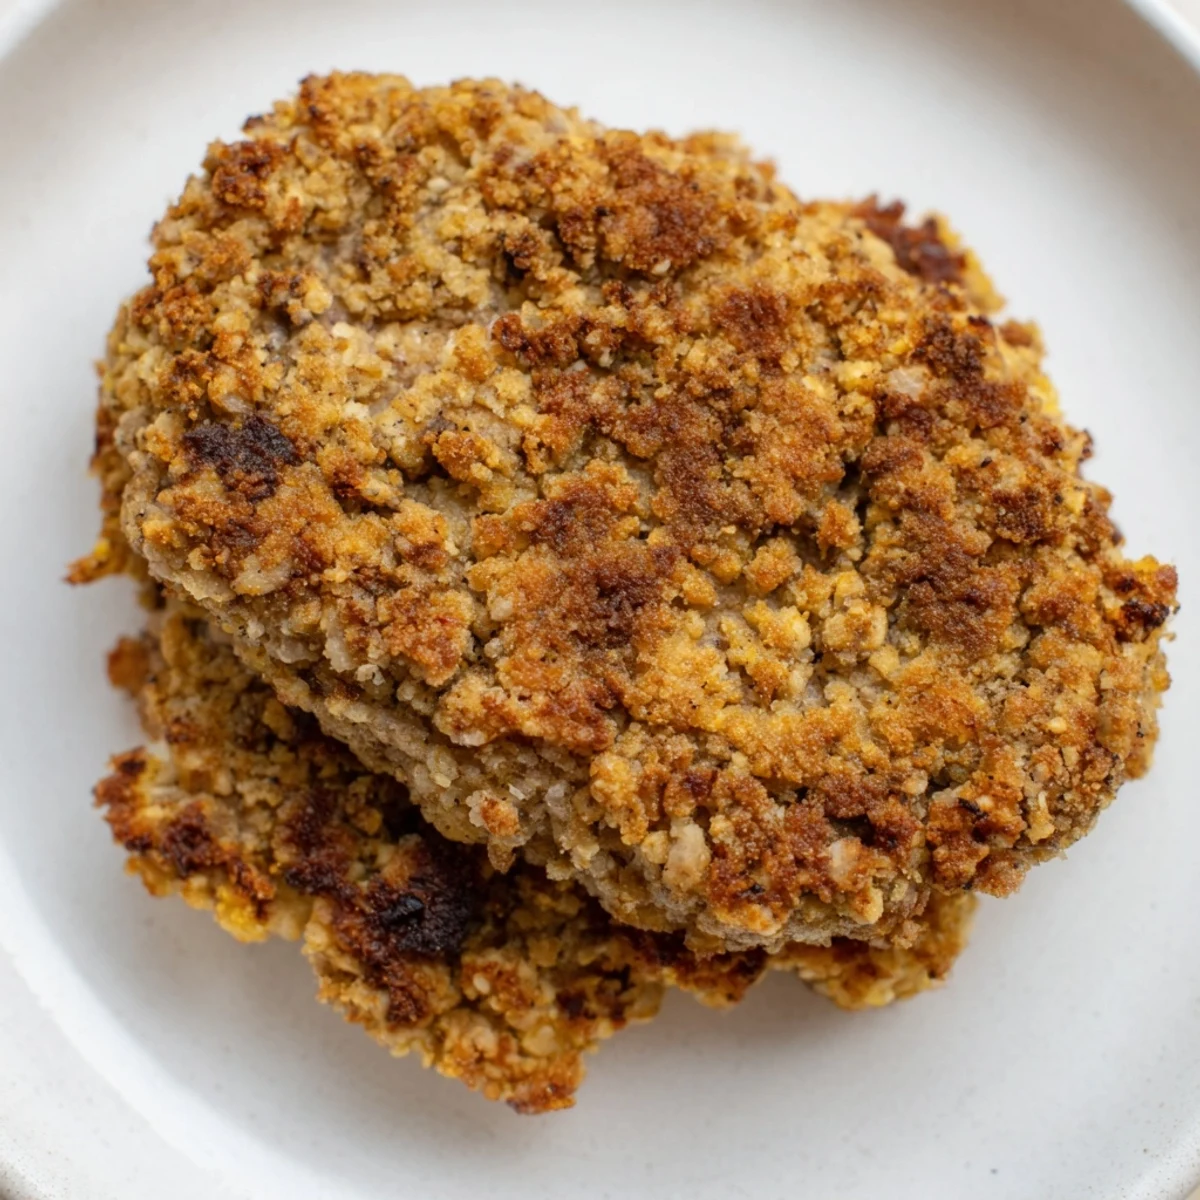
The first time I tried a plant-based chicken cutlet at a friend's dinner party, I was skeptical—until I bit into something impossibly crispy and savory that made me forget about the original entirely. What started as curiosity became an obsession to recreate that magic in my own kitchen, and after some experimenting, I realized the secret was in the combination of chickpeas and tofu, pressing them into something almost meaty without apology. The day I finally nailed the texture, golden and crunchy on the outside with a satisfying bite underneath, I knew I'd stumbled onto something worth sharing. Now it's become my go-to when I want to feel like I'm eating something indulgent while keeping things plant-based.
I made these for a potluck where half the guests were committed omnivores, and I watched someone go back for seconds without realizing what they were eating until I told them. The look of pleasant confusion on their face, followed by a genuine compliment, felt like I'd cracked some kind of culinary code.
Ingredients
- Chickpeas (1 can, drained and rinsed): They form the base structure and add protein, though the key is draining them well so your mixture doesn't become mushy.
- Firm tofu (200 g, pressed and crumbled): Pressing removes excess moisture and makes the tofu absorb flavors better—don't skip this step, it's what gives you that tender interior.
- Vital wheat gluten (1/2 cup): This creates the chewy, chicken-like texture that makes people do a double-take, but it needs the liquid to activate properly.
- Nutritional yeast (1/4 cup): It brings an umami depth and subtle cheesy flavor that makes the whole thing taste richer than it should.
- All-purpose flour for the mixture (1/4 cup): It helps bind everything together, though too much makes the cutlets dense and heavy.
- Onion powder and garlic powder (1 tsp each): These aren't fancy, but they're the backbone of the savory profile—don't let anyone convince you to skip them.
- Smoked paprika (1/2 tsp): Just enough to whisper of something deeper, like you've actually cooked this over coals.
- Salt and black pepper (1/2 tsp each): Season to taste as you go because the final flavor changes once everything's mixed.
- Soy sauce (2 tbsp): It adds salt and umami at the same time, tying all the savory notes together.
- Olive oil for the mixture (1 tbsp): A little fat helps the texture and keeps things from drying out.
- Vegetable broth (1/3 cup): This activates the gluten and brings moisture to the dough, so don't substitute with water if you want the right texture.
- All-purpose flour for breading (1/2 cup): The first layer that helps the egg wash stick, so use fresh flour rather than what you've already used.
- Unsweetened plant-based milk (1/2 cup): This is your egg wash replacement, and unsweetened matters because sweet milk will caramelize too quickly.
- Panko breadcrumbs (1 cup): Japanese panko gives you that superior crunch compared to regular breadcrumbs, and it stays crispy longer.
- Olive oil for frying (3 tbsp): Use enough so the cutlets aren't crowded in the pan, or they'll steam instead of fry.
Instructions
- Pulse the base:
- Combine your drained chickpeas and crumbled tofu in a food processor and pulse until mostly smooth—think coarse hummus texture, not powder. You want some small pieces remaining for texture.
- Build the dry mixture:
- Add the vital wheat gluten, nutritional yeast, flour, onion powder, garlic powder, smoked paprika, salt, and pepper, pulsing until everything's evenly distributed. The mixture should look like coarse breadcrumbs at this point.
- Bring it together:
- Pour in your soy sauce, olive oil, and vegetable broth, then process until a cohesive dough forms—it should hold together when you squeeze it but not be sticky. If it's too dry, add a touch more broth.
- Knead for structure:
- Turn the dough into a bowl and knead it by hand for 1–2 minutes until it feels elastic and slightly springy. This activates the gluten and gives your cutlets that satisfying bite.
- Shape your cutlets:
- Divide the dough into 4 equal portions and press each into a cutlet about 1 cm thick—they'll hold together better if you let them rest for a few minutes before breading. Don't make them too thin or they'll tear.
- Set up your breading station:
- Pour flour into one shallow bowl, plant-based milk into another, and panko into a third—having them lined up and ready makes the next step smooth and keeps your hands from getting too messy. The order matters: flour first creates a base for the milk to stick to.
- Bread each cutlet:
- Dredge a cutlet in flour, tap off the excess, dip it into the milk until coated, then press it into the panko, making sure both sides are covered. The coating should feel substantial but not thick.
- Fry until golden:
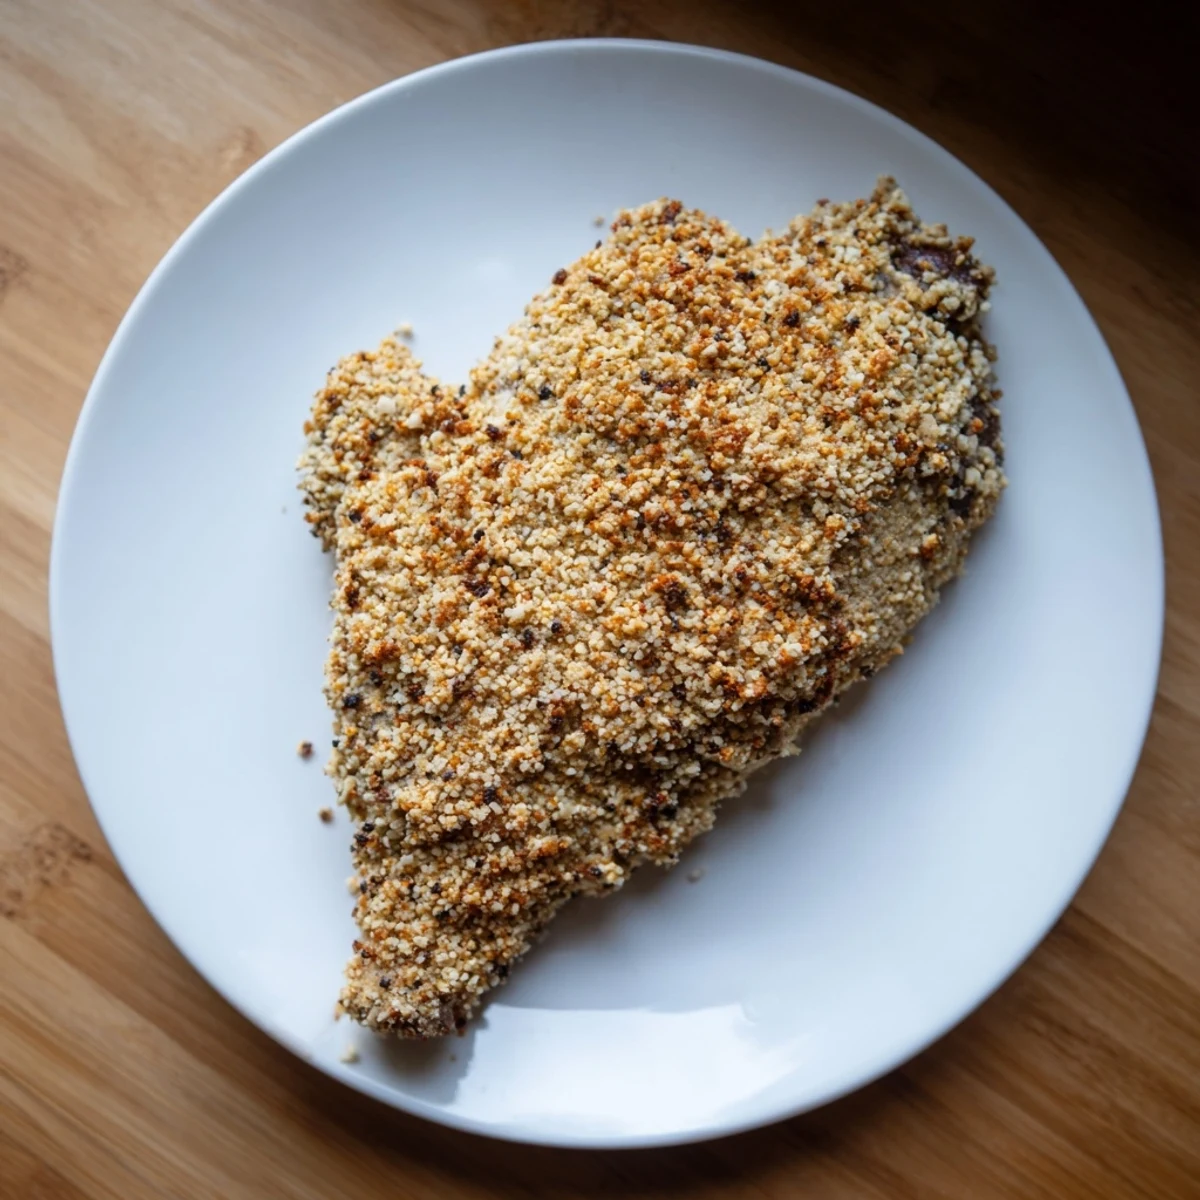
- Heat 3 tablespoons of olive oil in a large skillet over medium heat until it shimmers slightly, then carefully lay in your cutlets—they'll sizzle when they hit the pan. Fry for 4–5 minutes per side until the breadcrumbs turn deep golden brown and the edges look crispy.
- Rest and serve:
- Transfer the cooked cutlets to paper towels to drain any excess oil, then serve them hot while the crust is still crunchy. They're best eaten immediately.
 Save
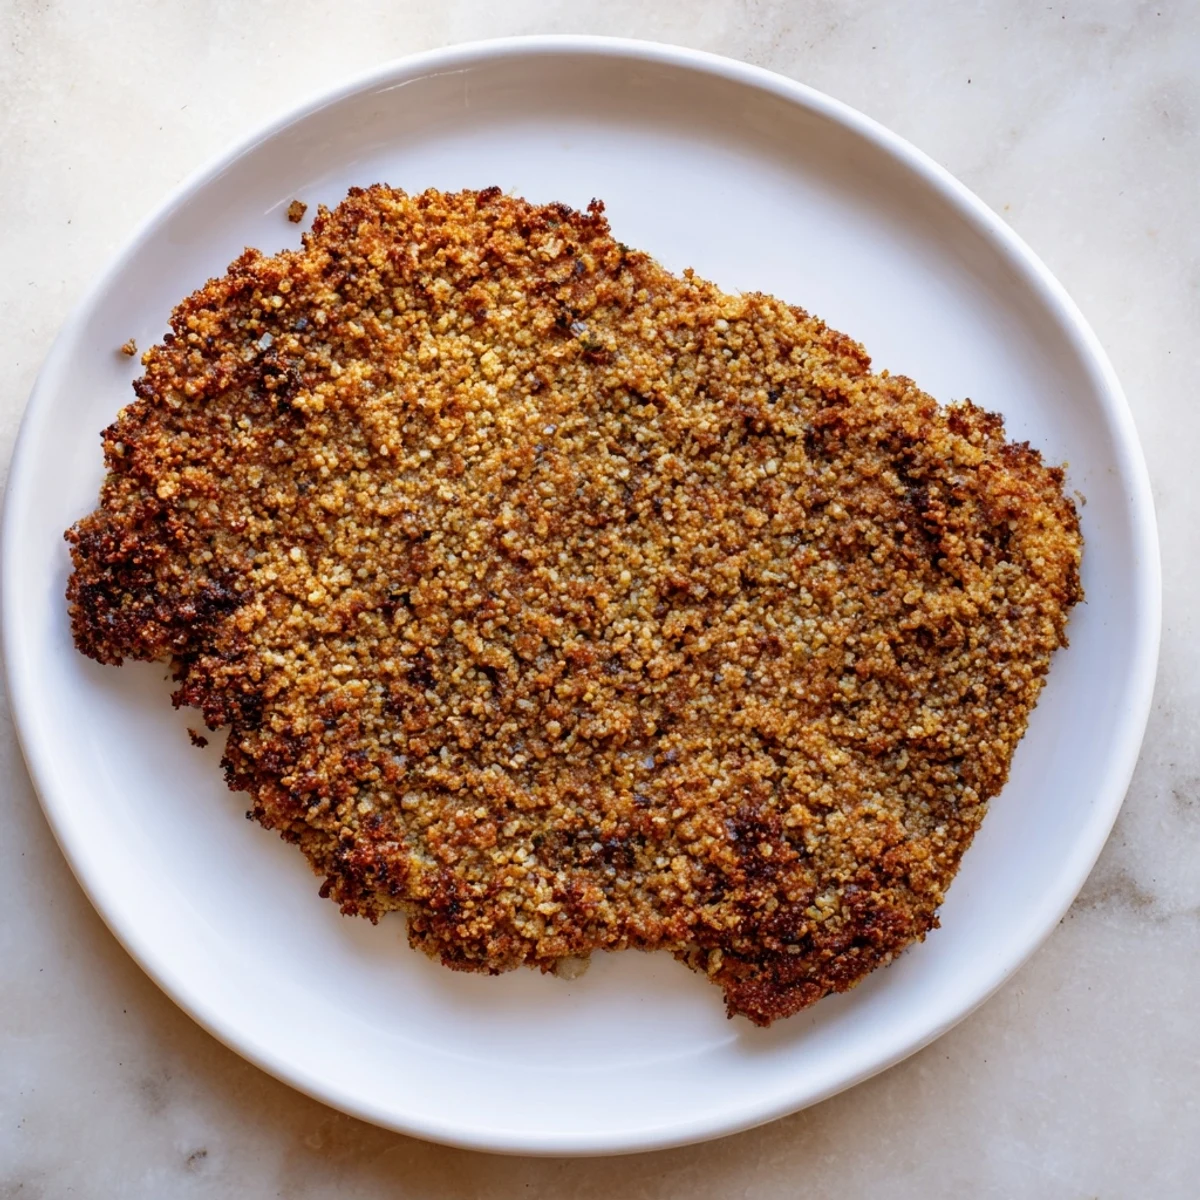
Save There's something quietly satisfying about watching someone cut into what they assume is chicken, tasting it, and then looking at you with genuine surprise when you tell them it's made from beans and tofu. That moment became why I keep making this—it's not just food, it's a small rebellion against the assumption that vegetarian has to mean boring.
Making It Your Own
Once you master the basic formula, this recipe becomes a canvas for whatever flavors you're craving that day. I've added dried thyme and cracked rosemary to the dough before breading, and the difference is subtle but real—the herbs infuse the whole cutlet rather than sitting on top like a garnish. Another time I mixed a teaspoon of Dijon mustard into the plant-based milk before dipping, which added a peppery note that made it taste almost intentionally sophisticated.
What to Serve It With
These cutlets are versatile enough to slide into almost any meal where you'd normally use chicken, and I've found they're actually better than chicken in some contexts because the texture stays consistent. Crispy and hot mashed potatoes with gravy is the obvious choice, but I've also tucked them into a hearty sandwich with lettuce and tomato, or served them over a bright salad where the acidity cuts through the richness of the crust. They even work cold in a salad the next day, though they lose some of their crunch.
Storage and Make-Ahead
The uncooked, unbaked cutlets freeze beautifully for up to a month, so I usually make a double or triple batch and stash them for nights when I want something that tastes impressive but takes almost no planning. From frozen, you can fry them directly without thawing—just add a minute or two to the cooking time so the inside heats through. Leftover cooked cutlets keep in the fridge for about three days, though I admit they rarely last that long.
- Let cooked cutlets cool completely before storing so they don't get soggy from condensation.
- If you want to reheat them, a quick second in the oven at 375°F crisps them up better than microwaving.
- You can also freeze cooked cutlets after cooling, and fry them again straight from the freezer for a quick meal.
 Save
Save What started as an attempt to prove that plant-based cooking could be satisfying has become something I make regularly because I genuinely crave it. That's the highest compliment a recipe can get—not that it's good for what it is, but that it's just good.
Recipe Questions & Answers
- → How do I achieve a crispy crust on the cutlets?
-
Coat the cutlets in flour, dip in plant-based milk, then press into panko breadcrumbs before frying in olive oil over medium heat until golden.
- → Can I prepare the cutlets gluten-free?
-
Yes, substitute vital wheat gluten and panko breadcrumbs with gluten-free alternatives, though texture may differ slightly.
- → What ingredients add flavor to the cutlets?
-
Garlic powder, onion powder, smoked paprika, nutritional yeast, and soy sauce provide a rich and savory taste.
- → How long does the cooking process take?
-
Preparation takes about 20 minutes, and pan-frying the cutlets takes approximately 25 minutes total.
- → What are good serving suggestions for this dish?
-
Serve the cutlets with mashed potatoes, fresh salad, or inside a sandwich for a complete meal.
