 Save
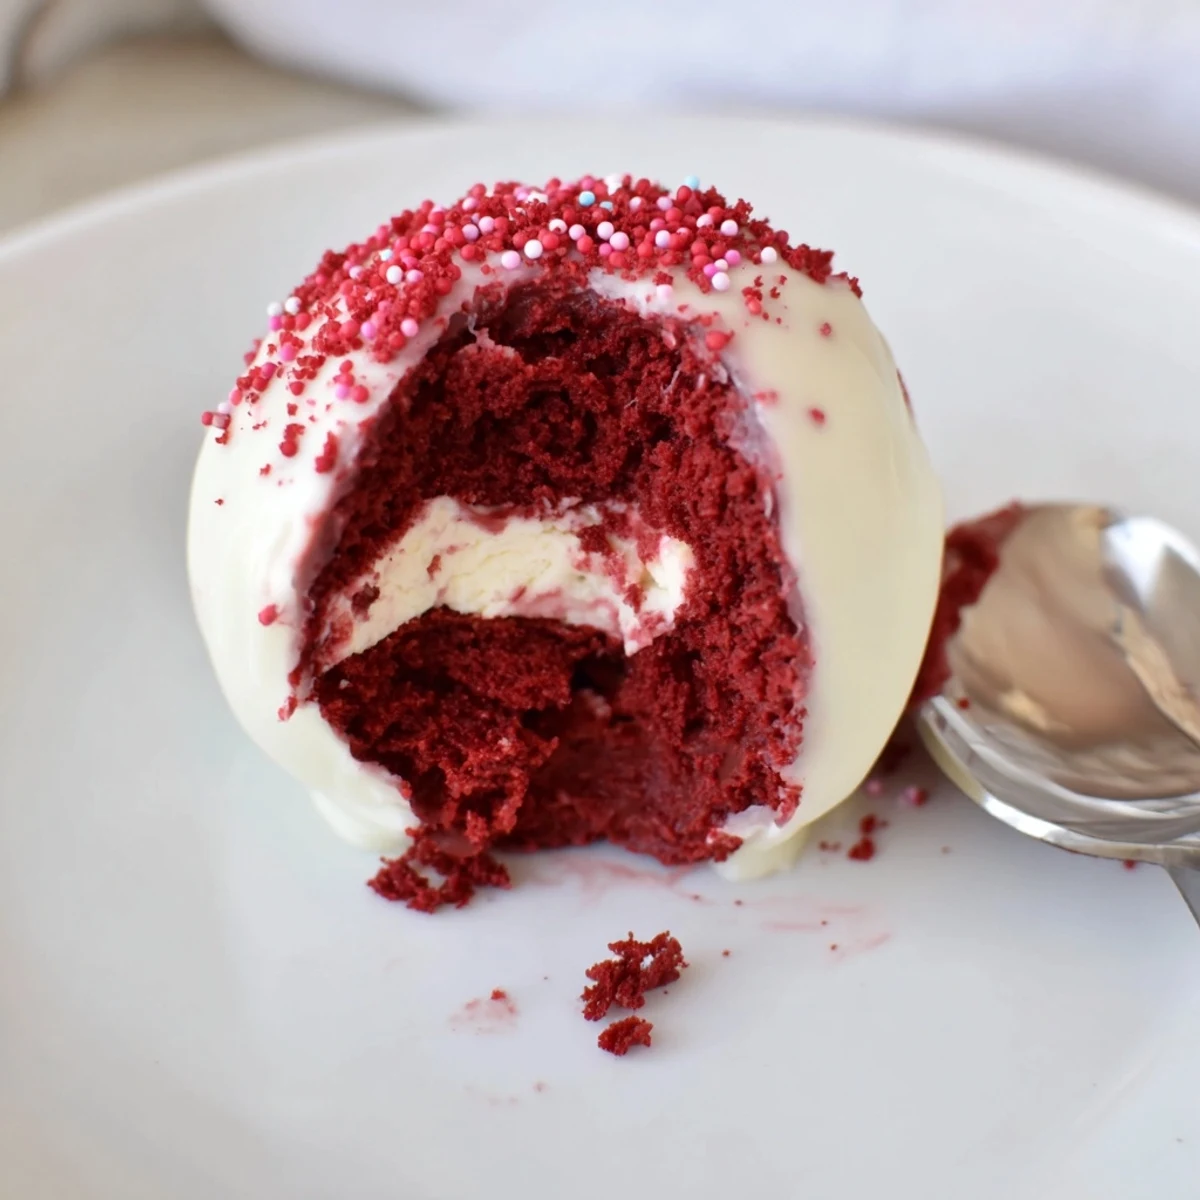
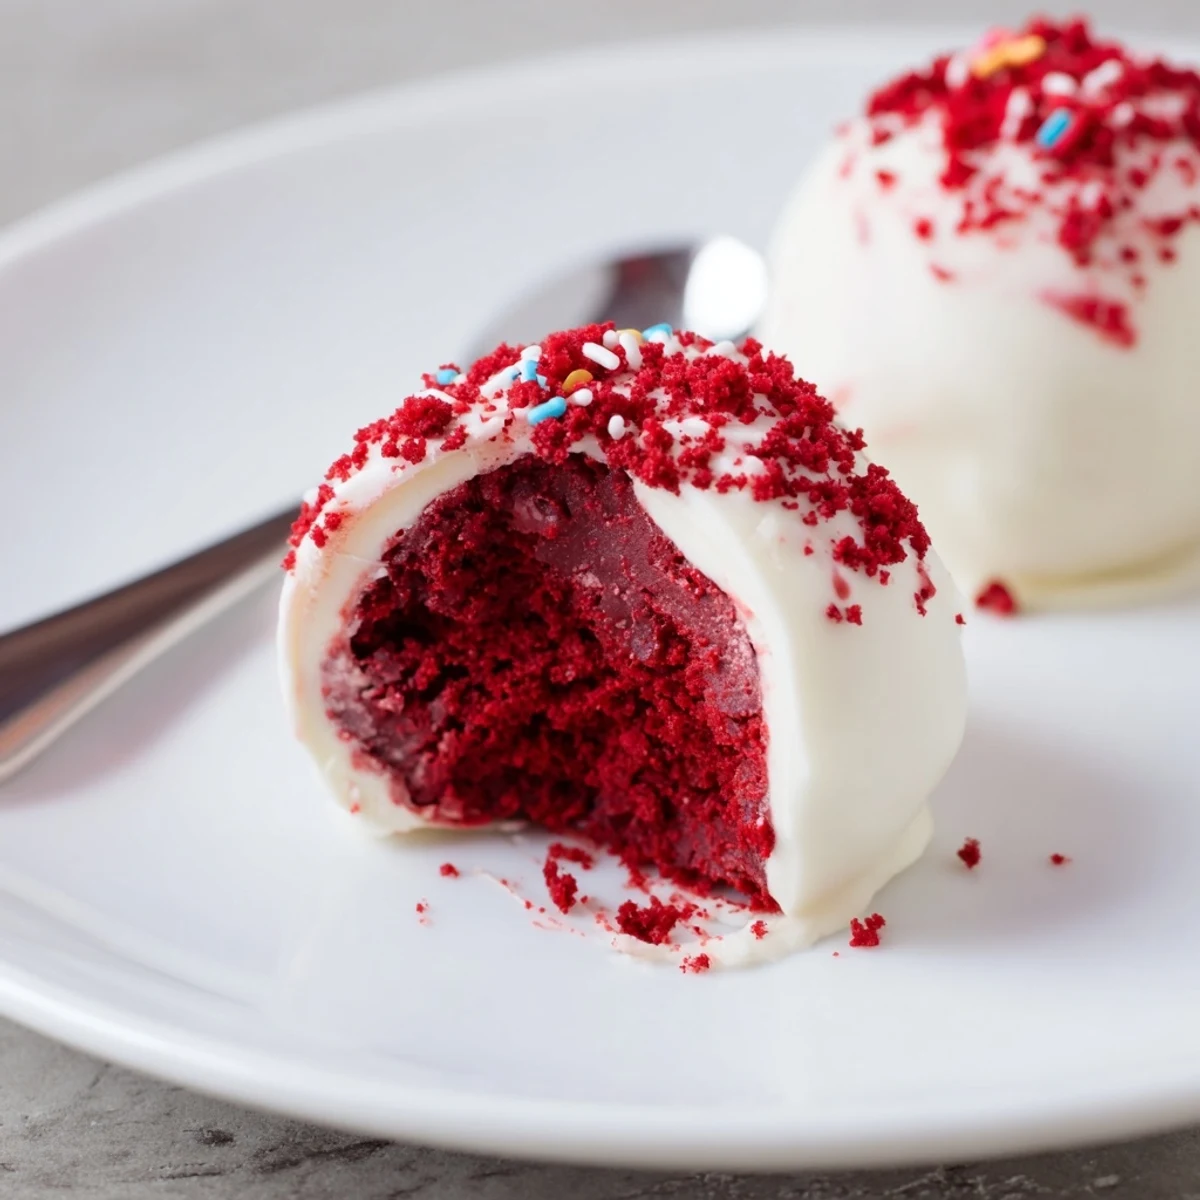
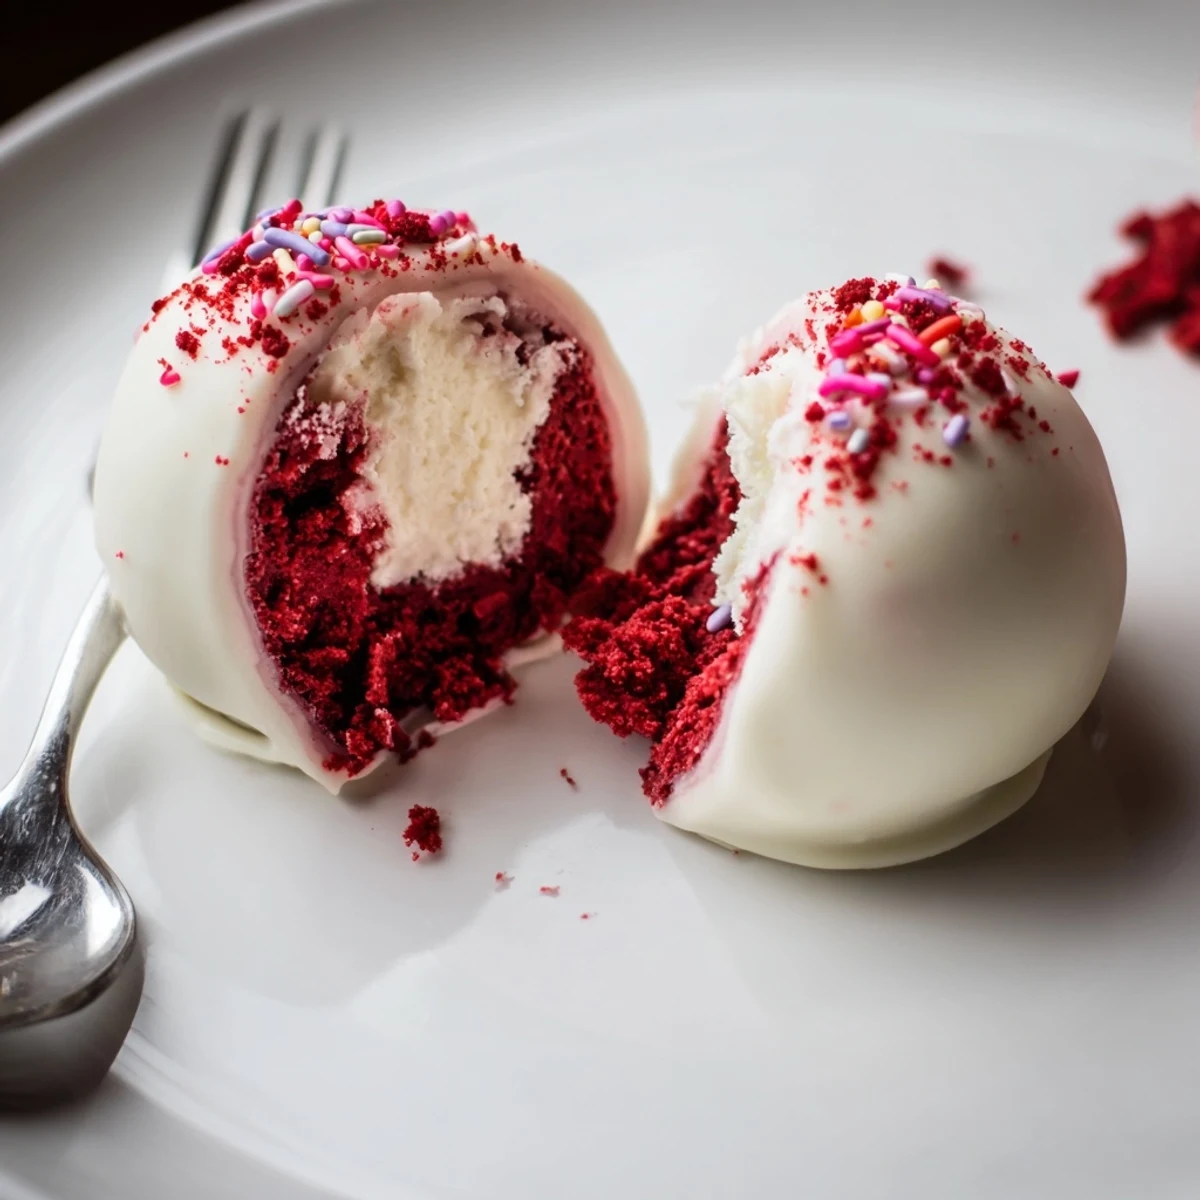
Save Crumble fully cooled red velvet cake and fold it into a smooth cream cheese, powdered sugar and vanilla mixture until a soft, moldable texture forms. Portion into tablespoon-sized balls, chill an hour to firm, then dip in melted chocolate and let set. Swap chocolate types, add nuts or coconut to the filling, and use crumbs or sprinkles for decoration. Store chilled in an airtight container up to five days.
The kitchen smelled like cocoa and sugar the afternoon my sister walked in carrying a tray of these impossibly red, perfectly round little bites, and I knew right then I was in trouble. She refused to share the recipe for three months, which only made me more determined. Once I finally cracked the code, I made five batches in a single week, ate most of them standing at the counter, and never looked back.
I brought a batch to a holiday potluck last December and watched a grown man eat eleven of them before dessert was officially announced. People hover around the plate, pretending to take one more, and then suddenly the whole tray is empty. That quiet victory is honestly the best part of making these.
Ingredients
- 300 g red velvet cake: Fully baked and completely cooled works best here. A store bought cake saves time, but day old homemade crumbs hold together even better.
- 200 g cream cheese: Softened to room temperature so it blends without lumps. Cold cream cheese will leave pockets in your filling.
- 40 g powdered sugar: Just enough sweetness without making the filling too soft to handle later.
- 1 tsp vanilla extract: A small amount but it rounds out the tang of the cream cheese beautifully.
- 250 g white chocolate: Good quality coating chocolate melts smoother and sets with a cleaner snap. You can swap in dark or milk chocolate if you prefer a less sweet shell.
- Red food coloring: Optional, but swirling a drop or two into white chocolate gives the coating a romantic blush that matches the filling inside.
- Red velvet crumbs and sprinkles: Purely for decoration, though those crumbs on top tell people exactly what they are about to bite into.
Instructions
- Reduce the cake to crumbs:
- Tear the red velvet cake into pieces and crumble it with your fingers or a fork until no large chunks remain. The finer the crumbs, the smoother your balls will roll later.
- Whip the filling:
- Beat the softened cream cheese, powdered sugar, and vanilla together until completely smooth and lump free. Taste it here because this is the soul of the whole dessert.
- Combine everything:
- Pour the cream cheese mixture over the crumbs and work it through with your hands or a spoon until it resembles a soft, slightly sticky dough. If it feels too wet, chill it for ten minutes before rolling.
- Roll into balls:
- Scoop about one tablespoon per ball and roll gently between your palms. Place each one on a parchment lined tray and try not to obsess over perfect roundness because the coating will hide most imperfections.
- Chill thoroughly:
- Refrigerate the tray for at least one full hour so the balls firm up enough to survive being dipped in warm chocolate without falling apart.
- Melt the chocolate:
- Use a microwave in short thirty second bursts or a double boiler, stirring between intervals until the chocolate is completely fluid. Stir in red food coloring now if you want that tinted coating.
- Dip and coat:
- Drop each chilled ball into the chocolate, roll it to cover completely, and lift it out with a fork, tapping gently to let excess drip back into the bowl. Slide it onto fresh parchment and work quickly before the chocolate starts setting.
- Decorate while wet:
- Sprinkle crumbs or sprinkles over each ball immediately after dipping because the window closes fast. Once the coating hardens, nothing will stick.
- Let them set:
- Leave the tray at room temperature or pop it in the fridge for fifteen minutes until the shells are firm and dry to the touch before serving or storing.
 Save
Save The moment someone bites through that crisp shell and hits the soft center, their eyes widen just slightly, and that tiny reaction is everything. These little balls have a way of turning a random Tuesday into something that feels like an occasion.
Storing Them Right
Keep finished balls in an airtight container in the refrigerator and they stay perfect for up to five days, though honestly they never last that long in my house. Let them sit at room temperature for about ten minutes before serving so the chocolate softens just enough for the best texture.
Mixing Things Up
Dark chocolate coating cuts the sweetness dramatically and adds a bitterness that balances the cream cheese beautifully. You can also fold a tablespoon of finely chopped toasted pecans or shredded coconut into the filling for a unexpected crunch that surprises people in the best way.
Serving Ideas and Final Thoughts
Arrange them on a simple white plate and let the color do the talking, because these are beautiful all on their own. They pair perfectly with coffee after dinner or a glass of cold milk for a more casual moment. Small details make them feel finished rather than homemade.
- Stick a decorative toothpick in each one for easy grabbing at parties without messy fingers.
- Package them in small cellophane bags tied with ribbon for edible gifts that people actually get excited about.
- Always label them for guests since they contain dairy, eggs, and gluten.
 Save
Save Once you master the basic method, start experimenting with different cake flavors and coatings, because the possibilities are genuinely endless. These little bites have a way of becoming your signature dessert without even trying.
Recipe Questions & Answers
- → Can I use store-bought cake as the base?
-
Yes. A pre-baked red velvet cake yields consistent crumbs — remove frosting and break into fine crumbs before mixing with the cream cheese for easy shaping.
- → Which chocolate works best for coating?
-
White, milk or dark chocolate all work. Tempering gives the best snap, but gently melting with a little neutral oil or shortening helps thin coatings for smooth dipping.
- → How do I avoid cracks or gaps in the chocolate shell?
-
Chill the formed balls thoroughly so they are firm before dipping, and allow excess chocolate to drip off. Avoid very thin coatings and let each layer set at room temperature or briefly chilled.
- → Can these be made ahead and frozen?
-
Yes. Freeze on a tray until solid, then transfer to a sealed container. Thaw in the refrigerator before serving; avoid repeated refreezing to preserve texture.
- → How can I reduce sweetness or adjust flavor?
-
Use less powdered sugar in the filling and choose dark or semisweet chocolate for coating. Add a pinch of salt or a splash of citrus to balance richness.
- → Are there allergen-friendly variations?
-
For dairy-free options, use plant-based cream cheese and dairy-free chocolate. Substitute gluten-free cake to remove gluten concerns, and add toasted nuts for texture if not allergic.
