 Save
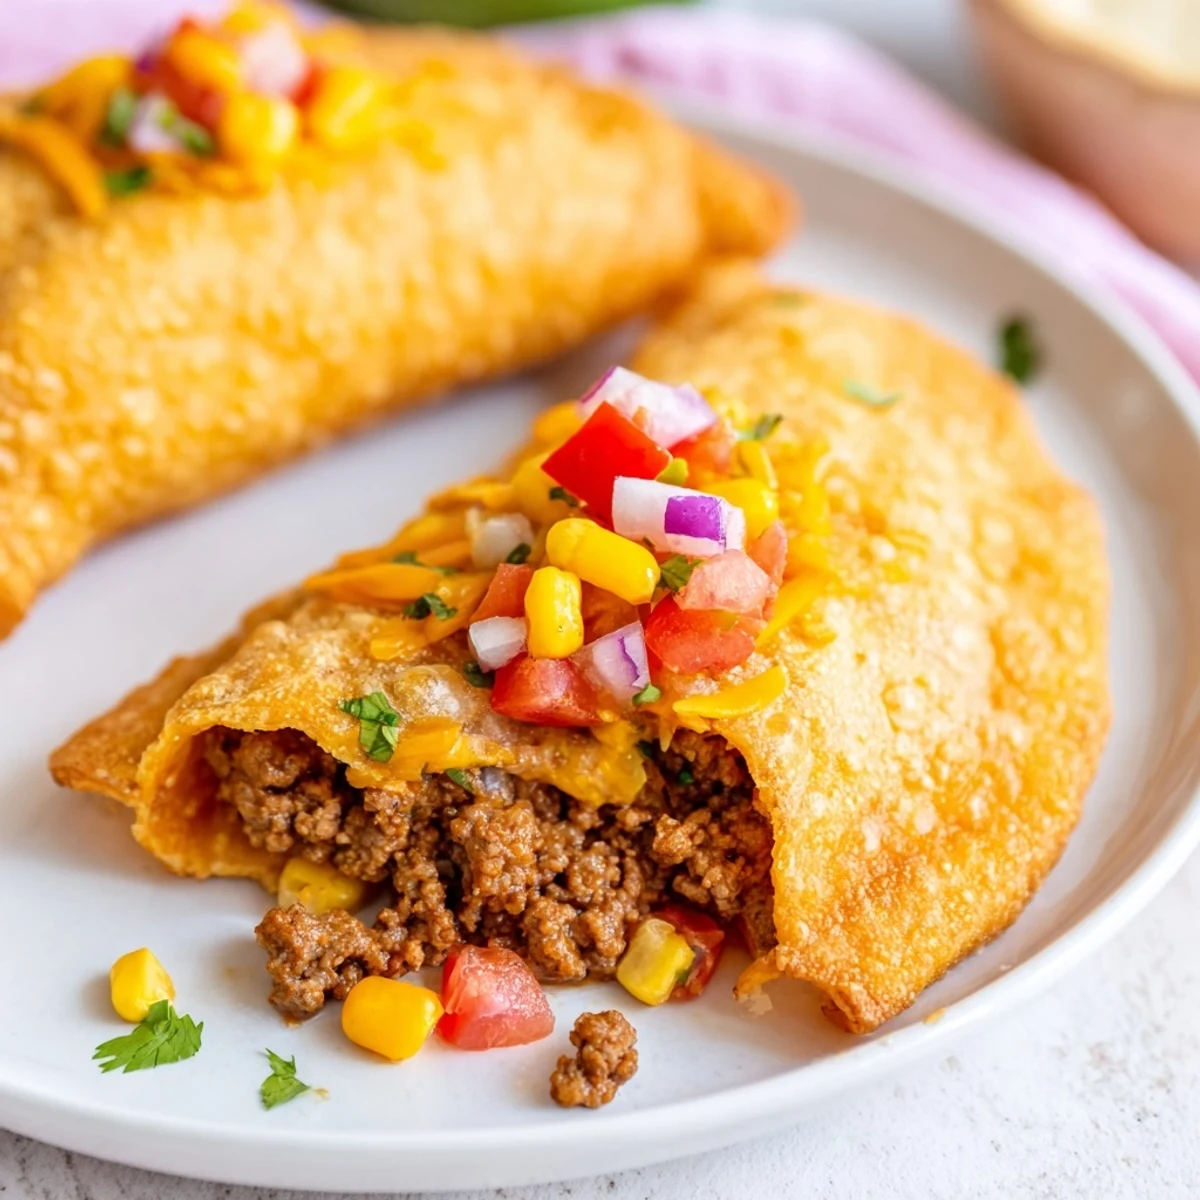
Save Crispy flour tortilla pockets stuffed with a savory blend of seasoned ground beef, melted cheddar cheese, and colorful vegetables like corn, tomatoes, and jalapeños. Each handheld treat delivers satisfying crunch followed by tender, flavorful filling. The spice blend of cumin, smoked paprika, and chili powder creates authentic Mexican-inspired taste. Perfect for parties, game day, or a fun family dinner. Serve with classic toppings like sour cream, fresh avocado slices, and zesty lime wedges for the complete experience.
The smell of cumin and beef sizzling in a skillet still takes me back to my college apartment, where I first started experimenting with making portable versions of my favorite foods. These taco pockets were born out of desperation during exam week, when I needed something comforting but didn't have time for a sit-down meal. My roommates kept wandering into the kitchen, drawn by the aromatics, and we ended up making them together instead of studying.
Last summer, I made these for a backyard gathering and watched them disappear faster than anything else on the table. My friend Sarah, who claims she doesn't like spicy food, reached for seconds and asked me to teach her the folding technique. Something about eating food out of edible packages makes people feel like kids again, and there's nothing quite like biting through that crispy shell into hot, cheesy filling.
Ingredients
- 300 g ground beef: I've learned that 80/20 fat ratio keeps these juicy without making the tortillas soggy
- 1 small red onion, finely chopped: Red onion adds a mild sweetness that balances the heat
- 1 jalapeño, seeded and finely chopped: Leave some seeds in if you want more heat, or swap for serrano
- 100 g canned corn, drained: Adds sweetness and texture that cuts through the rich beef and cheese
- 1 small tomato, diced: Use Roma tomatoes for fewer seeds and less water in your filling
- 2 cloves garlic, minced: Fresh garlic makes a difference here, don't skip it
- 30 g fresh cilantro, chopped: Stir it in at the end so it stays bright and fresh
- 1 tsp ground cumin: The backbone of that authentic Mexican flavor profile
- 1 tsp smoked paprika: This is my secret ingredient for adding depth without extra heat
- 1/2 tsp chili powder: Adjust up or down based on your spice tolerance
- 1/2 tsp ground coriander: Adds a citrusy, floral note that brightens the beef
- Salt and black pepper, to taste: Don't be shy with salt, it brings all the spices together
- 150 g grated cheddar cheese: Sharp cheddar gives the best flavor payoff, though Mexican blend works too
- 8 small flour tortillas: Smaller tortillas fold easier and fry up crisper
- Vegetable oil, for frying: Canola or vegetable oil has the right neutral flavor and high smoke point
- Sour cream, sliced avocado, lime wedges: These cool elements balance the rich, spicy pockets perfectly
Instructions
- Brown the beef base:
- In a large skillet over medium heat, cook the ground beef until it's nicely browned, breaking it up with your spoon as it cooks. Drain off excess fat so your filling isn't greasy.
- Build the flavor:
- Add the onion, jalapeño, garlic, tomato, corn, and all your spices to the skillet. Sauté everything together for 3-4 minutes until the vegetables are soft and the spices are fragrant, then season with salt and pepper.
- Add the fresh finish:
- Remove the pan from heat and stir in the chopped cilantro while everything is still warm. Let the filling cool slightly so it's easier to handle when assembling.
- Assemble the pockets:
- Lay out your tortillas and place about 2 heaping tablespoons of beef mixture in the center of each. Add a generous sprinkle of cheddar cheese on top of the beef.
- Seal them up:
- Fold the tortilla edges over to form a sealed pocket in whatever shape works best for you. You can use a toothpick to secure them if needed, though I find pressing the edges firmly works fine.
- Fry to golden perfection:
- Heat oil in a large frying pan over medium-high heat until it shimmers. Fry each taco pocket for 2-3 minutes per side until they're deep golden brown and crispy.
- Rest and serve:
- Drain the pockets on paper towels for a minute to remove excess oil. Serve them hot while the cheese is still melty, with sour cream, avocado, and lime wedges on the side.
 Save
Save My daughter now requests these for her birthday dinner every year, which feels funny since they started as such a simple experiment. There's something about the ritual of folding and frying them together that turns dinner into an activity, and everyone ends up gathered around the stove anyway.
Make-Ahead Magic
The beef filling keeps beautifully in the refrigerator for up to three days, and honestly, the flavors meld together even better overnight. I often make double the filling and freeze half, then just thaw and assemble fresh pockets whenever the craving hits. The filling also works amazingly in quesadillas or over baked potatoes.
Frying Wisdom
Keep your oil around 350°F, which you can test by dropping a small piece of tortilla in, if it sizzles immediately but doesn't burn, you're good to go. Too hot and the tortillas brown before the cheese melts, too cool and they turn greasy and soggy. I fry them in two batches so the oil temperature doesn't drop too much.
Serving Ideas
These taco pockets are substantial enough to stand alone as a main dish, especially with a simple green salad dressed with lime vinaigrette. For parties, I cut them in half diagonally and arrange them on platters with various dipping sauces, everything from guacamole to spicy salsa to that cool sour cream. They're also perfect packed for lunch, either cold or reheated in a toaster oven until warm and crispy again.
- Try adding black beans to the filling for extra fiber and protein
- Swap flour tortillas for corn if you need gluten free, though they'll be more delicate
- Leftover filling makes an incredible omelette the next morning
 Save
Save I hope these crispy little packages bring as much joy to your kitchen as they've brought to mine over the years.
Recipe Questions & Answers
- → Can I bake these instead of frying?
-
Yes, brush the pockets lightly with oil and bake at 400°F (200°C) for 15-20 minutes, flipping halfway through, until golden and crispy.
- → How do I store leftovers?
-
Store cooled pockets in an airtight container in the refrigerator for up to 3 days. Reheat in a 350°F oven for 10 minutes to restore crispiness.
- → Can I make these ahead of time?
-
Prepare the filling up to 24 hours in advance and store refrigerated. Assemble and fry just before serving for best texture and flavor.
- → What other cheeses work well?
-
Pepper jack, Monterey Jack, or a Mexican cheese blend all melt beautifully and complement the spiced beef filling perfectly.
- → How can I make these healthier?
-
Use lean ground beef or substitute with black beans, reduce cheese amount, and bake instead of fry for a lighter version.
- → Can I freeze uncooked pockets?
-
Yes, assemble uncooked pockets and freeze in a single layer before transferring to a freezer bag. Fry from frozen, adding 1-2 minutes cooking time.
