 Save
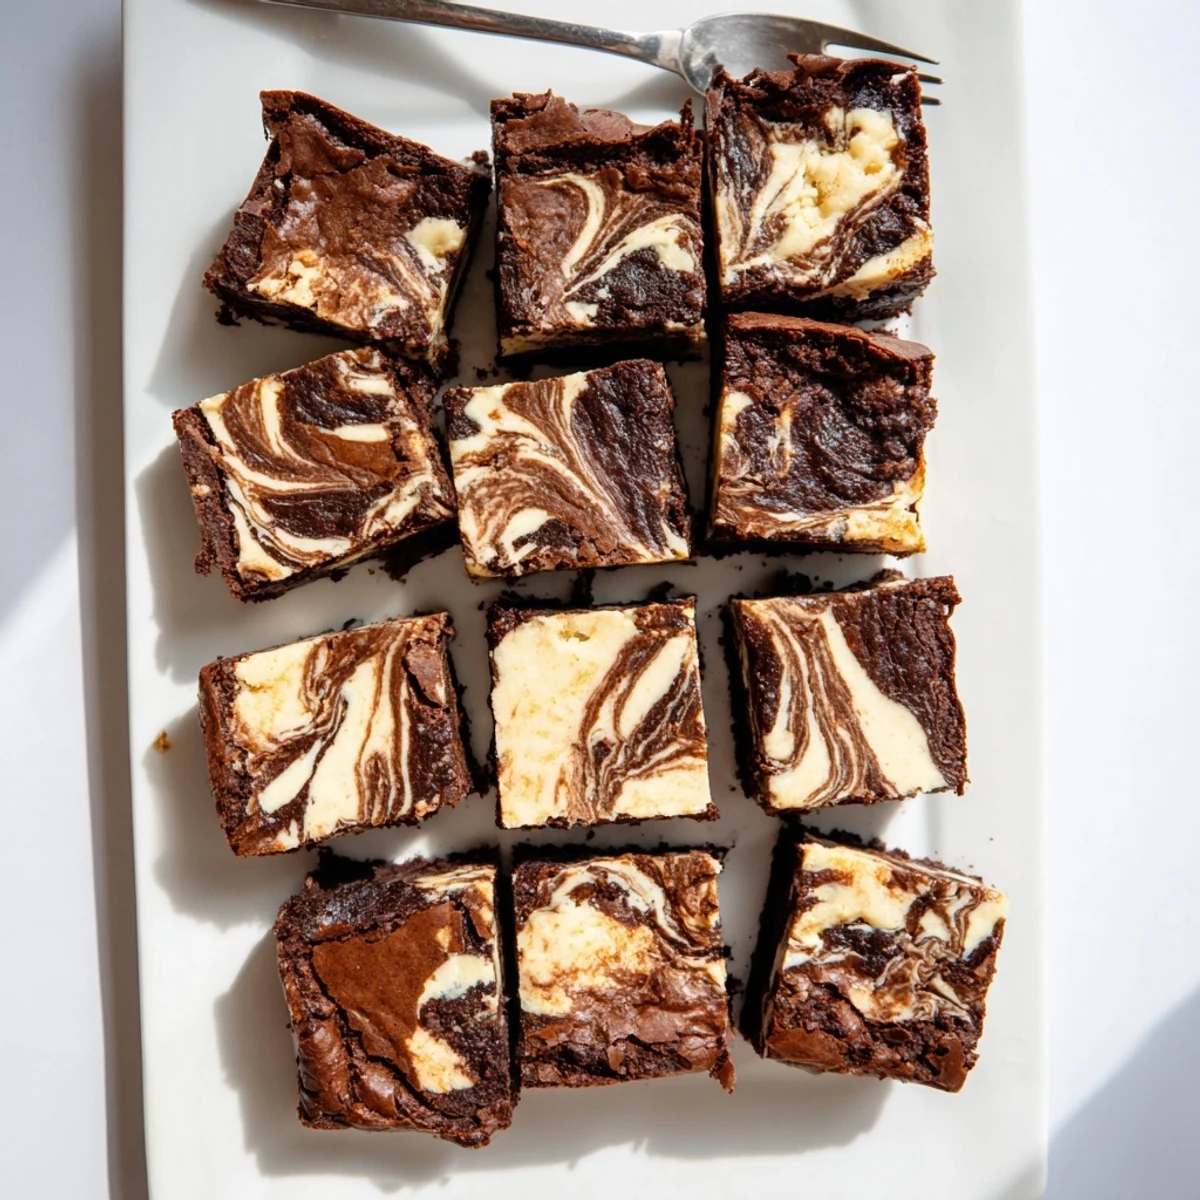
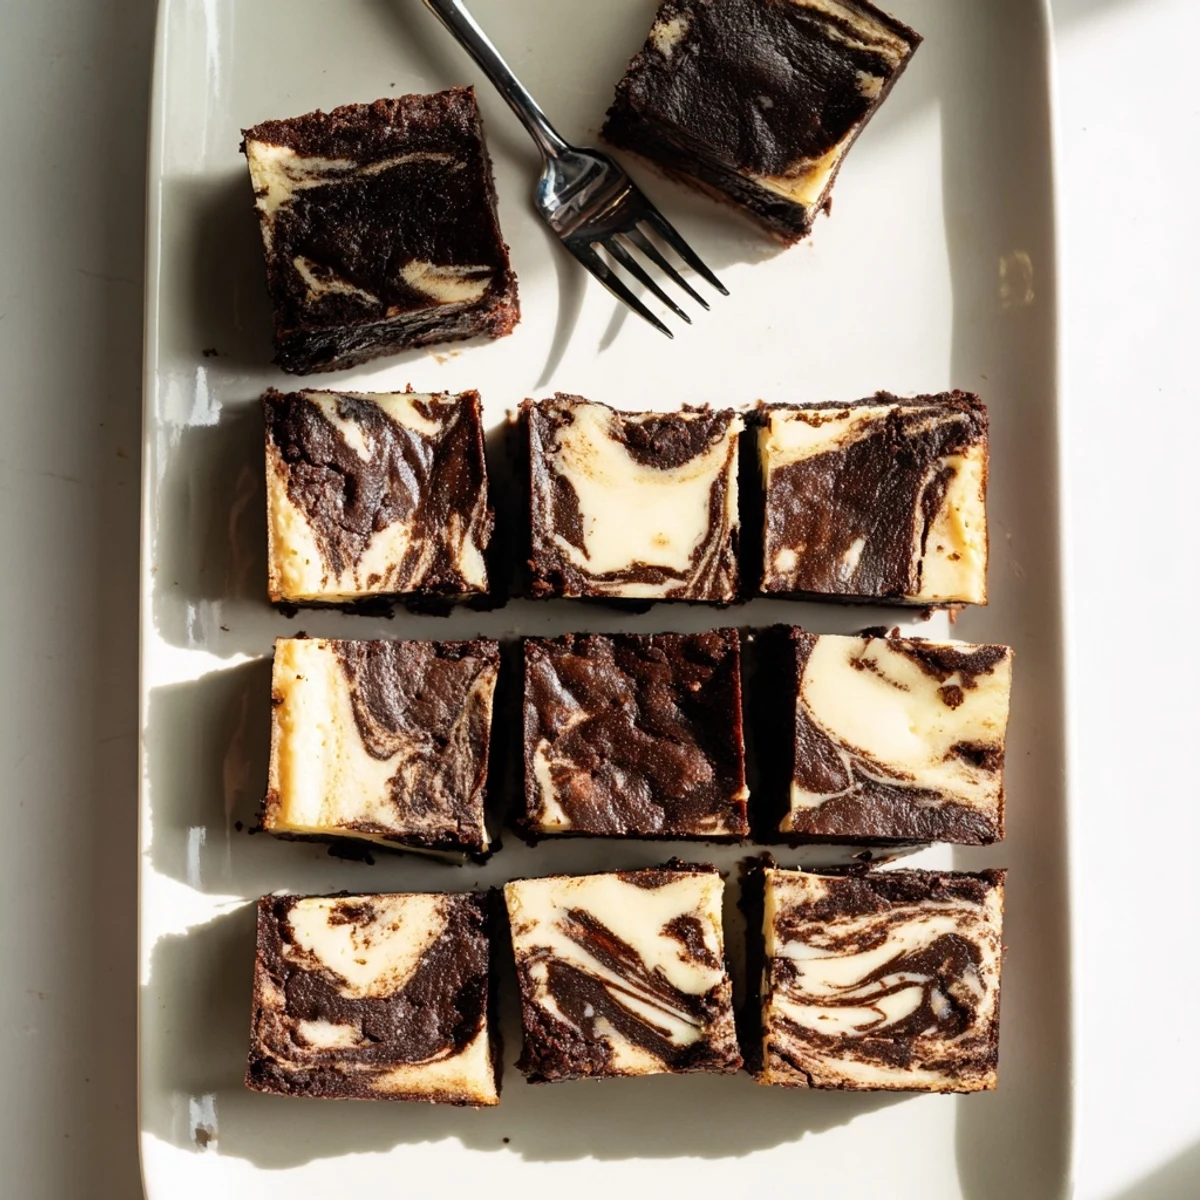
Save These indulgent bars combine the best of both worlds: a rich, fudgy sourdough brownie base topped with creamy cheesecake swirled throughout. The addition of sourdough starter creates depth and subtle tang, while the cheesecake layer adds luscious creaminess. Perfect for those who love the contrast of dark chocolate and tangy cream cheese, these bars bake in just over an hour and yield 16 generous portions. The swirling technique creates beautiful marble patterns throughout each bar.
My sourdough starter had been sitting in the fridge for two weeks, neglected and grayish, when I decided it was either bake or toss. I folded that discard into a brownie batter on a whim, and the tang it added was so unexpectedly good that I immediately started plotting ways to push it further. Cheesecake was the answer, swirled into the top like lazy art. These bars have since become my default contribution to every potluck and birthday that allows dessert.
I brought a pan of these to a friend's housewarming and watched three people skip dinner entirely and go straight for seconds. My friend's teenage son asked if I could teach him to make them, which is honestly the highest compliment a home baker can receive. The swirl pattern never looks the same twice, and that is part of the charm.
Ingredients
- Unsalted butter (115 g): Good fat content means a fudgy crumb, so do not substitute with margarine.
- Dark chocolate, chopped (120 g): Chop it yourself rather than using chips, because the melt is smoother and more even.
- Granulated sugar (150 g for brownies, 50 g for cheesecake): Divided between the two layers, each amount is calibrated for its purpose.
- Large eggs (3 total): Two for the brownie base and one for the cheesecake, all at room temperature.
- Vanilla extract (2 tsp total): Split between the layers, it bridges the chocolate and tangy cheese flavors beautifully.
- Sourdough starter (90 g): Active, discard, or fed all work, which makes this recipe endlessly flexible.
- All-purpose flour (65 g): Keep it minimal for that dense, chewy texture.
- Salt (1/4 tsp): Just enough to sharpen the chocolate without making itself known.
- Cream cheese, softened (225 g): Full fat is non-negotiable here for the silkiest layer.
Instructions
- Prep your pan:
- Heat the oven to 175 degrees C (350 degrees F) and line a 20 x 20 cm pan with parchment, leaving flaps hanging over the edges so you can lift the whole thing out later.
- Melt and marry:
- Set a saucepan over low heat and melt the butter with the chopped chocolate, stirring gently until glossy. Pull it off the heat and stir in 150 g of sugar while it is still warm.
- Build the brownie batter:
- Let the chocolate mixture cool for a minute, then whisk in the eggs one at a time until each disappears. Stir in a teaspoon of vanilla and the sourdough starter, then fold in the flour and salt until you see no dry streaks.
- Save some for swirling:
- Scoop about 60 ml (1/4 cup) of batter into a small bowl and set it aside. Spread the rest evenly across the bottom of your prepared pan.
- Whip the cheesecake layer:
- Beat the softened cream cheese with 50 g of sugar until completely smooth, scraping the bowl once. Add the remaining egg and teaspoon of vanilla, then beat until silky.
- Layer and swirl:
- Spread the cheesecake mixture gently over the brownie base, then dollop the reserved brownie batter on top in rough spoonfuls. Drag a skewer or butter knife through the dollops in figure eights until the pattern looks right to you.
- Bake and set:
- Bake for 30 to 35 minutes until the center jiggles just slightly and a toothpick comes out with moist crumbs, not wet batter. Cool completely in the pan, then chill for at least an hour before slicing.
 Save
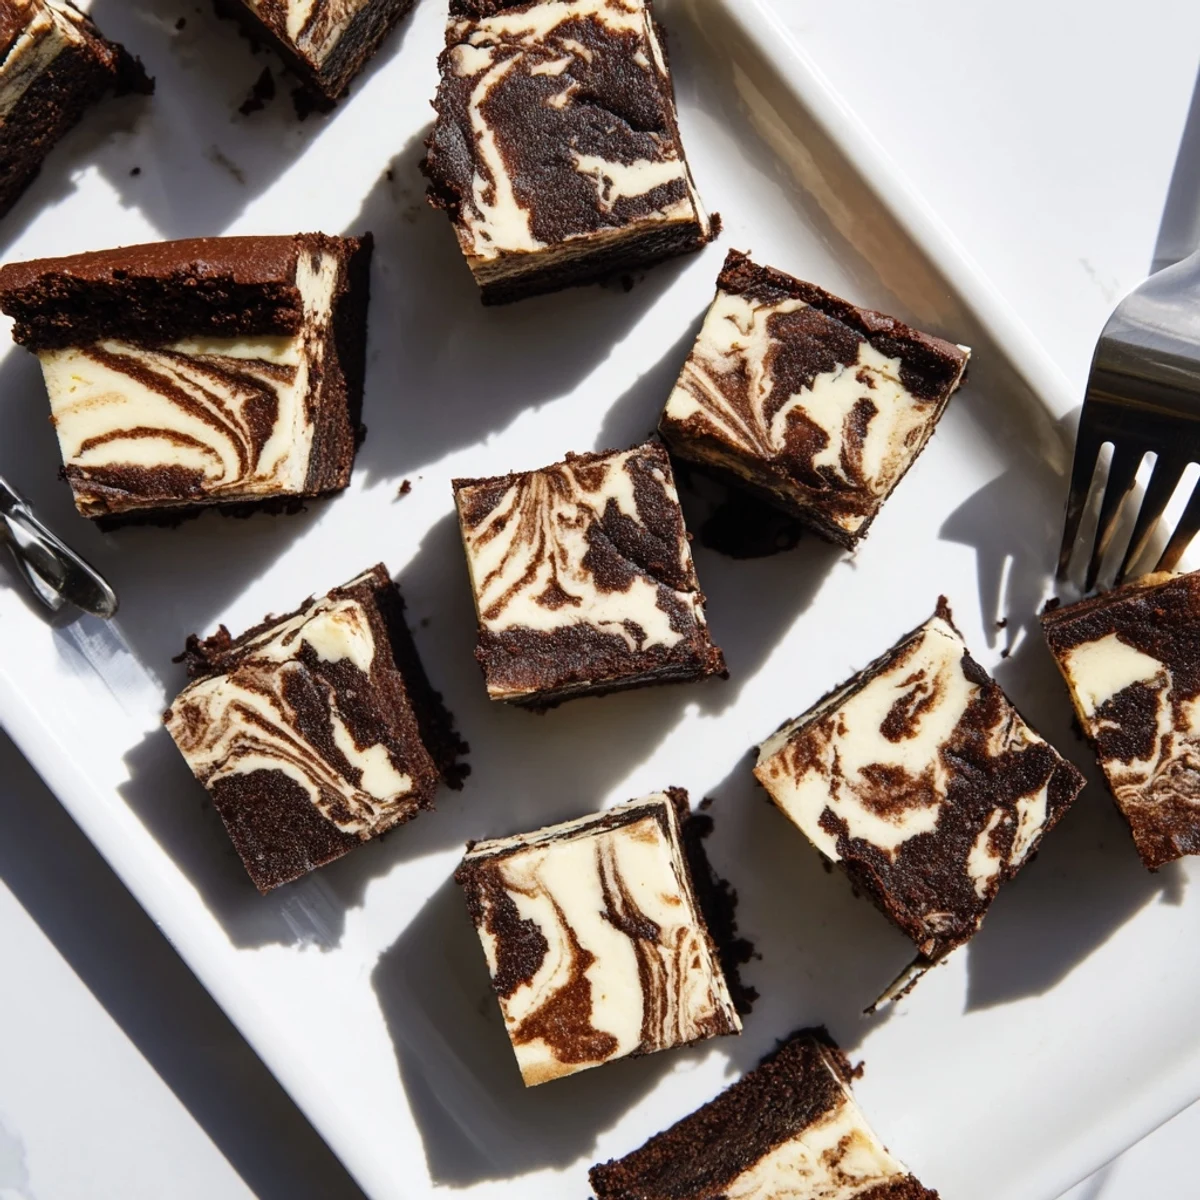
Save The first time I cut into these, I used a warm knife and the layers smeared together into something beautiful but messy. Now I chill them properly and wipe the blade between cuts, which gives those clean edges that make people think you bought them from a bakery.
Making It Your Own
A tablespoon of espresso powder in the brownie batter deepens the chocolate without tasting like coffee. I have also folded toasted walnuts into the base and added a handful of mini chocolate chips to the cheesecake layer on separate occasions, both excellent decisions.
Storing and Serving
These bars keep beautifully in the fridge for up to five days, wrapped tightly so they do not absorb other flavors. They actually taste better on day two when the tang has had time to settle into the chocolate.
What I Learned the Hard Way
Parchment overhang is not optional, because without it you will be chiseling bars out of the pan with a spatula and serving something that looks like a delicious crime scene.
- Use a plastic knife to cut brownies and bars because it slices through them more cleanly than metal.
- If your sourdough starter is very liquidy, reduce it by a tablespoon or add a tablespoon more flour.
- Always taste your discard first, because an overly sour or off smelling starter will carry that flavor straight into your dessert.
 Save
Save These bars are proof that the best recipes come from using what you already have and trusting your instincts. Make them once and they will quietly become part of your permanent rotation.
Recipe Questions & Answers
- → Can I use sourdough discard?
-
Yes, you can use either active fed starter or unfed sourdough discard. The discard works perfectly and adds a pleasant subtle tang to the chocolate base.
- → Why add sourdough to brownies?
-
Sourdough starter adds depth of flavor, subtle tanginess, and creates a more tender texture. It also helps keep the brownies moist for longer.
- → How do I know when they're done baking?
-
The center should be just set, not jiggly. A toothpick inserted should come out with a few moist crumbs but not wet batter.
- → Do these need to be refrigerated?
-
Yes, due to the cream cheese layer, these should be stored in the refrigerator. They actually taste better chilled and can be kept for up to 5 days.
- → Can I freeze these bars?
-
Absolutely! Wrap individual bars tightly in plastic wrap and freeze for up to 3 months. Thaw overnight in the refrigerator before serving.
- → What pan size should I use?
-
A 20 x 20 cm (8 x 8 inch) square pan works best for the proper thickness. Using a larger pan will result in thinner bars that may bake faster.
