 Save
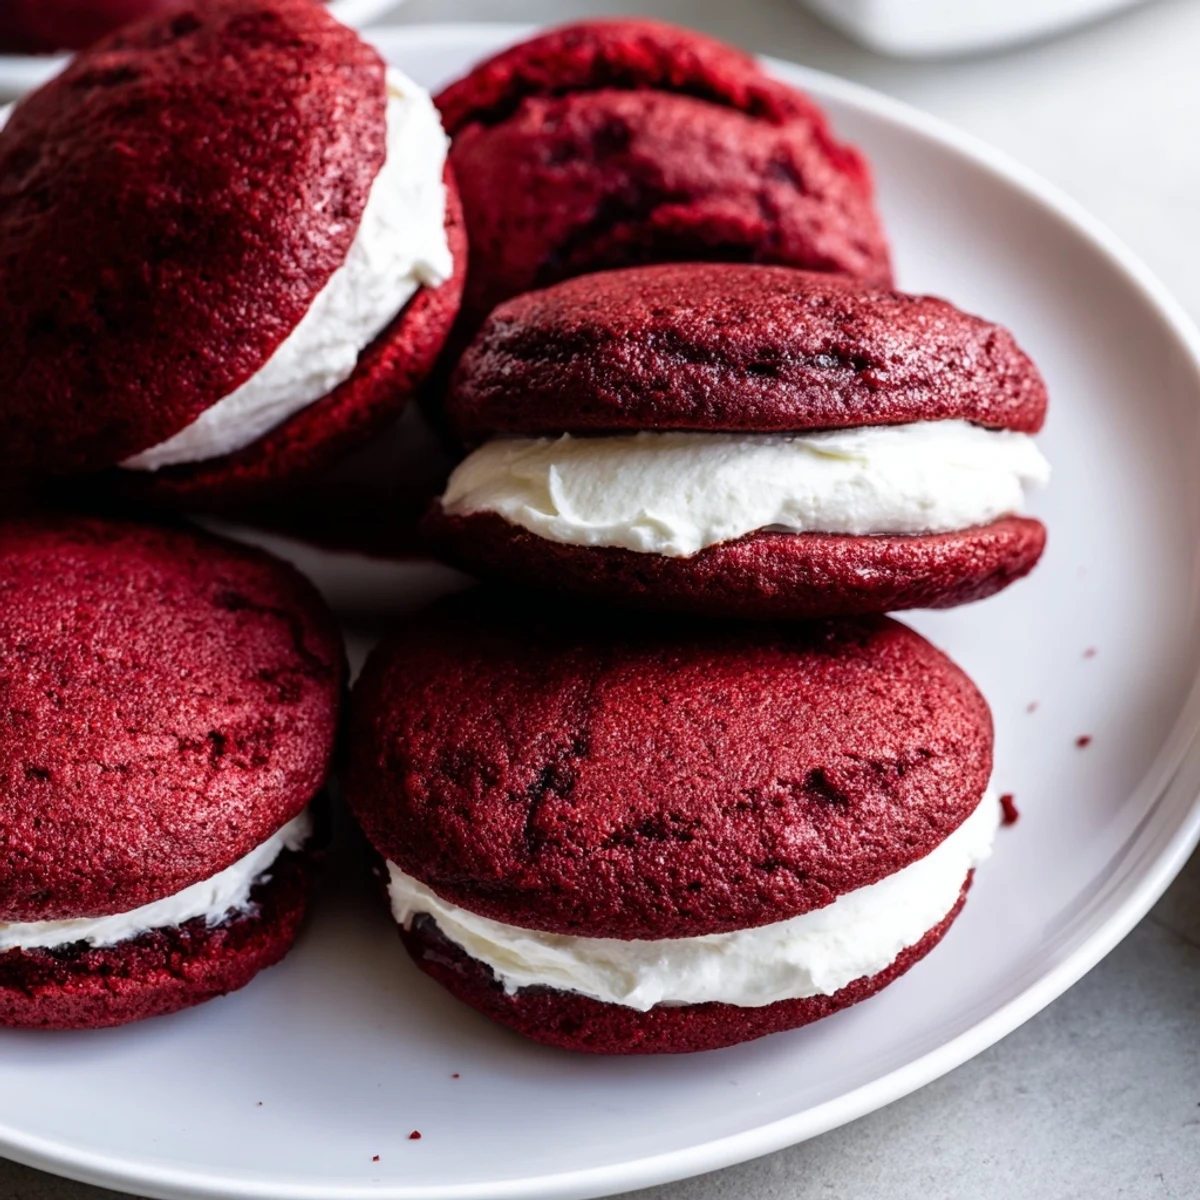
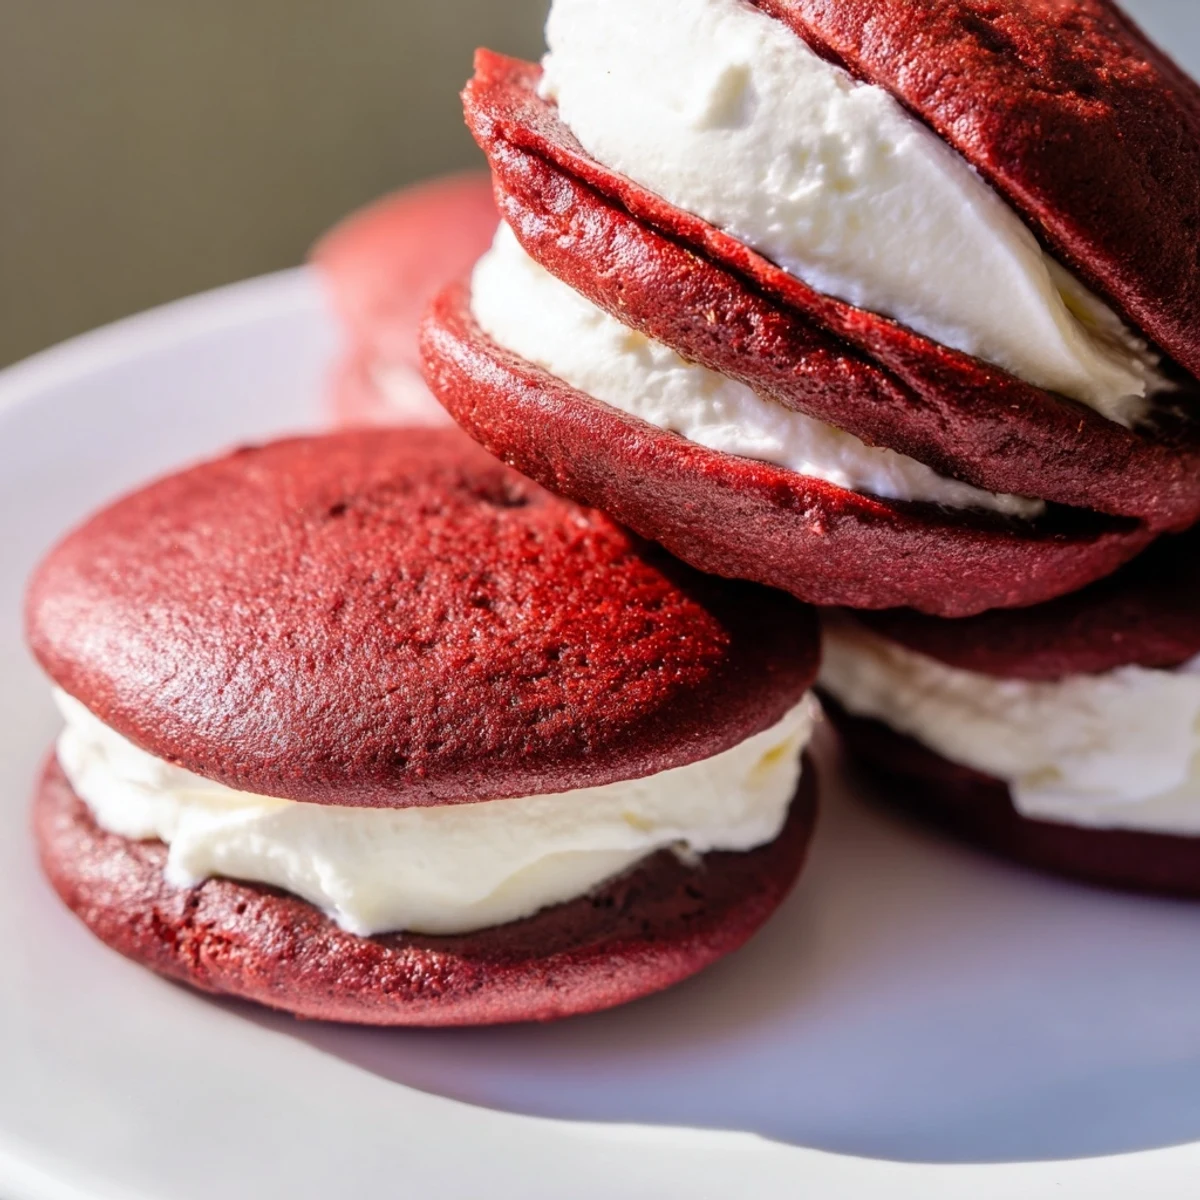
Save Enjoy soft, cake-like red velvet cookies paired with a fluffy marshmallow cream filling. These treats offer a perfect balance of cocoa and sweetness, baked to perfection and assembled into playful sandwiches. Ideal for sharing, they bring a tender texture and smooth, creamy center with a hint of vanilla. Simple steps guide from mixing dry ingredients to preparing the marshmallow filling for a luscious finish.
The first time I attempted red velvet whoopie pies, I accidentally used double the food coloring. My kitchen looked like a crime scene, but those cookies turned out the most vibrant shade of crimson I've ever achieved. Now I measure carefully, but I still smile thinking about how dramatically wrong everything went while somehow still tasting absolutely right.
I made these for my daughter's school Valentine's party last year, and somehow they vanished before I could even snap a photo. One mom tracked me down afterward for the recipe, saying her son had talked about nothing but those red sandwich cookies for three days straight. There's something magical about red velvet that makes people feel like they're getting something special.
Ingredients
- All-purpose flour: The structure builder, measure by weight if you can for consistent results every single time
- Unsweetened cocoa powder: Dont skip this, it provides that subtle chocolate undertone that makes red velvet taste like red velvet and not just red cake
- Baking soda: The lift giver, these cookies puff up beautifully in the oven then settle into that classic whoopie pie shape
- Salt: Just a pinch, but it wakes up all the other flavors and prevents the cookies from tasting flat
- Unsalted butter: Softened to room temperature, this creates the tender crumb that makes these cookies so delightfully soft
- Granulated sugar: Sweetens and helps create that slightly crisp edge while keeping centers cakey and soft
- Egg: One room temperature egg binds everything together and adds structure
- Vanilla extract: Pure vanilla makes a noticeable difference here since the flavor profile is relatively delicate
- Buttermilk: The secret tenderizer, its acidity reacts with the baking soda for extra lift and creates that signature soft texture
- Red food coloring: Gel coloring works best for vibrant color without adding too much liquid
- Unsalted butter for filling: Again, room temperature is non negotiable for that smooth, spreadable consistency
- Powdered sugar: Sift it first to avoid any lumpy surprises in your silky filling
- Marshmallow creme: The star of the filling, this creates that fluffy, nostalgic flavor that pairs perfectly with the chocolate velvet cookies
- Vanilla extract: A second hit of vanilla in the filling because you can never have too much of a good thing
- Pinch of salt: Balances the extreme sweetness of the marshmallow creme and powdered sugar
Instructions
- Get your oven ready:
- Preheat to 350°F and line two baking sheets with parchment paper, trust me, the cleanup is worth the extra parchment
- Whisk the dry team:
- In a medium bowl, combine flour, cocoa powder, baking soda, and salt until everything looks evenly distributed
- Cream the butter and sugar:
- Beat them together until theyre light and fluffy, this usually takes about 3 minutes of standing mixer patience
- Add the egg and vanilla:
- Mix until the mixture looks smooth and glossy, scraping down the bowl once to make sure nothing is hiding at the bottom
- Color and buttermilk time:
- Pour in the buttermilk and red food coloring, mixing until the batter turns that gorgeous shade of red we all associate with red velvet
- Fold in the flour mixture:
- Add the dry ingredients gradually and mix just until combined, over mixing will make these cookies tough instead of tender
- Scoop and space:
- Drop rounded tablespoons onto your prepared sheets, leaving about 2 inches between them because these babies do spread
- Bake to perfection:
- Pop them in for 10 to 12 minutes, they're done when they spring back when touched gently in the center
- Cool completely:
- Let them rest on the baking sheets for 5 minutes, then move them to a wire rack, patience is key here because warm cookies will melt your filling
- Make the marshmallow filling:
- Beat the butter until smooth, add the powdered sugar, then mix in the marshmallow creme, vanilla, and salt until everything is silky and spreadable
- Assemble your masterpieces:
- Spread or pipe filling onto the flat side of half the cookies, then top with the remaining cookies, pressing gently so the filling reaches the edges
 Save
Save My grandmother always said dessert should feel like a celebration, and these whoopie pies deliver exactly that. Theres something about biting through that soft red velvet into the cloud of marshmallow that makes even a regular Tuesday feel like a special occasion worth celebrating.
Making Them Ahead
You can bake the cookies up to two days in advance and store them in an airtight container at room temperature. The filling also keeps beautifully in the refrigerator for up to a week, just let it come to room temperature and give it a quick stir before sandwiching everything together.
Perfect Pairings
Cold milk is the classic choice, cutting through the richness perfectly, but I've also served these with espresso and it's surprisingly good. For a party, try crushing a couple extra cookies and sprinkling the pieces over vanilla ice cream.
Presentation Ideas
Roll the exposed edges of the filling in mini chocolate chips, sprinkles, or even crushed graham crackers for extra texture and a bakery style finish. Stack them in clear treat bags tied with baker's twine for the cutest edible gifts.
- A small offset spatula makes spreading the filling so much easier than a regular knife
- If piping the filling, use a large star tip for that classic swirled look
- These freeze surprisingly well unfilled, wrap them tightly and they'll keep for a month
 Save
Save Hope these bring as much joy to your kitchen as they've brought to mine over the years. Happy baking, friends.
Recipe Questions & Answers
- → What makes the red velvet cookies soft?
-
The combination of buttermilk and softened butter contributes to the tender, cake-like texture of the cookies, while careful mixing ensures fluffiness.
- → Can I prepare the marshmallow filling in advance?
-
Yes, the marshmallow filling can be made ahead and stored in an airtight container to maintain its creamy texture until assembly.
- → How should these treats be stored for freshness?
-
Store the finished sandwiches in an airtight container at room temperature for up to two days, or refrigerate to extend freshness.
- → What are good serving suggestions?
-
Pair these soft sandwiches with cold milk or coffee for an enhanced tasting experience that balances sweetness and refreshment.
- → Are there any common allergens to be aware of?
-
These treats contain wheat, eggs, and dairy. Also, check marshmallow creme labels for any additional allergens.
