 Save
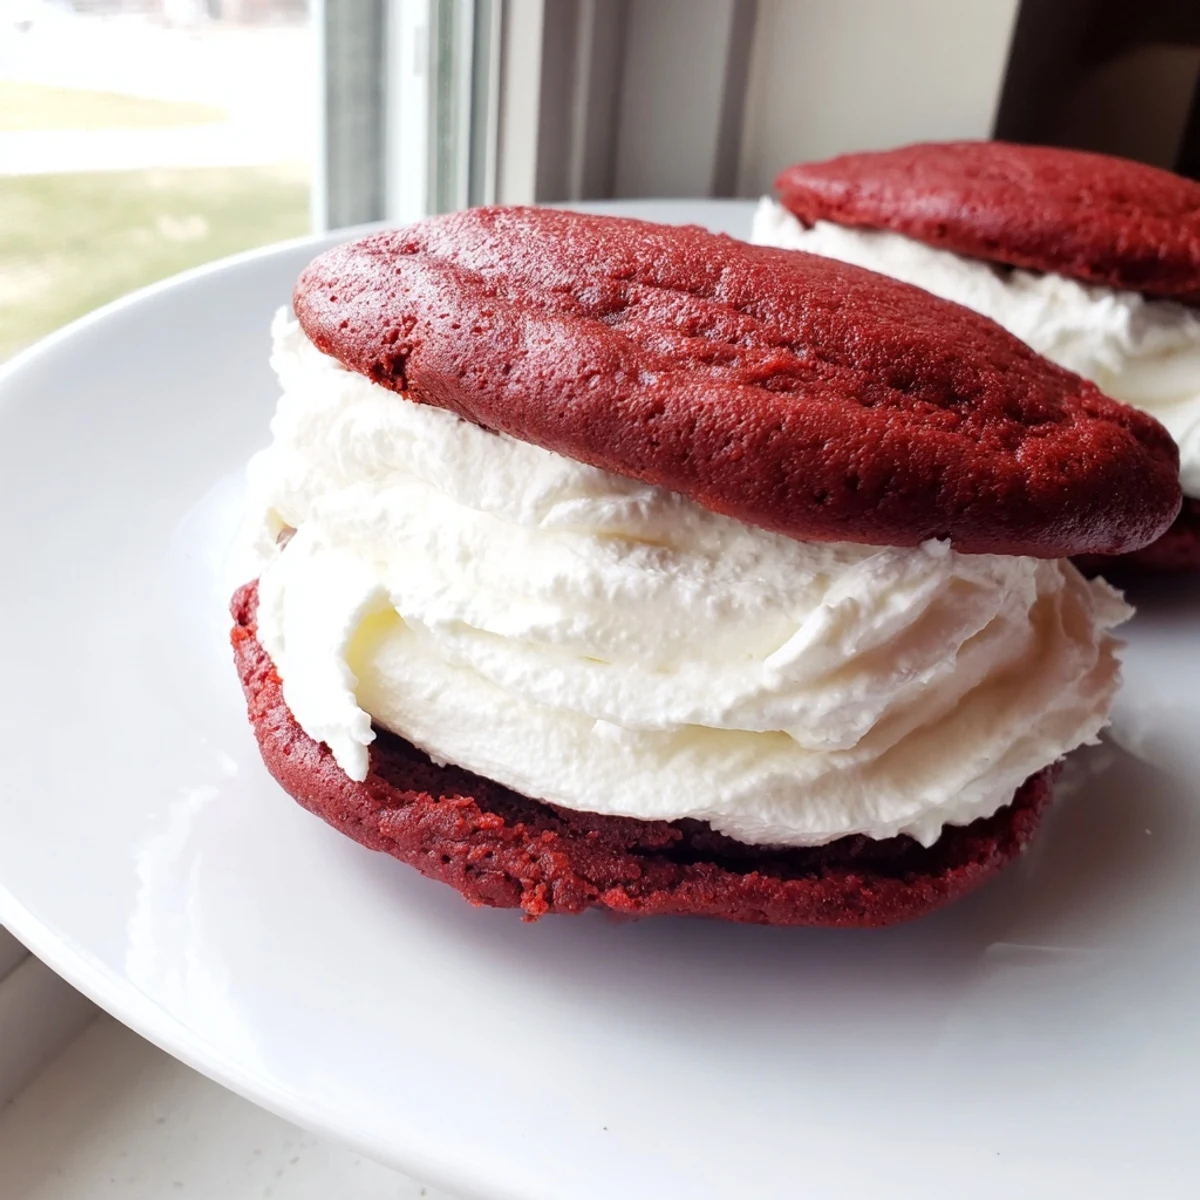
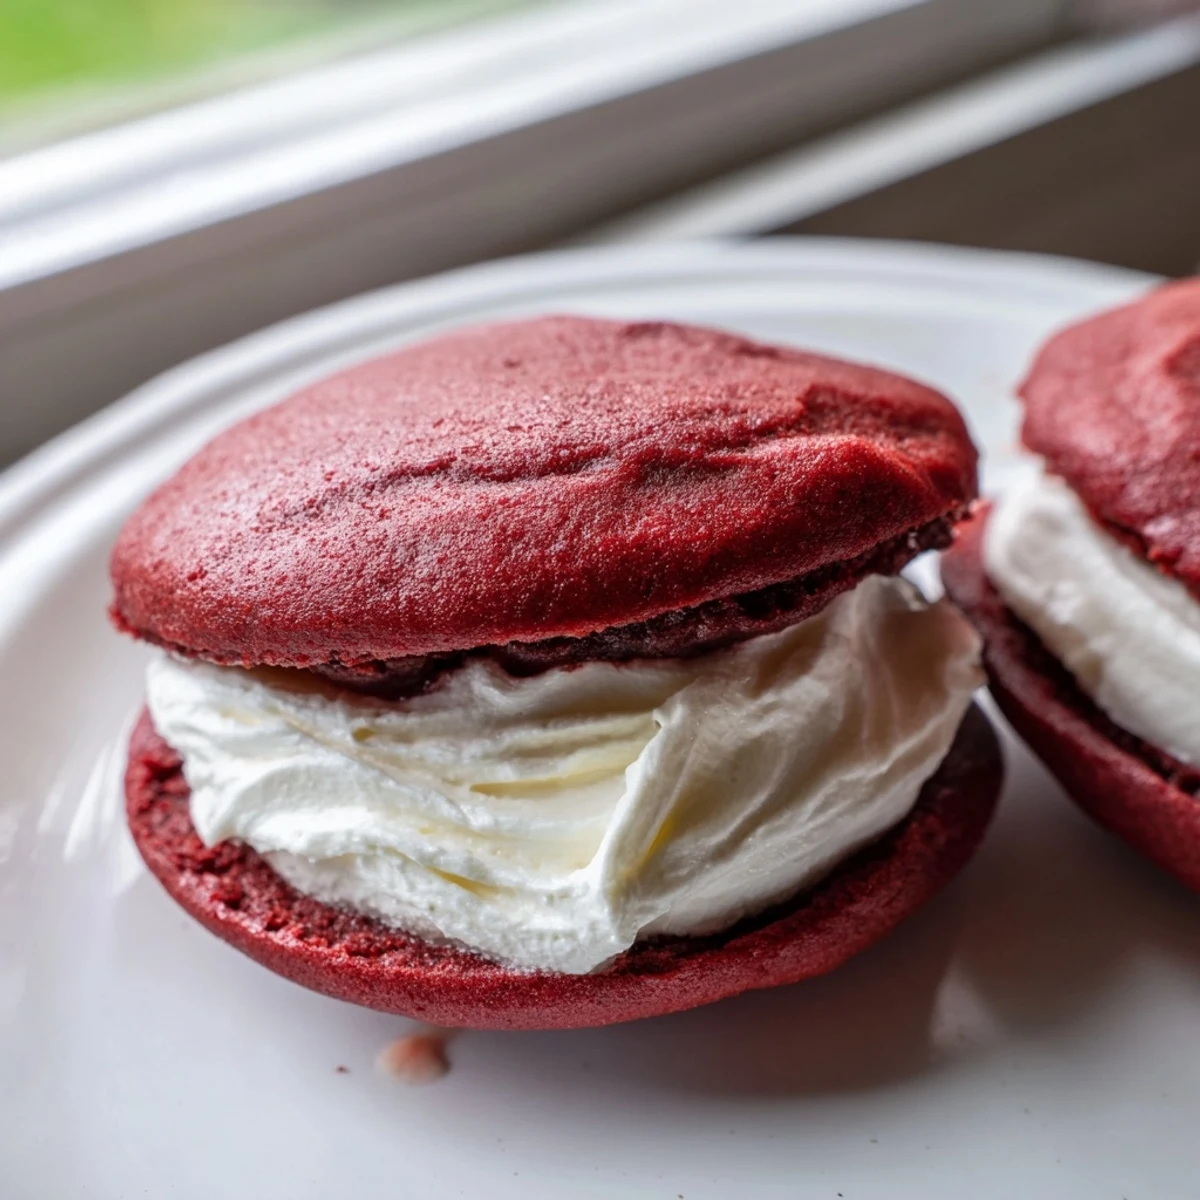
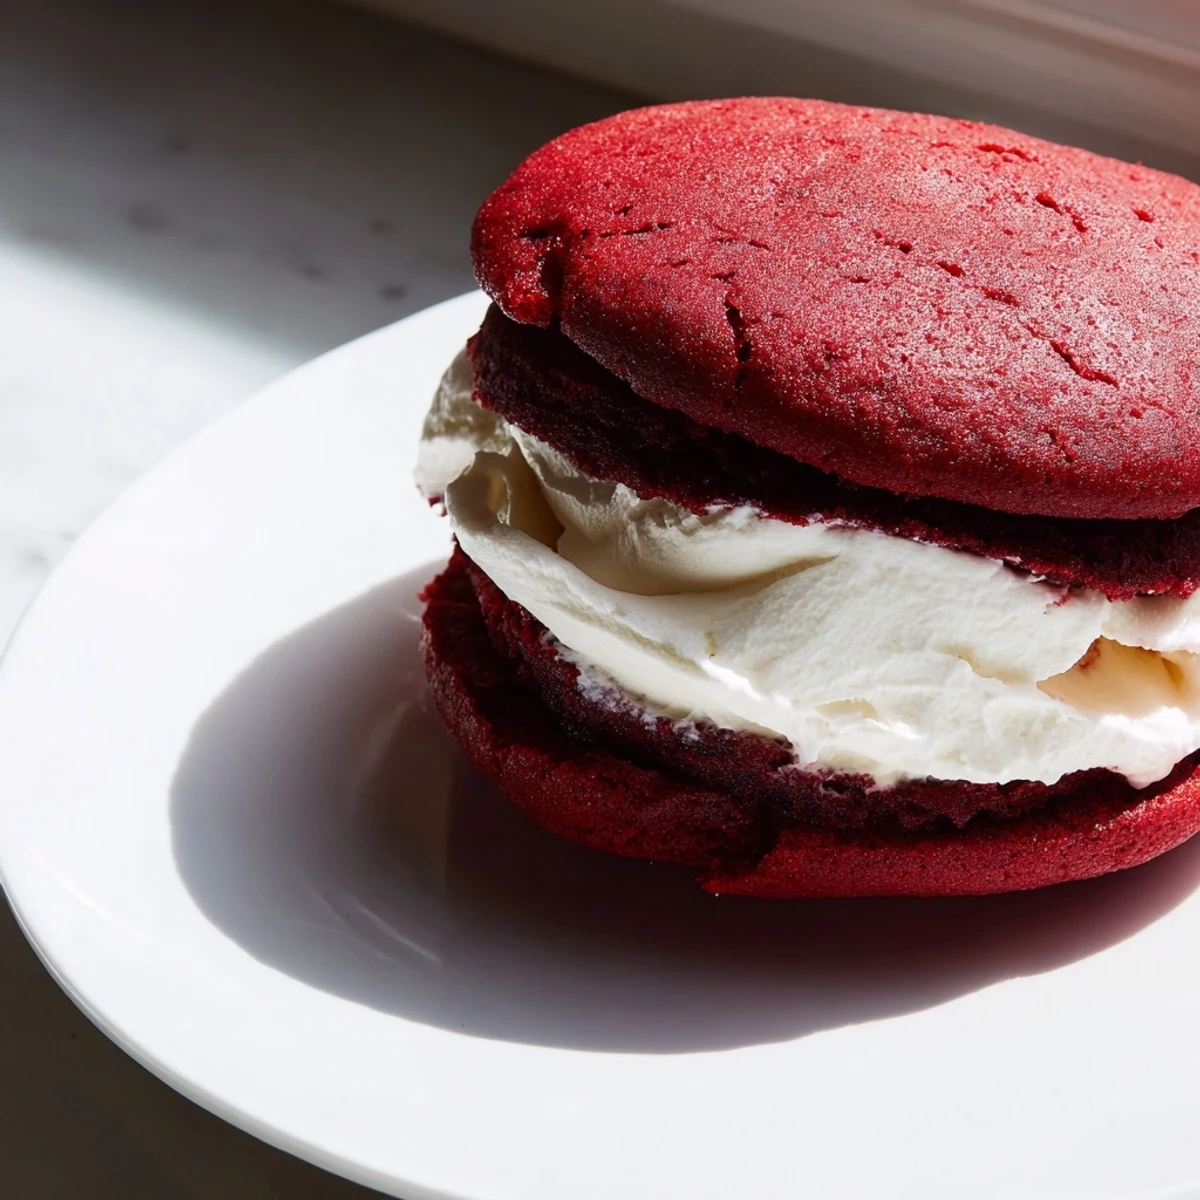
Save These soft red velvet whoopie pies feature tender, cake-like cookies made with cocoa and rich red coloring. They are paired with a fluffy marshmallow cream filling that adds light sweetness and a creamy texture. Baking involves mixing dry ingredients separately, creaming butter and sugar until fluffy, then combining all with buttermilk and red food coloring. After baking, cookies cool before sandwiching with a whipped marshmallow buttercream. This dessert yields 12 generous portions and offers a delightful balance of rich, moist cake and smooth filling.
The first time I made whoopie pies, I accidentally dyed my kitchen counter pink. My roommate walked in, stared at the speckled countertop, and asked if we'd been crafting instead of baking. We ate three each standing right there at the counter, filling smeared on our chins, laughing about how something so messy could taste so perfect.
I made these for my niece's birthday last spring. She'd never seen whoopie pies before and kept calling them 'hamburger cookies.' When she bit into one and marshmallow cream squished out the sides, her eyes went wide. Now every time I visit, she asks if I brought 'those squishy red cookies.'
Ingredients
- All-purpose flour: The foundation that gives these cookies their cake-like structure
- Unsweetened cocoa powder: Adds subtle chocolate depth without overpowering the delicate red velvet flavor
- Baking powder and baking soda: Work together to create that signature puff and softness
- Unsalted butter: Room temperature butter creams perfectly into sugar for a tender crumb
- Granulated sugar: Sweetens and helps create the crisp exterior that gives way to soft centers
- Red food coloring: Liquid or gel both work, but gel gives a deeper crimson with less liquid
- Buttermilk: The secret ingredient that makes these incredibly moist and tender
- Powdered sugar: Sifting prevents lumps in your silky smooth filling
- Marshmallow crème: Creates that fluffiness you just cant get from buttercream alone
Instructions
- Preheat and prepare:
- Heat your oven to 350°F and line two baking sheets with parchment paper. This small step saves you from scrubbing baked-on batter later.
- Whisk the dry ingredients:
- In a medium bowl, combine flour, cocoa powder, baking powder, baking soda, and salt. Whisking now ensures even distribution throughout the batter.
- Cream butter and sugar:
- Beat butter and sugar together for 2 to 3 minutes until pale and fluffy. This airiness is what makes the cookies tender.
- Add eggs and flavor:
- Beat in the egg and vanilla extract until fully incorporated. Scrape down the bowl to catch any pockets of unmixed butter.
- Make it red:
- Pour in the food coloring and mix until the batter turns an even, stunning crimson. The color always looks brighter in the bowl than after baking.
- Combine wet and dry:
- Alternate adding the flour mixture and buttermilk in three additions, starting and ending with flour. Mix gently until just combined to avoid tough cookies.
- Scoop and space:
- Drop 24 mounds onto the prepared sheets, leaving 2 inches between each. They spread but not as much as you might expect.
- Bake to perfection:
- Bake for 10 to 12 minutes until set and springy when touched. Underbaked is better than overbaked for these soft treats.
- Cool completely:
- Let them rest on the sheets for 5 minutes, then move to a wire rack. Warm cookies melt the filling too fast.
- Make the filling:
- Beat butter until smooth, then gradually add powdered sugar. Finally, fold in the marshmallow crème, vanilla, and salt until silky.
- Assemble the pies:
- Pair cookies by size and spread 1 to 2 tablespoons of filling on the flat side of one. Gently press its partner on top.
 Save
Save My dad called these 'happy mistakes' because they look like something went wrong in the oven. But after one bite, he was grabbing seconds and asking if I could make them for his office potluck. Sometimes the ugliest desserts create the most beautiful moments.
Making Ahead
You can bake the cookies a day ahead and store them in an airtight container. The filling also keeps well in the refrigerator for up to three days. Just bring everything to room temperature before assembling for the best texture and flavor.
Flavor Variations
Add ½ teaspoon of instant espresso powder to deepen the chocolate notes. For a tangier twist, mix 2 ounces of softened cream cheese into the marshmallow filling. You can also swap the vanilla for almond extract for a subtle nutty undertone.
Serving Suggestions
These shine at birthday parties, bake sales, and holiday gatherings. I've found they're especially popular for Valentine's Day with their vibrant red color. Plate them on a vintage cake stand for maximum impact.
- Dust the tops with powdered sugar just before serving for a snow-kissed look
- Roll the edges of the filling in sprinkles for extra fun
- Pair with cold milk or hot coffee to balance the sweetness
 Save
Save There's something magical about biting through that soft red exterior into the cloud-like center. These aren't just desserts, they're little handheld moments of joy that bring out the kid in everyone.
Recipe Questions & Answers
- → What gives the whoopie pies their red color?
-
The vibrant red hue comes from the addition of red food coloring, either liquid or gel, mixed into the batter before baking.
- → How is the marshmallow filling prepared?
-
Butter is beaten until smooth, then powdered sugar is gradually incorporated. Marshmallow crème, vanilla extract, and a pinch of salt are added and beaten until fluffy and smooth.
- → Can I make the cookies ahead of time?
-
Yes, the cookies can be baked and cooled ahead. Store them in an airtight container at room temperature for up to 2 days before assembling.
- → What texture should the cookies have when done?
-
The cookies should be soft and cake-like, springing back lightly when touched, indicating they're perfectly baked but still tender.
- → Are there any allergen considerations?
-
This preparation contains wheat gluten, eggs, dairy products like butter and buttermilk, and may include soy depending on marshmallow crème ingredients.
