 Save
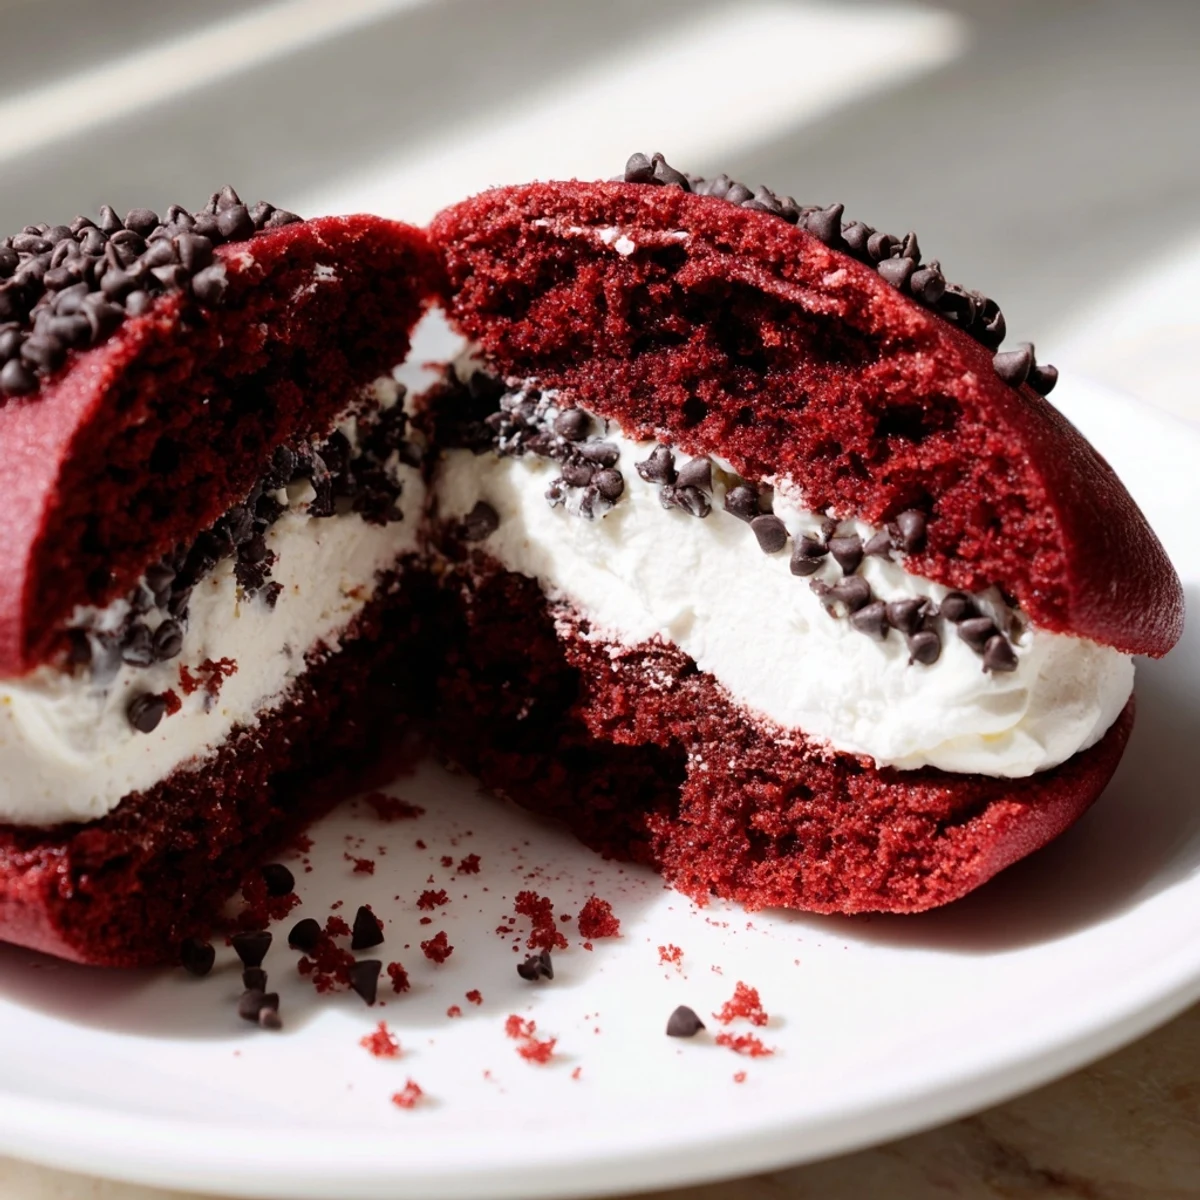
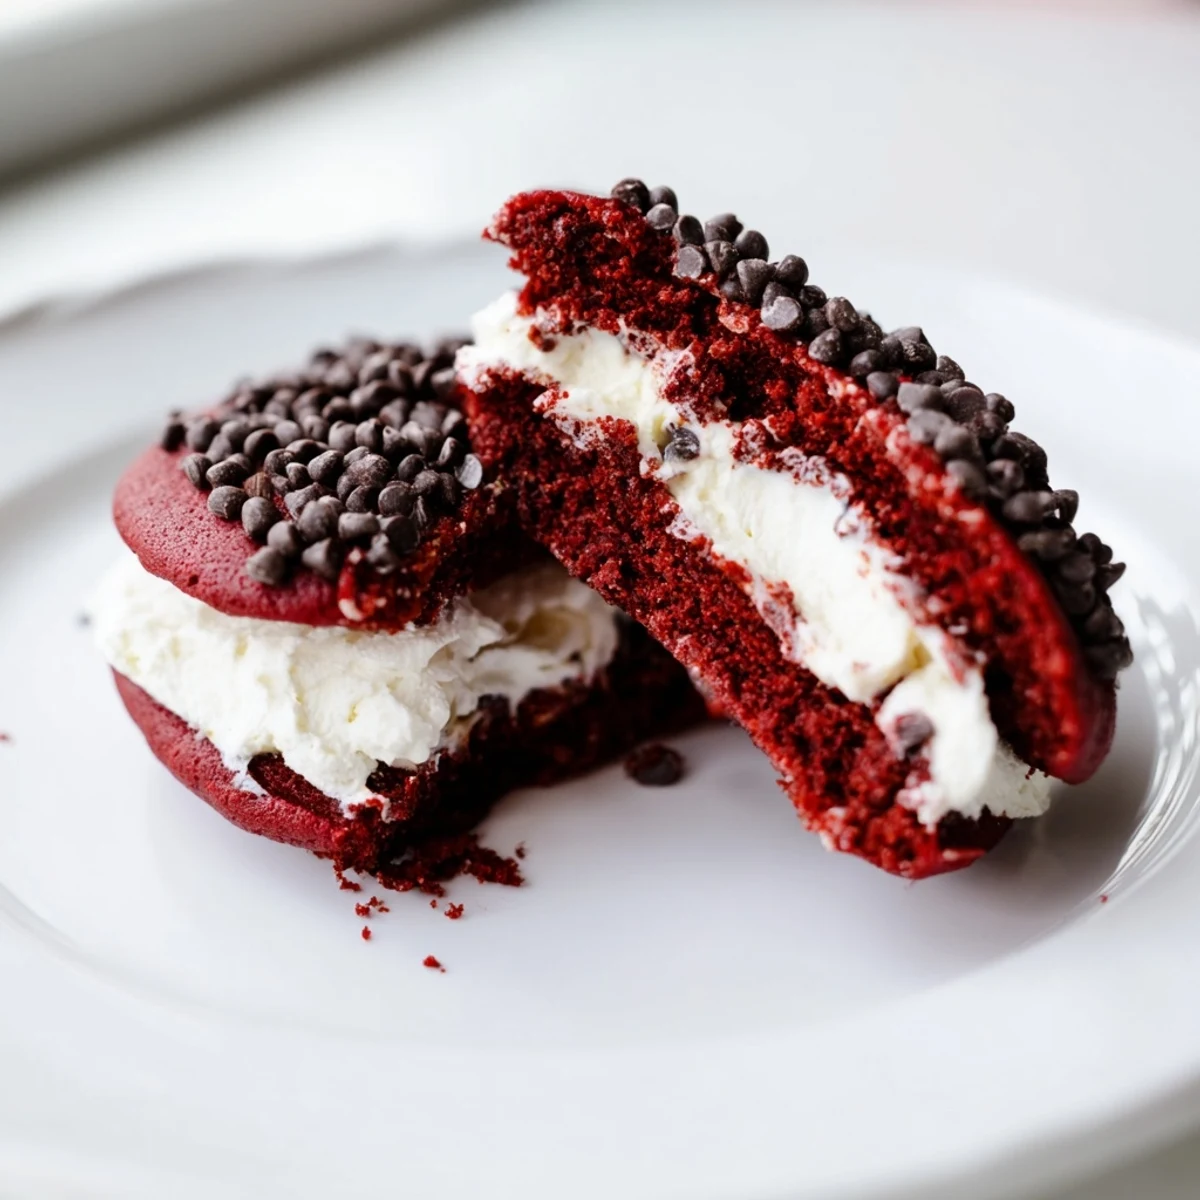
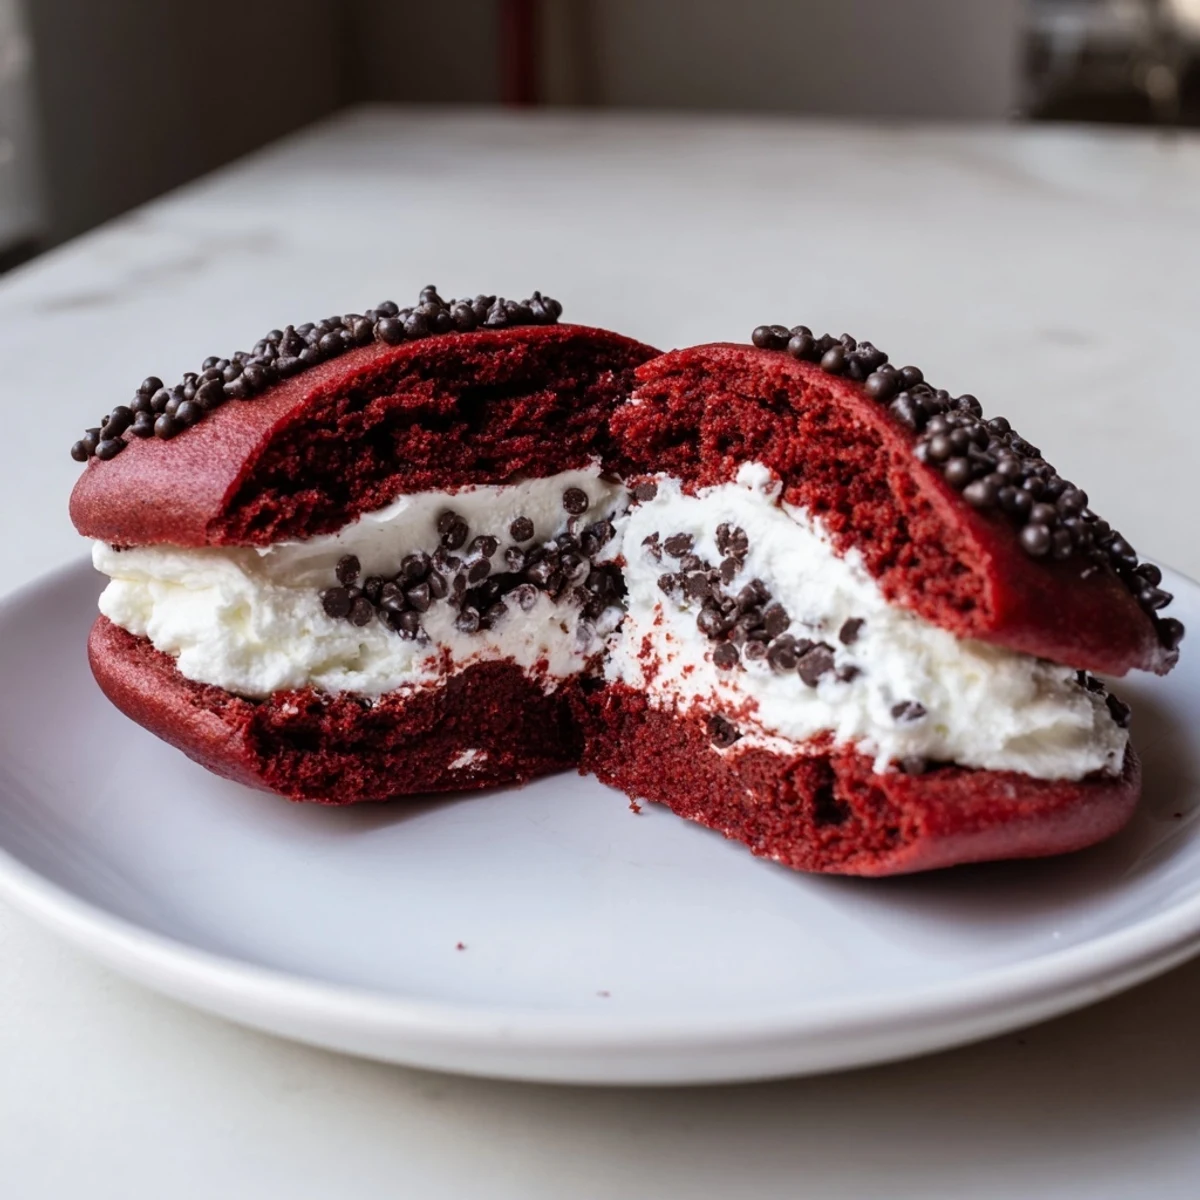
Save These whoopie pies feature tender red velvet cakes made with cocoa and buttermilk, creating a soft and moist texture. The marshmallow cream filling is light, fluffy, and subtly sweet, offering a creamy contrast. Easy to assemble and perfect chilled or fresh, they make a festive and satisfying treat suitable for any occasion. Variations like rolling edges in mini chocolate chips add extra flair.
The first time I made red velvet whoopie pies, I accidentally dyed my kitchen counter bright pink. My roommate walked in, took one look at the chaos, and asked if we'd started a bakery. Those pillowy little sandwiches disappeared faster than I could pipe the filling, and I realized some messes are absolutely worth making.
I brought a batch to my niece's birthday party last spring, and her dad hid three of them in the back of the fridge before the kids even realized they were there. We ended up texting each other at midnight about who got the last one. Now they're my most requested treat for family gatherings.
Ingredients
- All-purpose flour: The foundation that gives these cakes their structure without making them tough or dry
- Unsweetened cocoa powder: Just enough to deepen the flavor and add that classic red velvet undertone without overwhelming the delicate taste
- Baking powder and baking soda: This double combination ensures the cakes puff up beautifully and stay light as air
- Unsalted butter: Room temperature butter is non-negotiable here, it creates the tender crumb that makes these so addictive
- Granulated sugar: Sweetens and helps create that lovely cracked top that whoopie pies are famous for
- Large egg: Adds richness and helps bind everything together into a cohesive batter
- Vanilla extract: Pure vanilla makes both the cakes and filling taste professionally made
- Buttermilk: The secret ingredient that makes red velvet so moist and gives it that signature subtle tang
- Red food coloring: Gel coloring will give you that vibrant restaurant-quality red without watering down your batter
- Powdered sugar: Sifting it first prevents any lumpy surprises in your silky smooth filling
- Marshmallow creme: This creates that impossibly fluffy texture that puts regular buttercream to shame
- Pinch of salt: Just enough to make all the flavors pop and prevent the filling from cloying
Instructions
- Get your oven ready:
- Preheat to 350°F and line your baking sheets with parchment paper so nothing sticks and cleanup is a breeze
- Whisk the dry team:
- In a medium bowl, combine flour, cocoa powder, baking powder, baking soda, and salt until everything is evenly distributed
- Cream the butter and sugar:
- Beat them together for a full 3 minutes until the mixture looks pale and fluffy, this is what makes your cakes tender
- Add the egg and vanilla:
- Beat until completely incorporated, scraping down the sides so no ingredient escapes
- Make it red:
- Pour in your food coloring and mix until the batter looks like velvet, streaks of white mean you need to keep going
- Combine wet and dry:
- Alternate adding your flour mixture and buttermilk, starting and ending with the dry ingredients, mixing until just combined
- Scoop and space:
- Drop 24 mounds onto your prepared sheets, leaving 2 inches between them because these will spread into perfect little rounds
- Bake to perfection:
- Cook for 10-12 minutes until the tops spring back when touched gently, overbaking makes them dry
- Make the filling magic:
- Beat your butter until creamy, add powdered sugar until fluffy, then fold in marshmallow creme, vanilla, and salt
- Assemble your creations:
- Spread a generous tablespoon of filling on half the cakes and top with the remaining ones to form sandwiches
 Save
Save These became my go-to comfort food during a particularly rough winter. Something about that bright red color peeking out from between clouds of white filling made even the grayest days feel a little more hopeful. My friend started calling them my personal therapy in dessert form.
Making Them Yours
I've started rolling the edges in different things depending on the occasion. Crushed peppermint for Christmas, rainbow sprinkles for kids' birthdays, or even mini chocolate chips when we need extra chocolate. It's such a simple touch that makes them look like they came from a fancy bakery.
Storage Secrets
These actually taste better on day two when the flavors have had time to mingle and the filling has slightly softened the cakes. Keep them in an airtight container in the refrigerator, but let them sit at room temperature for about 15 minutes before serving. That chill gives them an amazing texture contrast.
Perfect Pairings
A glass of cold milk is the classic choice, but I've discovered that these are incredible with a cup of strong black coffee. The bitterness cuts through all that sweetness perfectly and turns them into a sophisticated afternoon treat. For something different, try them with a glass of champagne, the bubbles make the marshmallow filling feel even lighter.
- Use a cookie scoop for uniformly sized pies that look professional
- If your batter looks too thick, add buttermilk one tablespoon at a time
- These freeze beautifully, just wrap them individually and thaw overnight
 Save
Save There's something joyful about food that's meant to be eaten with your hands. These whoopie pies remind me that the best desserts are the ones that make you smile before you even take that first bite.
Recipe Questions & Answers
- → What makes the cakes soft and moist?
-
The combination of buttermilk, unsweetened cocoa powder, and creamed butter and sugar creates a tender red velvet cake with a moist crumb.
- → Can I substitute buttermilk?
-
Yes, use 1 cup of whole milk mixed with 1 tablespoon of lemon juice or vinegar as a buttermilk alternative.
- → How do I get a vibrant red color?
-
Gel food coloring provides a more vivid red hue compared to liquid coloring while maintaining batter consistency.
- → What allergens should I be aware of?
-
These treats contain wheat (gluten), eggs, dairy, and possibly soy depending on the marshmallow creme brand.
- → How should I store the finished pastries?
-
Store in an airtight container in the refrigerator for up to three days to keep them fresh and maintain texture.
- → Any tips for assembling the whoopie pies?
-
Spread a generous tablespoon of marshmallow filling on the flat side of half the cakes, then sandwich with the remaining cakes evenly.
