 Save
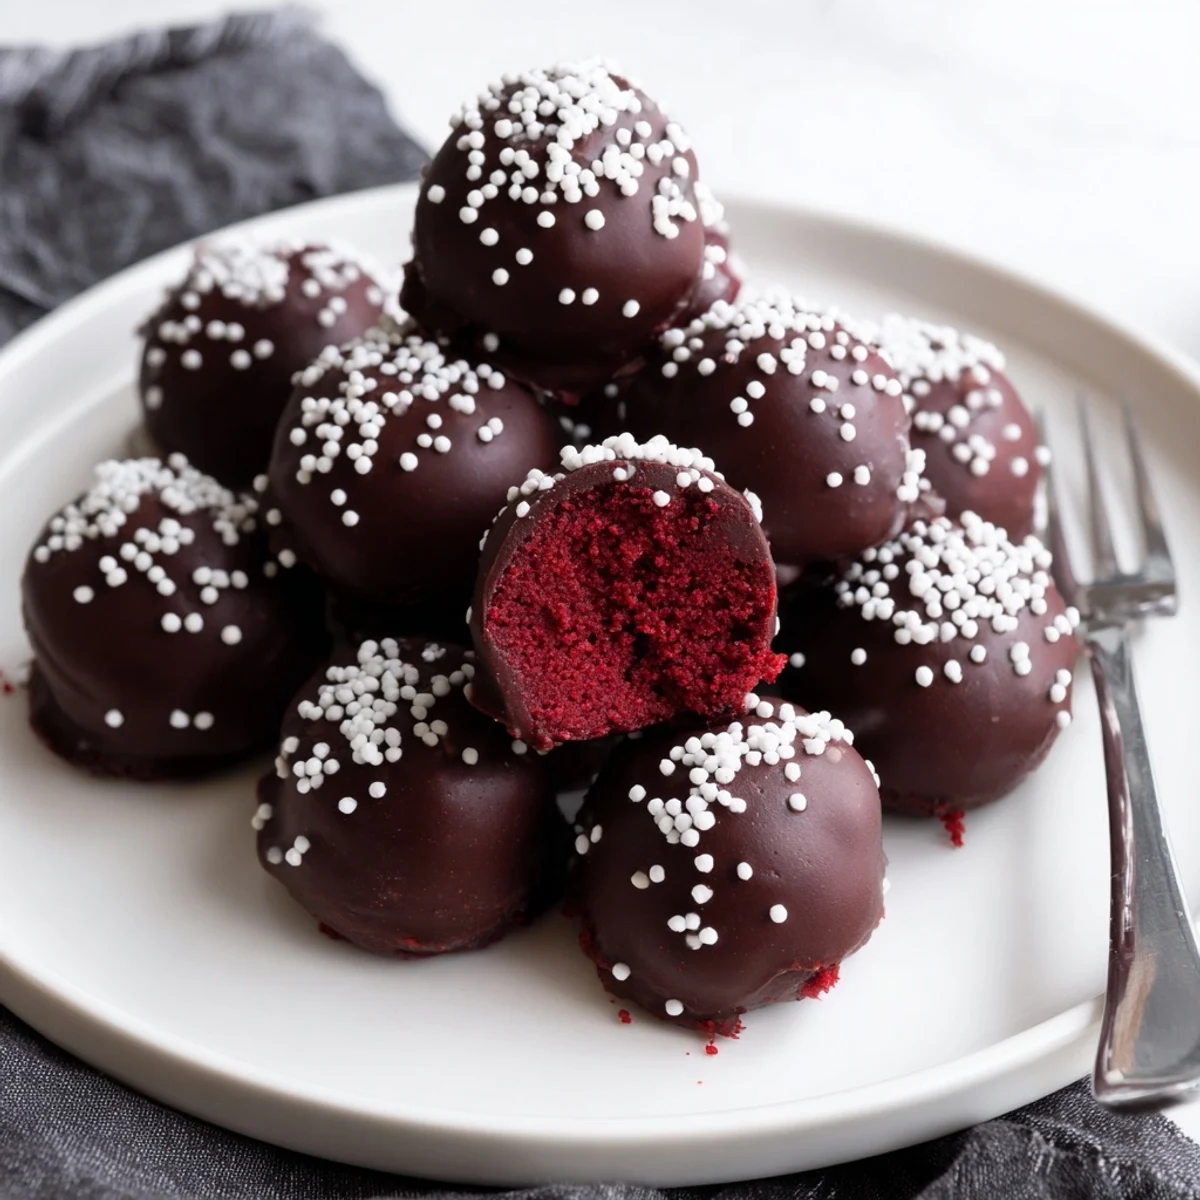
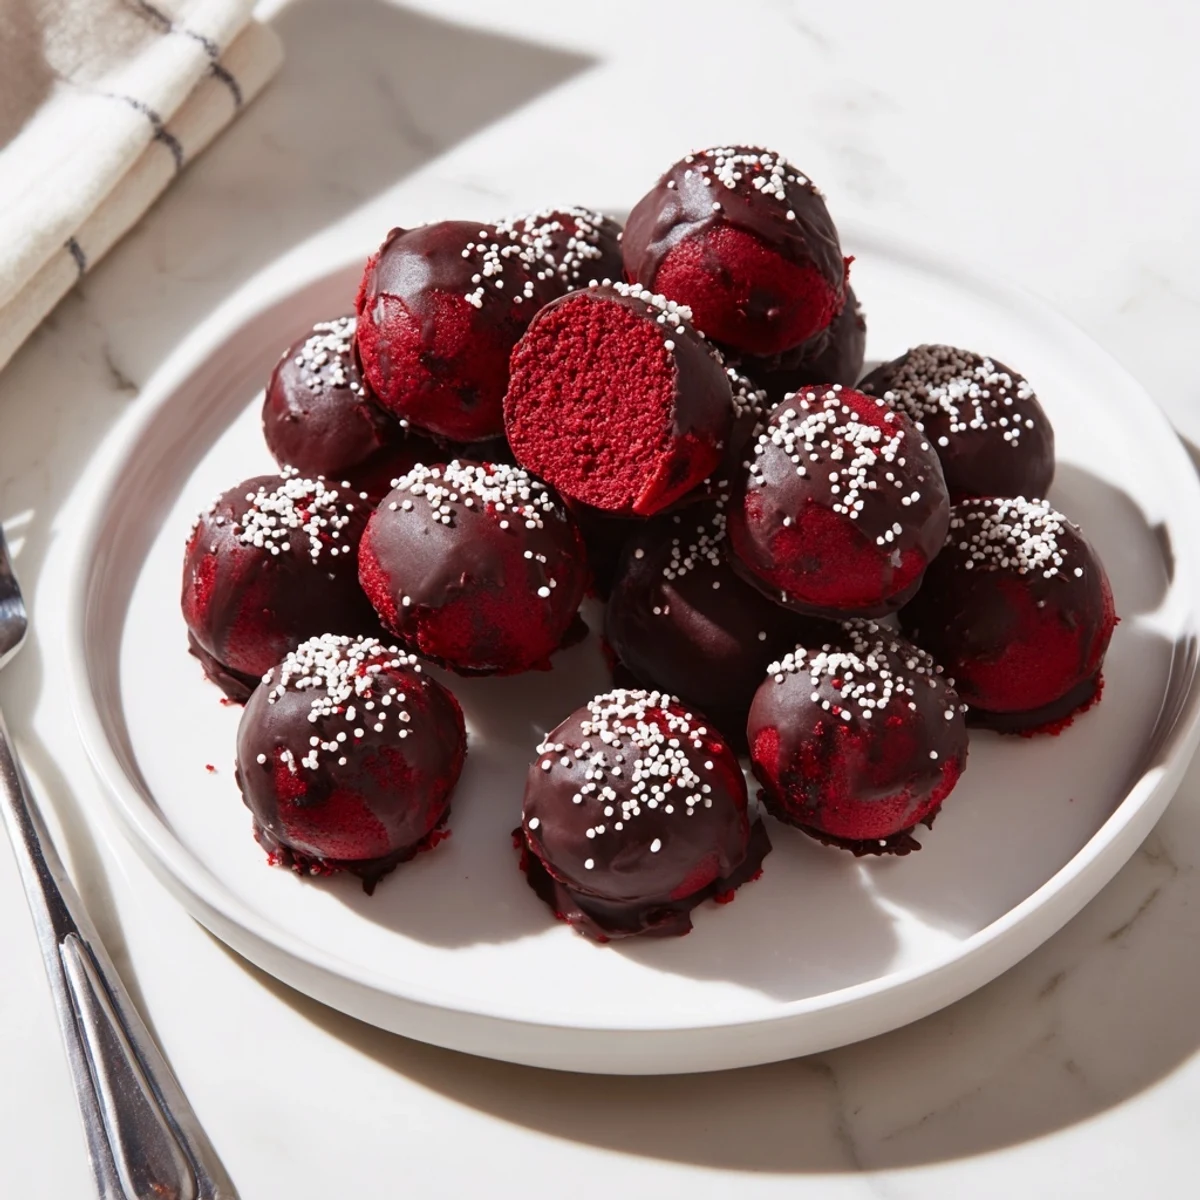
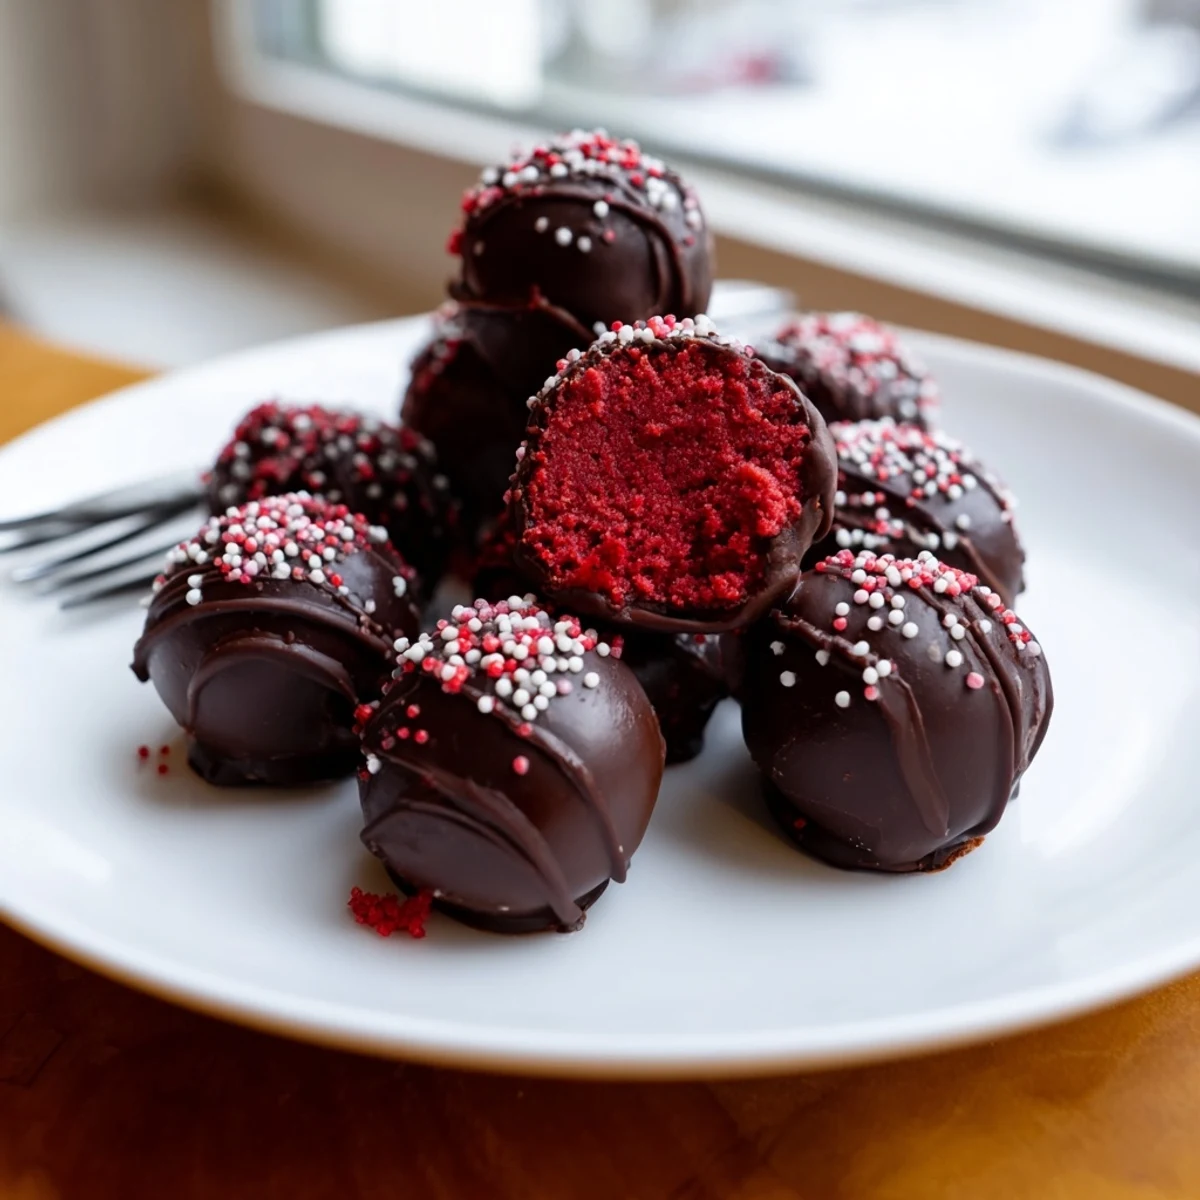
Save These luxurious bite-sized treats combine moist red velvet cake with a smooth, creamy cheesecake filling, all enrobed in a glossy chocolate shell. The process starts with baking a tender red velvet cake from scratch, which is then crumbled and mixed with a sweetened cream cheese blend. After chilling and rolling into uniform spheres, each ball is dipped in melted chocolate and optionally decorated with festive sprinkles.
The result is a decadent two-in-one dessert that delivers the classic flavors of red velvet and cheesecake in every bite. They're ideal for entertaining, gift-giving, or whenever you crave something indulgent yet portion-controlled.
My kitchen looked like a crime scene the first time I made these, red batter streaked across the counter and somehow on my forehead, but those perfectly round little bites emerging from their chocolate shells made the mess worth every paper towel.
I brought a tray of these to my neighbors holiday potluck last December and watched a woman quietly eat four of them while standing behind the buffet table, pretending she was just rearranging plates.
Ingredients
- Red Velvet Cake Base: You need 1 1/4 cups all-purpose flour, 3/4 cup granulated sugar, 2 tablespoons unsweetened cocoa powder, 1/2 teaspoon baking soda, and 1/4 teaspoon salt whisked together for the dry foundation.
- Wet Ingredients: Combine 1/2 cup room temperature buttermilk, 1/2 cup softened unsalted butter, 2 large room temperature eggs, 1 teaspoon vanilla extract, and 1 tablespoon red food coloring to get that signature crimson hue.
- Cheesecake Filling: Beat 8 ounces softened cream cheese with 1/4 cup powdered sugar and 1/2 teaspoon vanilla until silky smooth, then chill briefly if it gets too soft to handle.
- Chocolate Coating: Use 10 ounces of good quality white or dark chocolate, chopped or in melting wafers, because the coating is the first thing people taste and cheap chocolate betrays everything underneath.
- Optional Sprinkles: Red or white sprinkles add a festive crunch but are entirely up to you and the occasion.
Instructions
- Bake the Red Velvet Cake:
- Preheat your oven to 350 degrees F, grease and line an 8 by 8 inch pan, then whisk the dry ingredients in one bowl and the wet ingredients in another before folding them together into a smooth crimson batter. Pour it into the pan and bake for 18 to 20 minutes until a toothpick slides out clean, then let it cool completely because warm cake will melt your cheesecake filling into a sticky mess.
- Whip the Cheesecake Filling:
- Beat the cream cheese, powdered sugar, and vanilla in a medium bowl until the mixture is completely smooth with no lumps hiding in the corners. If your kitchen is warm and it feels too soft, give it 15 minutes in the refrigerator to firm up.
- Build the Balls:
- Crumble the cooled cake into fine pieces in a large bowl, add the cheesecake mixture, and work it together with your hands until it forms a cohesive dough that holds its shape. Roll into 1 inch balls and set them on a parchment lined sheet, then freeze for a full hour because firm balls mean clean dipping later.
- Dip in Chocolate:
- Melt the chocolate in 20 second bursts in the microwave, stirring between each burst until the mixture is glossy and fluid, then lower each frozen ball in using a fork and let the excess drip off before placing it back on the parchment. Add sprinkles immediately while the chocolate is still wet because it sets faster than you expect.
- Let Them Set:
- Allow the chocolate to harden at room temperature or slide the tray into the refrigerator for faster results, then serve them chilled or at room temperature depending on how impatient your guests are.
 Save
Save The moment these went from a messy experiment to something I would proudly gift in a little bakery box was when I realized food does not need to be complicated to feel special.
Choosing Your Chocolate Coating
White chocolate gives a striking contrast against the red interior and looks elegant with red sprinkles, while dark chocolate adds a bittersweet edge that balances the sweetness of the cake. I once tried ruby chocolate on a whim and the fruity tang paired beautifully with the cheesecake, so experiment when the mood strikes you.
Making These Ahead for Gatherings
These balls store brilliantly in an airtight container in the refrigerator for up to a week, and they freeze for a full month which means you can batch make them well before any event. Just layer parchment between them so the chocolate shells do not stick together and scratch.
Fun Variations to Try
A splash of Bailey or Chambord folded into the cheesecake filling turns these into a decidedly adult treat that disappears twice as fast at dinner parties. You can also roll the finished balls in crushed cookies, toasted coconut, or even crushed pistachios instead of sprinkles for texture that surprises people.
- Try rolling the undipped balls in crushed graham crackers for a cheesecake crust vibe before freezing.
- A tiny dash of espresso powder in the cake batter deepens the cocoa flavor without making it taste like coffee.
- Always taste your melted chocolate before dipping to make sure it has not scorched or picked up a waxy texture.
 Save
Save Roll up your sleeves, accept that your hands will be stained red for an afternoon, and trust that the first bite will make you forget all the cleanup.
Recipe Questions & Answers
- → How long do red velvet cheesecake balls stay fresh?
-
Store in an airtight container in the refrigerator for up to 1 week, or freeze for up to 1 month. Bring chilled balls to room temperature for 10–15 minutes before serving for optimal texture and flavor.
- → Can I use boxed red velvet cake mix instead?
-
Absolutely! Using a boxed cake mix works perfectly and saves time. Prepare according to package instructions, cool completely, then crumble and combine with the cheesecake mixture as directed in the original method.
- → What type of chocolate coating works best?
-
Both white and dark chocolate create delicious results. White chocolate offers a sweeter, creamier contrast, while dark chocolate provides a richer, slightly bittersweet balance. Melting wafers or chocolate chips with added coconut oil help achieve a smooth, dippable consistency.
- → Why are my balls falling apart when rolling?
-
This typically means the mixture is too warm or dry. Ensure the cake has cooled completely and the cheesecake filling is properly chilled. If the mixture feels crumbly, add a teaspoon of softened cream cheese or a splash of milk to bind it together. Refrigerating the dough for 15–30 minutes also helps.
- → Can I make these ahead for a party?
-
Yes! Prepare and coat the balls up to 2 days in advance, storing them layered between parchment paper in an airtight container. Keep refrigerated until ready to serve, then bring to room temperature 15 minutes before your event for the best texture.
- → What's the best way to melt chocolate for coating?
-
Melt chocolate in 20-second intervals in the microwave, stirring between each session to prevent seizing. Alternatively, use a double boiler over gently simmering water. Adding 1 teaspoon of coconut oil or vegetable shortening helps create a smoother, more workable consistency for dipping.
