 Save
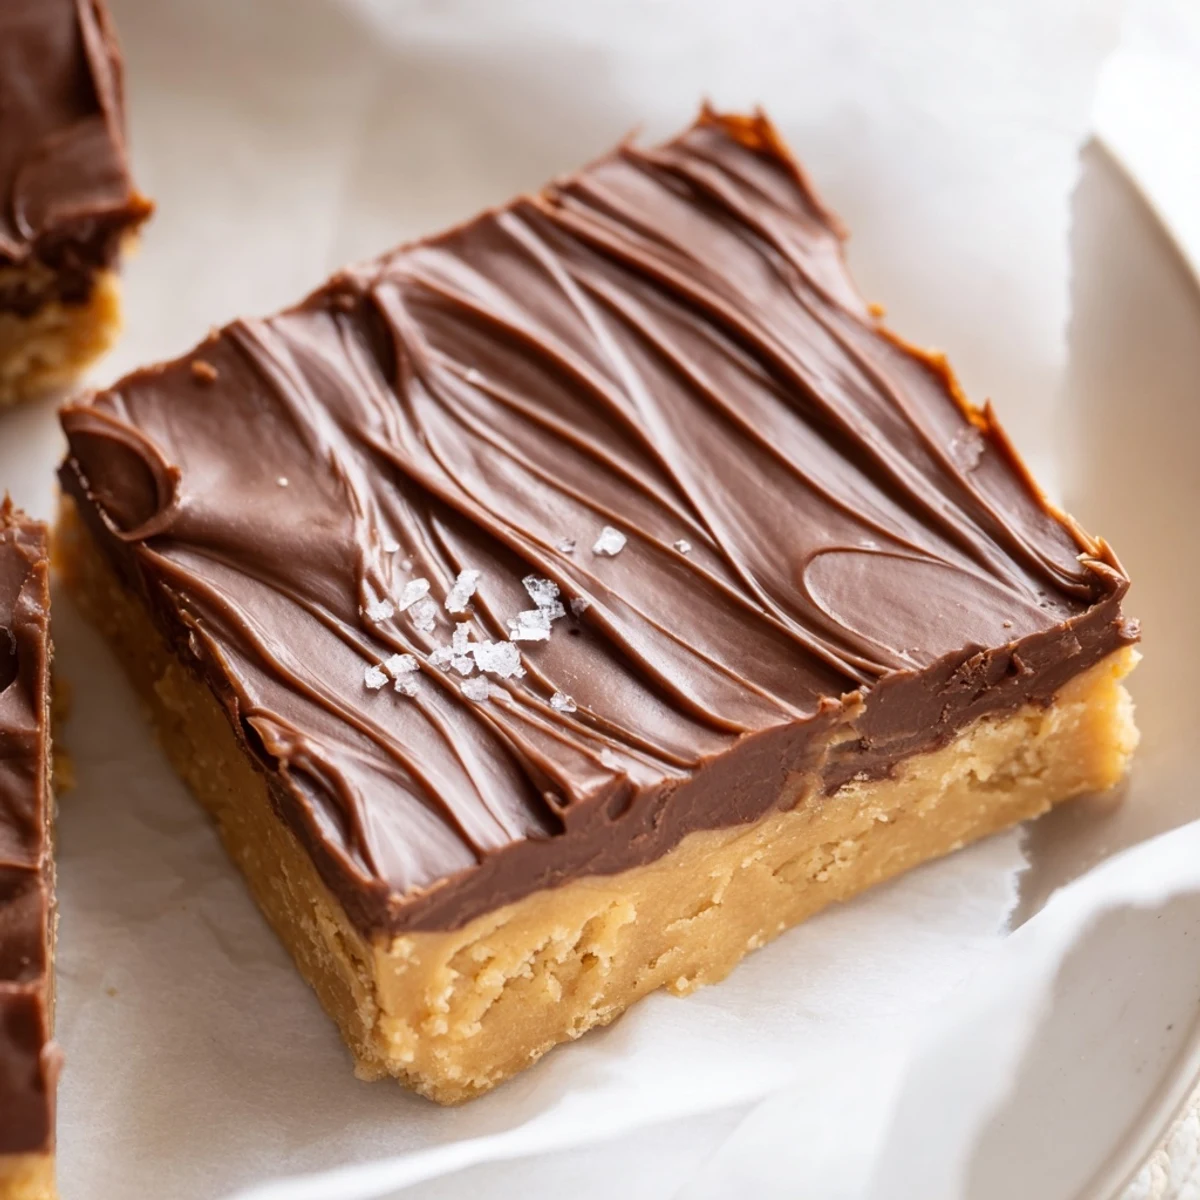
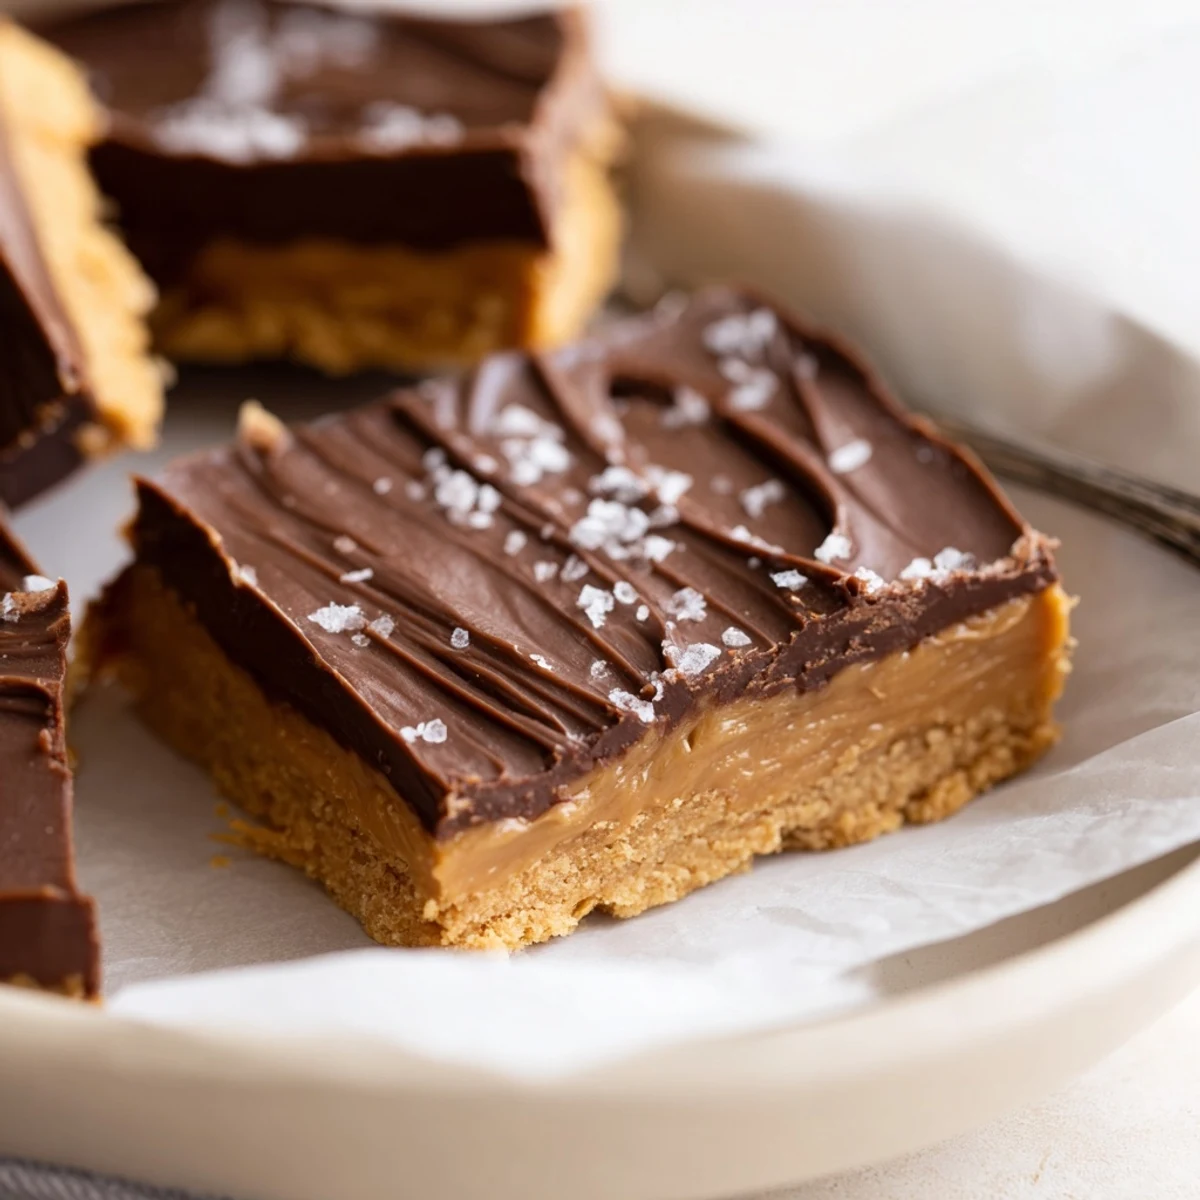
Save These no-bake peanut butter bars pair a dense, buttery peanut base with a glossy chocolate-peanut topping. Mix melted butter and peanut butter with powdered sugar and graham crumbs, press into an 8x8 pan, melt chocolate with a bit of peanut butter for the glaze, and refrigerate at least 2 hours until firm. Slice into 16 squares and enjoy; variations include chunky peanut swaps, sea salt, or gluten-free crumbs.
The first time I tried making these No Bake Peanut Butter Bars, there was a low hum of summer rain outside and a craving for something sweet that wouldn’t require turning on the oven. I remember searching for a dessert that could come together fast and satisfy the persistent peanut butter and chocolate urge that had settled over me all week. There’s something quietly thrilling about recipes that promise indulgence with just a wooden spoon and a handful of pantry ingredients. Little did I know how addictive these chilled bars would become in my kitchen.
I once made these bars for an impromptu movie night when some friends dropped by without warning. The bars hadn’t even finished their chill in the fridge, but we all agreed—spooning semi-set squares straight from the tray added to the fun. Now whenever I see that old parchment paper lined pan, I remember the laughter and smeared chocolate fingerprints.
Ingredients
- Creamy peanut butter: Using the classic, shelf-stable kind guarantees smooth, luscious bars—if you use a natural peanut butter, be sure to stir it well so it doesn’t separate.
- Unsalted butter, melted: Melted butter melds beautifully with the peanut butter and helps everything hold together; be careful not to let it get too hot and cook your sugar.
- Powdered sugar: This gives the bars their signature melt-in-your-mouth sweetness—if you want a more tender bite, sift it first for extra smoothness.
- Graham cracker crumbs: These anchor the bars with a subtle crunch and slight saltiness; digestive biscuits work too in a pinch.
- Vanilla extract: Don’t skip this—just a touch rounds out the flavors.
- Semi-sweet chocolate chips: They melt into a glossy, perfect layer; dark or milk chocolate chips will tweak the intensity if you’re feeling adventurous.
- Creamy peanut butter (for topping): Just a quarter cup swirled in makes the topping decadently creamy and rich.
Instructions
- Prep the pan:
- Line your square baking pan with a generous sheet of parchment paper, leaving the sides poking out for a fun, easy lift later.
- Mix the base:
- In your biggest bowl, stir up the melted butter and peanut butter until you catch the nutty scent and the mixture looks glossy.
- Combine the dry ingredients:
- Add powdered sugar and graham cracker crumbs, then pour in vanilla; mix until everything clumps together into a thick, slightly gritty dough.
- Press and smooth:
- Pat the peanut butter mixture into the prepared pan, pressing down and smoothing the surface with a spatula—don’t worry if it’s not perfect, just make sure it’s even.
- Melt the topping:
- In a microwave-safe bowl, combine chocolate chips and the extra peanut butter; heat in bursts, stirring after each, until it pours like thick silk.
- Spread and chill:
- Spread the chocolate topping over the base in quick, even swipes, then pop the pan into the fridge for at least two hours or until it feels set when you press lightly.
- Slice and serve:
- Use the parchment overhang to lift out the slab, cut into neat bars, and steal one for yourself before they disappear.
 Save
Save There was this quiet afternoon when I sliced the bars for my grandmother, and she insisted on wrapping a few for her bridge club. Seeing her delighted face—then hearing days later that the tray vanished in minutes—reminded me why sharing sweets never gets old.
Turn Boring Afternoons Into Treat-Ready Moments
One of the best things about these bars is you can throw them together while chatting, cleaning the kitchen, or even multitasking with a podcast in the background. The hands-on time is so short that it almost feels like cheating when dessert turns out this good.
Easy Ingredient Swaps For Custom Flavors
If you’re out of graham crackers, don’t panic—digestive biscuits or even plain cookies do the trick. I once crumbled up gluten-free ginger cookies for a spicy hint and loved the contrast with the sweet filling.
How To Store And Share With Zero Fuss
Chill the bars in an airtight container and they’ll keep their texture all week in the fridge, making them perfect for last-minute guests or lunchbox surprises. When giving them away, a little wax paper between squares saves you from chocolate smudged wrappers.
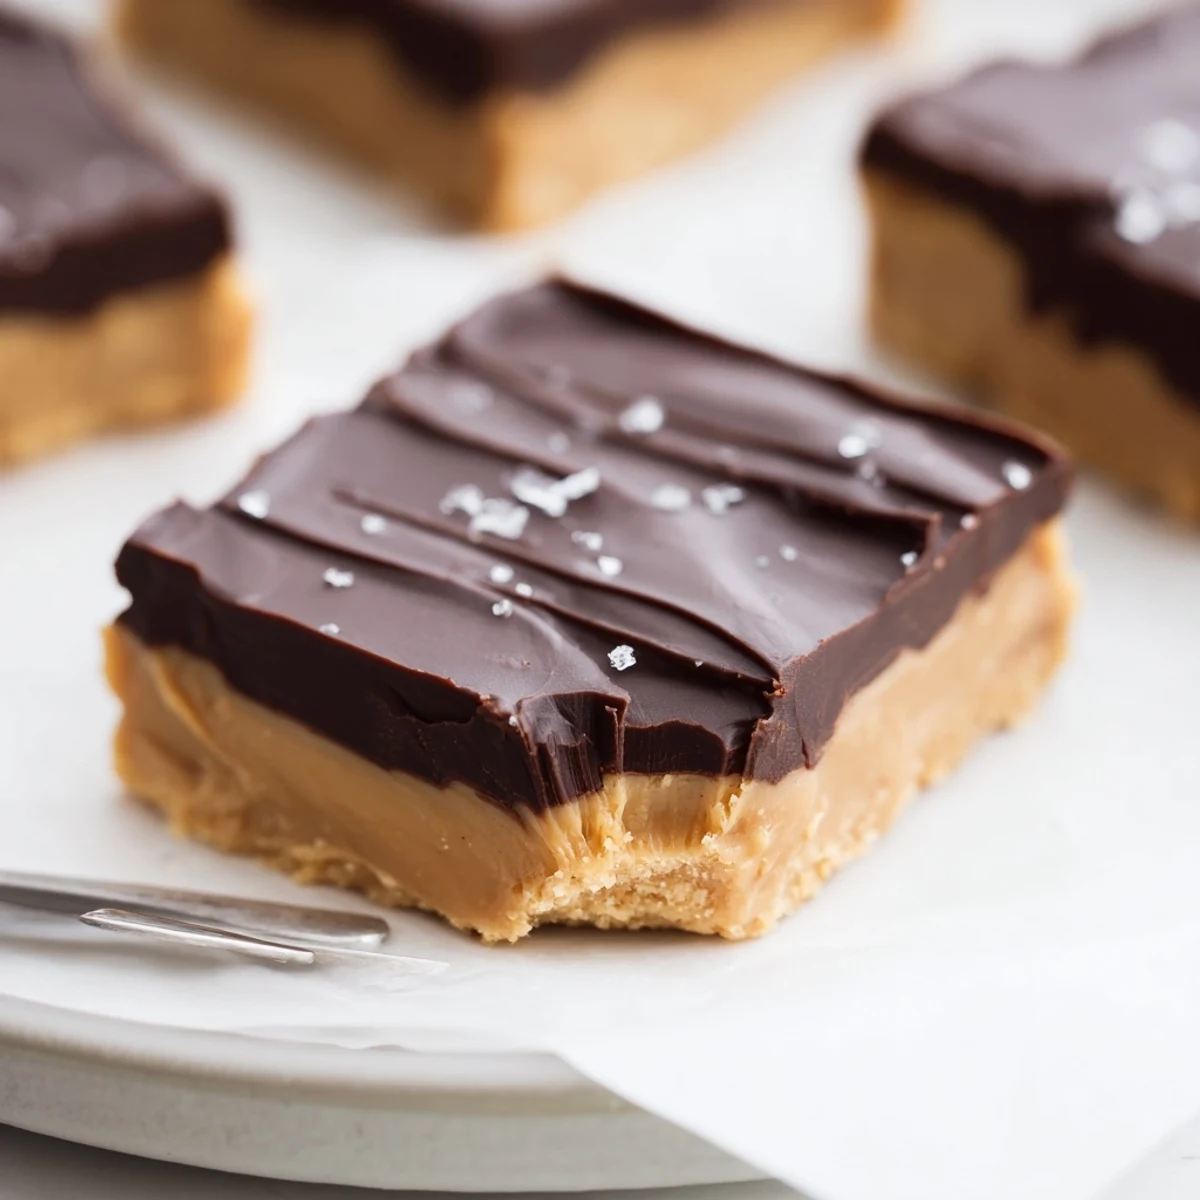
- If you’re serving at a party, cut the bars smaller for bite-sized pieces.
- Watch out: they vanish faster than you expect, so stash away a bar for yourself first.
- Don’t forget—a sprinkle of sea salt just before serving is pure magic.
 Save
Save These bars turn any ordinary day into a little celebration—no oven, no fuss, just plenty of peanut-buttery joy. Enjoy and remember to sneak an extra bar for yourself.
Recipe Questions & Answers
- → How do I get clean, neat slices?
-
Chill the bars completely until firm, then use a sharp knife warmed briefly in hot water and wiped dry between cuts to get smooth edges.
- → Can I use crunchy peanut butter?
-
Yes—chunky peanut butter adds texture. You can also fold in chopped roasted peanuts for extra crunch in the base.
- → What's the best way to melt the chocolate topping?
-
Melt in 30-second microwave intervals, stirring between bursts, or use a double boiler over simmering water to avoid burning and achieve a glossy finish.
- → How can I make these gluten-free?
-
Substitute graham cracker crumbs with certified gluten-free cookies or use finely ground almond flour for a different but tasty base.
- → How should I store leftovers?
-
Store in an airtight container in the refrigerator for up to one week. For longer storage, freeze individual bars wrapped tightly for up to 2 months.
- → Can I reduce the sweetness?
-
Yes—use slightly less powdered sugar in the base or choose darker chocolate for the topping to balance sweetness without changing texture too much.
