 Save
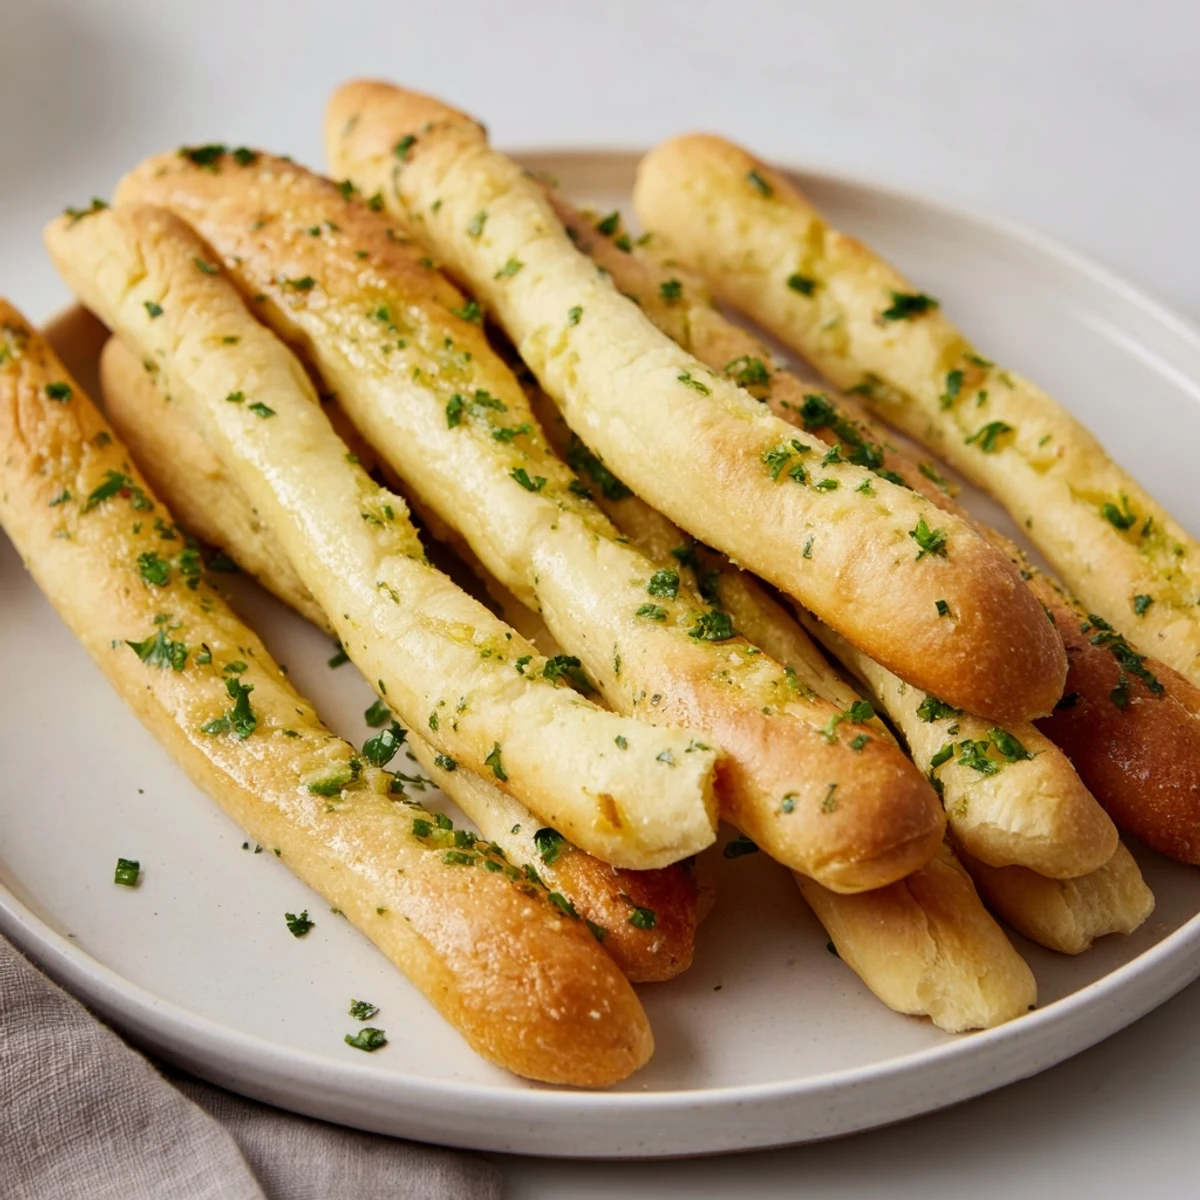
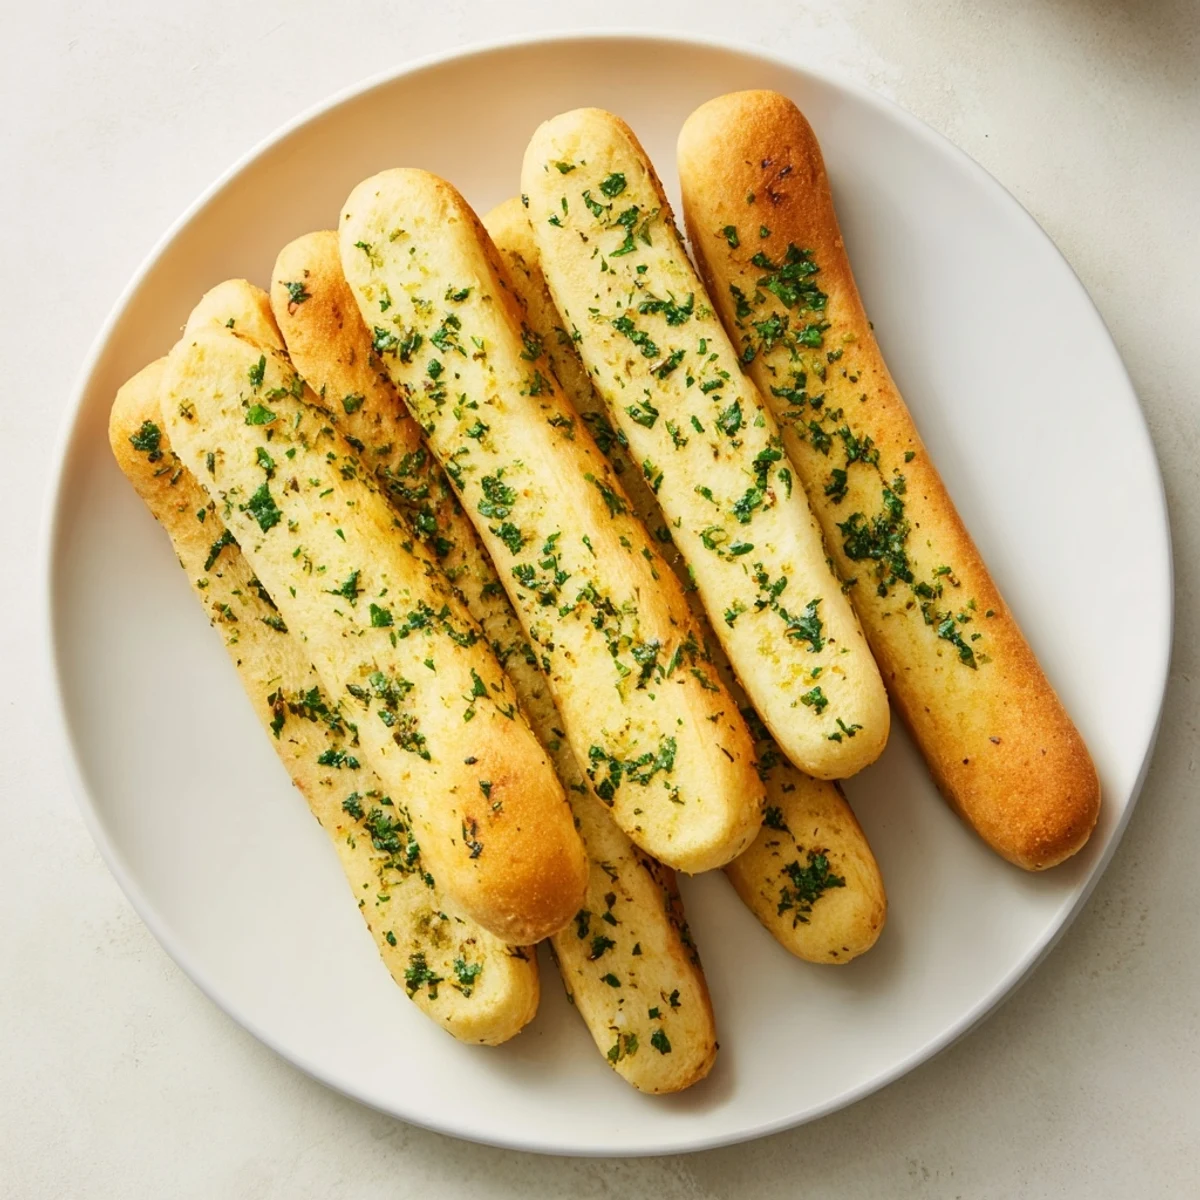
Save These soft and fluffy breadsticks are infused with a rich garlic butter that adds a savory depth to each bite. Made from a simple dough of flour, water, yeast, and olive oil, they rise twice for perfect texture. After baking until golden, they’re brushed with melted garlic butter and sprinkled with fresh parsley for an appetizing finish. Ideal as a warm accompaniment to pasta, soups, or salads.
The process is straightforward, beginning with activating yeast in warm water, kneading the dough until soft, and allowing it to rise before shaping into individual sticks. A second rise ensures airiness, followed by baking at 400°F until golden brown. Brushing with garlic butter before and after baking enhances flavor and moisture. For added zest, sprinkle with Parmesan or try a vegan butter alternative.
I remember the first time I made garlic breadsticks from scratch—it was a lazy Sunday afternoon when my roommate mentioned craving something warm and garlicky to go with leftover marinara sauce. I'd never attempted homemade breadsticks before, but watching that simple dough rise in the bowl felt like magic. Two hours later, the kitchen smelled like heaven, and pulling those golden, buttery sticks from the oven transformed an ordinary weekend into something special. Now, whenever someone asks what I'm making that smells so incredible, it's almost always these.
I'll never forget making a triple batch of these for a dinner party where everything else had gone wrong. The appetizer fell through, the main course timing was off, but when I pulled out those breadsticks still warm from the oven, brushed with that emerald-flecked garlic butter, everyone's faces lit up. My friend Sarah ate four in a row, and that's when I knew I'd found something worth making again and again.
Ingredients
- All-purpose flour (3 1/4 cups): This is your foundation—it develops gluten to give the breadsticks their characteristic chew without being tough. I've learned that leveling off your measuring cup matters here, packed flour can throw off your ratio
- Warm water (1 cup): Think bathwater temperature, around 110°F—too hot kills the yeast, too cold and nothing happens. I always test with my inner wrist like checking baby formula
- Granulated sugar (2 tbsp): This feeds the yeast and helps it spring to life, but it also adds just enough sweetness to balance the savory garlic
- Active dry yeast (2 1/4 tsp): One packet of the good stuff—I learned the hard way that old yeast sitting in the pantry for two years won't give you any rise at all
- Salt (1 1/2 tsp for dough): Essential for flavor, but add it after the yeast activates so it doesn't inhibit the rise
- Olive oil (3 tbsp): This keeps the dough tender and adds richness that all-purpose flour alone can't provide
- Unsalted butter (5 tbsp, melted): For the garlic butter finish—unsalted lets you control the salt level since you're adding more later
- Fresh garlic (3 cloves, minced): Freshly minced makes all the difference in the world; jarred garlic tastes flat by comparison
- Fresh parsley (1 tbsp, chopped): This isn't just decoration—it adds a subtle brightness that keeps the garlic from becoming heavy
Instructions
- Wake up the yeast:
- Pour your warm water into a large bowl, add the sugar, then sprinkle the yeast over top. Don't stir yet—just let it sit for about five minutes. You'll see it become foamy and smell slightly sweet and alive. This is proof that your yeast is ready to work.
- Build your dough:
- Stir the yeast mixture until it's combined, then add the olive oil and salt. Add about two cups of flour and mix with a wooden spoon or your hands until everything starts coming together. Now comes the gradual part—add the remaining flour a bit at a time, mixing as you go. You're looking for a dough that's soft and slightly sticky but holds together. If you're using a stand mixer with a dough hook, this takes about eight minutes on medium speed. By hand, expect about ten minutes of kneading.
- Let it rise (the waiting game):
- Transfer your dough to a lightly oiled bowl, cover it with a clean kitchen towel, and place it somewhere warm—the top of the refrigerator, a turned-off oven, or even a sunny windowsill works. You're waiting for it to roughly double in size, which usually takes an hour. You'll know it's ready when you poke it gently and the indent stays rather than springing back.
- Preheat and prep:
- While the dough finishes its final rise, heat your oven to 400°F and line a baking sheet with parchment paper. This small step saves you so much heartache later.
- Shape into sticks:
- Gently punch down your dough—don't be aggressive, just deflate it a bit. Divide it into 12 roughly equal pieces. This is easier if you use a bench scraper or even just your hands. Take each piece and roll it into a rope about seven inches long, like you're making fancy bread for a fancy dinner. Space them a couple of inches apart on your baking sheet.
- Second rise:
- Cover your shaped breadsticks loosely with a kitchen towel and let them rise for about twenty minutes. They should puff up noticeably but won't quite double—this is intentional because they'll continue expanding in the oven.
- Make the magic (garlic butter):
- While the sticks are rising, combine your melted butter with the finely minced garlic and a pinch of salt in a small bowl. Let the garlic infuse into the butter for a few minutes—this is when your kitchen will smell absolutely incredible.
- First garlic brush and bake:
- Using a pastry brush, coat the top of each breadstick with about half your garlic butter. Try to get it into all the nooks and crannies. Slide them into your preheated oven for fifteen to eighteen minutes, watching for them to turn a deep golden brown. The timing depends on your oven—mine runs hot, so I check at fifteen minutes.
- Finish and serve:
- The moment they come out of the oven while they're still steaming, brush them with the remaining garlic butter. This final brushing is what makes the difference between good and unforgettable. Sprinkle with the fresh chopped parsley, and serve them while they're still warm enough to bend slightly without breaking.
 Save
Save There's a moment that happens in our kitchen when breadsticks come together—it's usually around dinner time on a weeknight when everything feels rushed and complicated. Then you pull these from the oven, still steaming, that garlicky aroma filling every corner of the house, and suddenly the evening becomes about gathering around something warm and nourishing. That's when food becomes memory.
The Perfect Pairing
These breadsticks were born to accompany other dishes. A bowl of creamy tomato soup benefits from dunking—the warm, buttery stick softens just enough to soak up the soup while maintaining its shape. With pasta night, they become the side dish people reach for first. I've even served them alongside roasted vegetables with nothing but their own garlic butter, and no one missed the main course. The versatility is part of what makes them so appealing.
Storage and Make-Ahead Tips
Garlic breadsticks are best served immediately, while they still have that just-baked softness. However, life isn't always that straightforward. You can make the dough the night before, let it rise slowly in the refrigerator overnight, then shape and bake it the next day—this actually develops more flavor through cold fermentation. If you have leftovers, wrap them in foil and reheat gently in a 300°F oven for about five minutes, or wrap and freeze for up to three weeks. I usually make a double batch specifically so I have some for the freezer.
When Things Don't Go as Planned
Even though this recipe is straightforward, breadmaking has quirks. Your kitchen temperature affects rise time—in winter it might take longer, in summer it goes faster. The humidity matters too. Rather than fighting these variables, I've learned to trust what the dough tells me rather than watching the clock. If it looks doubled and feels airy when you poke it, it's ready, regardless of time. I once had a friend's dough that barely rose in an hour, but after two hours it was perfect. She'd forgotten her kitchen was cold that day.
- If breadsticks turn out dense, the yeast might have been inactive or the water temperature was off—try again with fresh yeast and a thermometer
- If they're too dark on the outside but raw inside, your oven runs hot—lower the temperature to 375°F next time
- If you forget the second brush of garlic butter, they're still absolutely worth eating, but that final coating really is where the magic lives
 Save
Save Making something from scratch that turns out warm and golden and smells like a real Italian bakery never gets old. These breadsticks remind me every time that the best kitchen moments are the simple ones.
Recipe Questions & Answers
- → How do I achieve soft and fluffy texture?
-
Ensuring the dough rises properly twice and kneading until slightly sticky creates a tender texture. Avoid over-flouring during kneading.
- → Can I prepare the dough in advance?
-
Yes, the dough can be refrigerated after the first rise and baked the next day for convenience with minimal texture change.
- → What alternatives can I use to butter for vegan option?
-
Substitute melted butter with vegan margarine or plant-based spreads, ensuring similar melt and brush consistency.
- → What herbs complement these breadsticks well?
-
Fresh parsley is traditional, but rosemary or thyme also add great aroma and taste when sprinkled before or after baking.
- → How should breadsticks be stored to maintain freshness?
-
Store in an airtight container at room temperature for up to two days or freeze cooled sticks wrapped tightly for longer storage.
- → What dipping sauces pair nicely with garlic breadsticks?
-
Marinara, creamy Alfredo, or basil pesto provide delightful contrasts and enhance the buttery garlic flavor.
