 Save
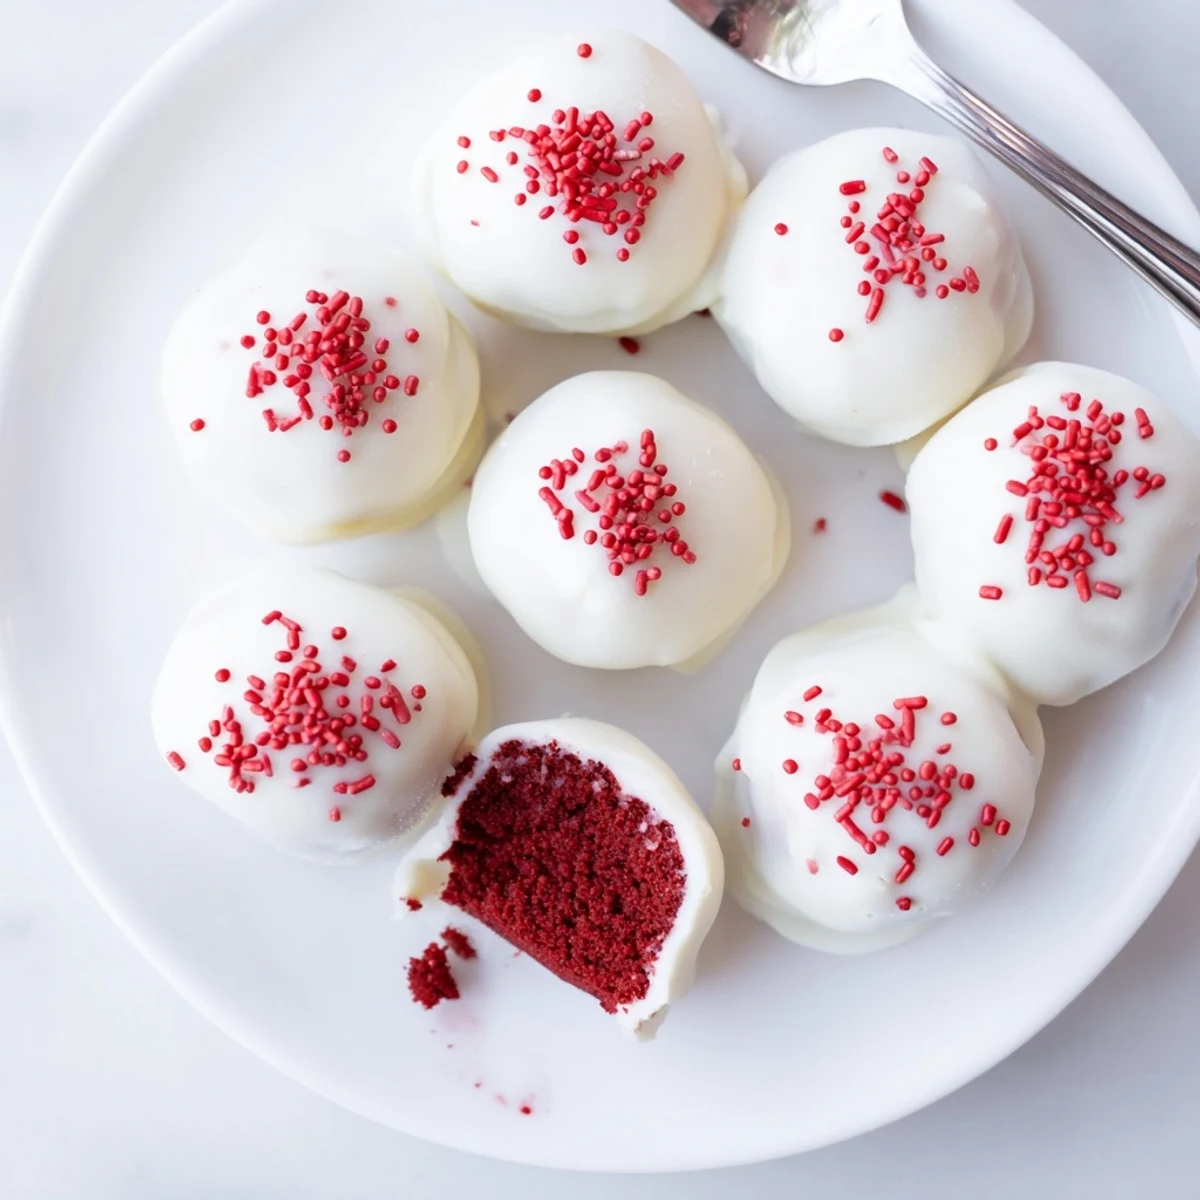
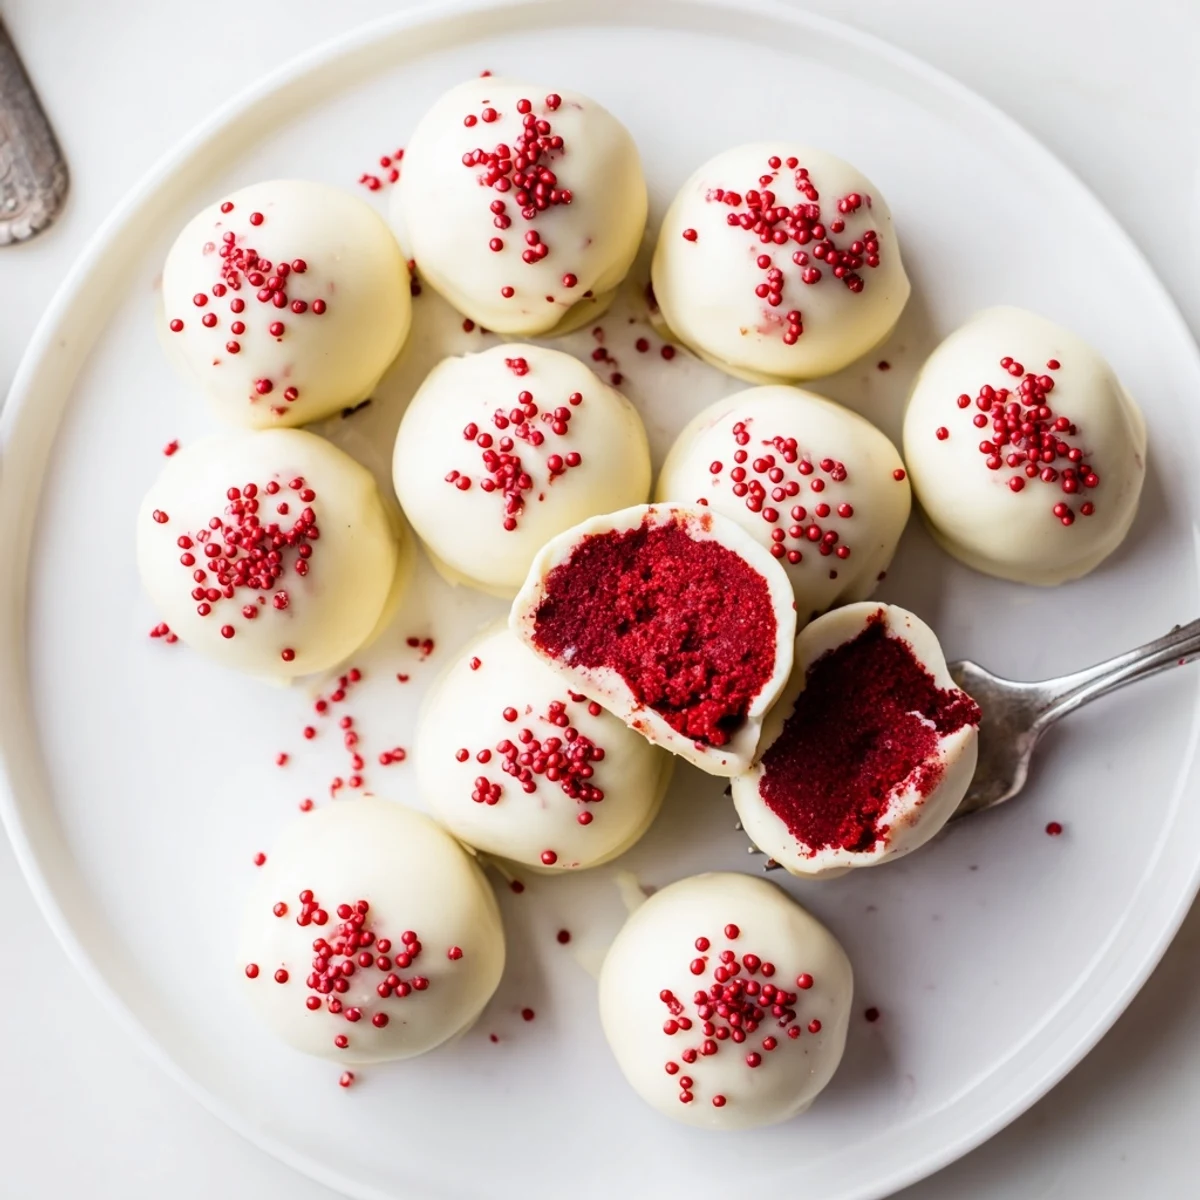
Save These indulgent treats start with a moist red velvet cake crumbled into fine crumbs, then blended with softened cream cheese for a rich, doughy consistency. After chilling, the mixture gets rolled into smooth balls and dipped in melted white chocolate for a creamy, sweet finish.
The coating sets beautifully in the refrigerator, creating a firm shell around the soft, cake-filled center. Top with colorful sprinkles for a festive touch or keep them elegant and plain.
Making these at home lets you control ingredients while achieving bakery-quality results. They store wonderfully for days, making them ideal for preparing ahead of time.
The snow was falling sideways that December afternoon when I decided cake was too much work but truffles sounded just right. I had a half-eaten red velvet cake sitting on the counter from the night before, looking slightly sorry for itself. Something about the combination of that crimson crumb and cream cheese just clicked. Now these little bites show up at every gathering I host.
My sister walked into the kitchen midway through my first batch, catching me wrist-deep in cake crumbs. She raised an eyebrow and asked if I had lost my mind, destroying a perfectly good cake. I handed her a finished truffle instead of explaining. She ate three more before asking for the recipe, white chocolate coating still melting on her fingers.
Ingredients
- Red velvet cake mix: A box works perfectly here, but homemade cake cooled and crumbled is just as good. The moisture content matters more than perfection.
- Large eggs: Room temperature eggs blend better into the cake batter, giving you a more tender crumb for truffle-making.
- Vegetable oil: Unlike butter, oil keeps the cake incredibly moist, which is exactly what you want for truffles that bind together without being dry.
- Water: Simple and straightforward, just enough to hydrate the mix.
- Cream cheese: softened completely so it incorporates seamlessly into the cake crumbs. This is the binding magic holding everything together.
- Powdered sugar: Optional, but a tablespoon adds just enough sweetness to balance the tang of cream cheese.
- White chocolate: Melting wafers work better than chips for coating, but chips with a teaspoon of coconut oil smoothed in will do the job beautifully.
- Coconut oil: A little goes a long way to thin the white chocolate into a dippable consistency that sets up firm.
Instructions
- Bake your foundation:
- Heat that oven to 350°F and line a 9x13-inch pan with parchment paper. Whisk together the cake mix, eggs, oil, and water until silky smooth, then pour and bake for about 25 minutes until a toothpick pulls out clean. Let it cool completely—this part is non-negotiable.
- Create the crumb:
- Break that cooled cake into a large bowl and use your hands to rub it into fine, even crumbs. The more consistent your crumb size, the smoother your truffles will be.
- Make the magic:
- Beat the softened cream cheese until fluffy, then fold it into those red crumbs. Mix until a dough forms that holds together when you squeeze it.
- Roll them out:
- Scoop tablespoon portions and roll them into balls between your palms. Place on a parchment-lined sheet and freeze for 20 minutes until firm.
- Dip and dazzle:
- Melt the white chocolate in 20-second bursts, stirring each time. Drop each cake ball into the chocolate, lift with a fork, and tap against the bowl edge to remove excess before setting back on parchment. Add sprinkles while the coating is still wet.
 Save
Save These became my go-to holiday gift after a coworker mentioned she loved red velvet but hated the mess of slicing cake. I handed her a tin of truffles the next day, and she texted me before even getting home from work, asking if I had another batch. Apparently she ate three in the car.
Mastering the Coating
White chocolate can be finicky, but patience pays off. If your coating thickens as you work, add just a touch more coconut oil and gently reheat. The truffles should emerge smooth and glossy.
Flavor Variations
Swap the white chocolate for dark or milk chocolate if bittersweet is more your style. A teaspoon of vanilla or almond extract in the cream cheese mixture adds another layer of flavor.
Storage and Make-Ahead Tips
These truffles freeze beautifully for up to a month, which means you can make them well ahead of parties. Thaw them in the refrigerator overnight before serving.
- Store in an airtight container with parchment paper between layers
- Let truffles come to room temperature for 10 minutes before serving for the best texture
- Roll any leftover coating and crumb scraps into bite-sized irregular shapes for kitchen snacks
 Save
Save There is something deeply satisfying about turning cake into finger food, like discovering a secret loophole in dessert. These truffles have a way of disappearing from the platter while no one is watching.
Recipe Questions & Answers
- → How long do these truffles stay fresh?
-
Store them in an airtight container in the refrigerator for up to 5 days. The coating remains firm and the filling stays moist.
- → Can I make these gluten-free?
-
Use a gluten-free cake mix as your base. Double-check all ingredient labels including the chocolate coating for hidden gluten.
- → What other chocolate coatings work well?
-
Dark or milk chocolate make excellent alternatives to white chocolate. Each brings a different flavor profile that complements the red velvet.
- → Why must the cake balls be frozen before dipping?
-
Freezing firms up the mixture so it holds its shape when dipped in warm chocolate. Without this step, the balls might fall apart or get too soft.
- → Can I use homemade cake instead of a mix?
-
Absolutely. Any red velvet cake, whether from scratch or a box, works perfectly. Just ensure it's completely cooled before crumbling.
- → How do I prevent the white chocolate from seizing?
-
Melt in 20-second intervals, stirring between each. Adding a teaspoon of coconut oil helps create a smooth, dippable consistency.
