 Save
Save This homemade yogurt requires only whole milk and a few tablespoons of plain yogurt with active cultures. Gently heat the milk to 85°C, then cool it to around 43–45°C before stirring in the starter.
Let the mixture incubate in a warm spot for 8 to 12 hours until it sets to your preferred tanginess and consistency. Chill for at least two hours before serving.
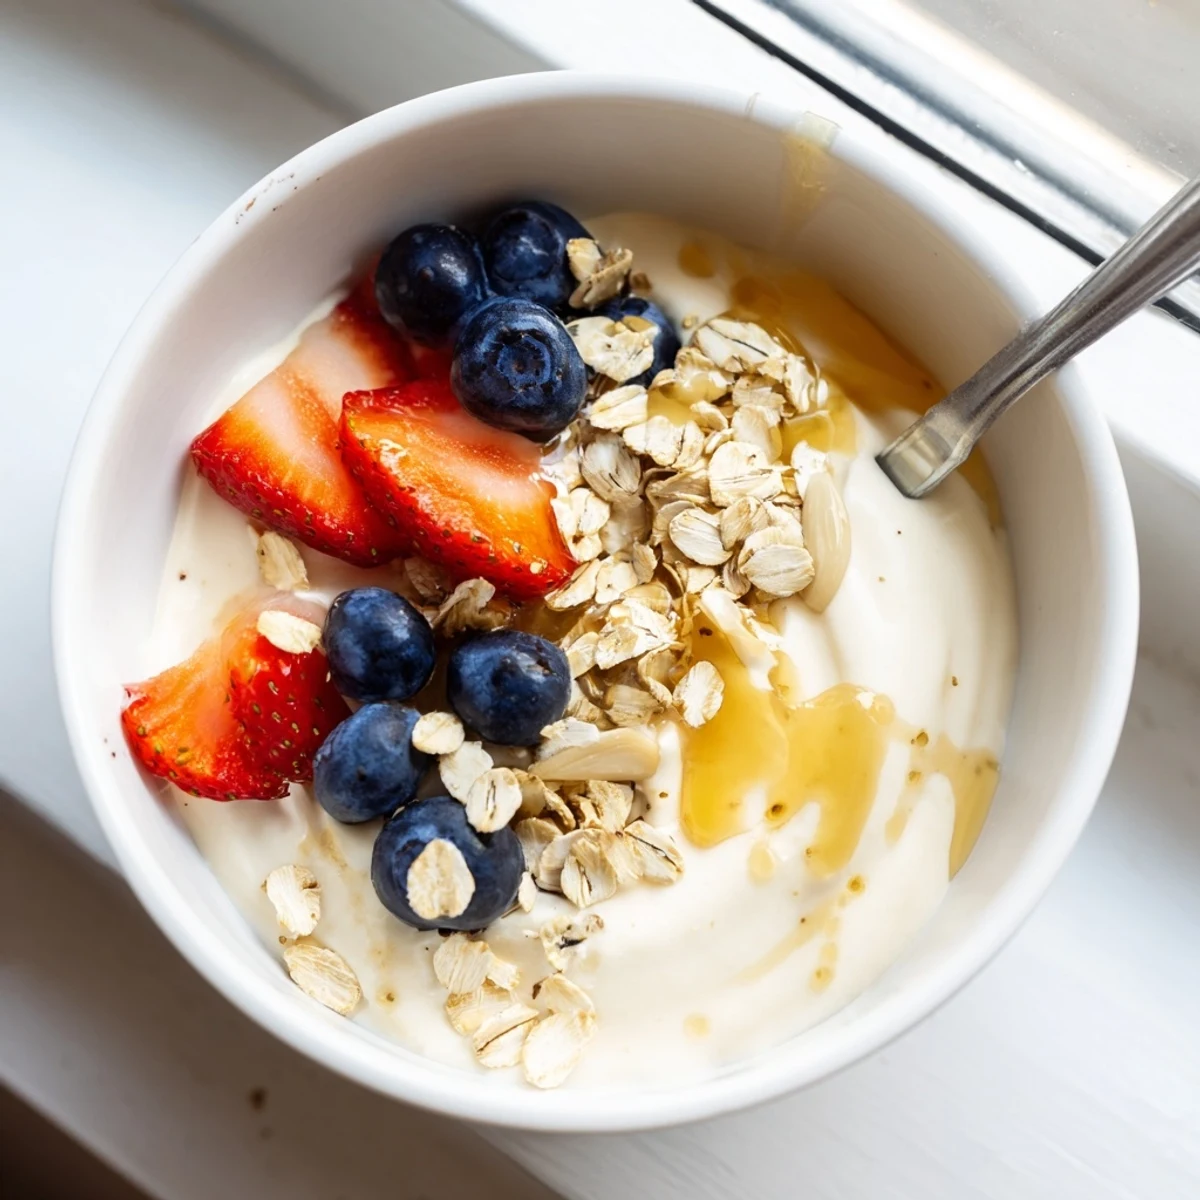
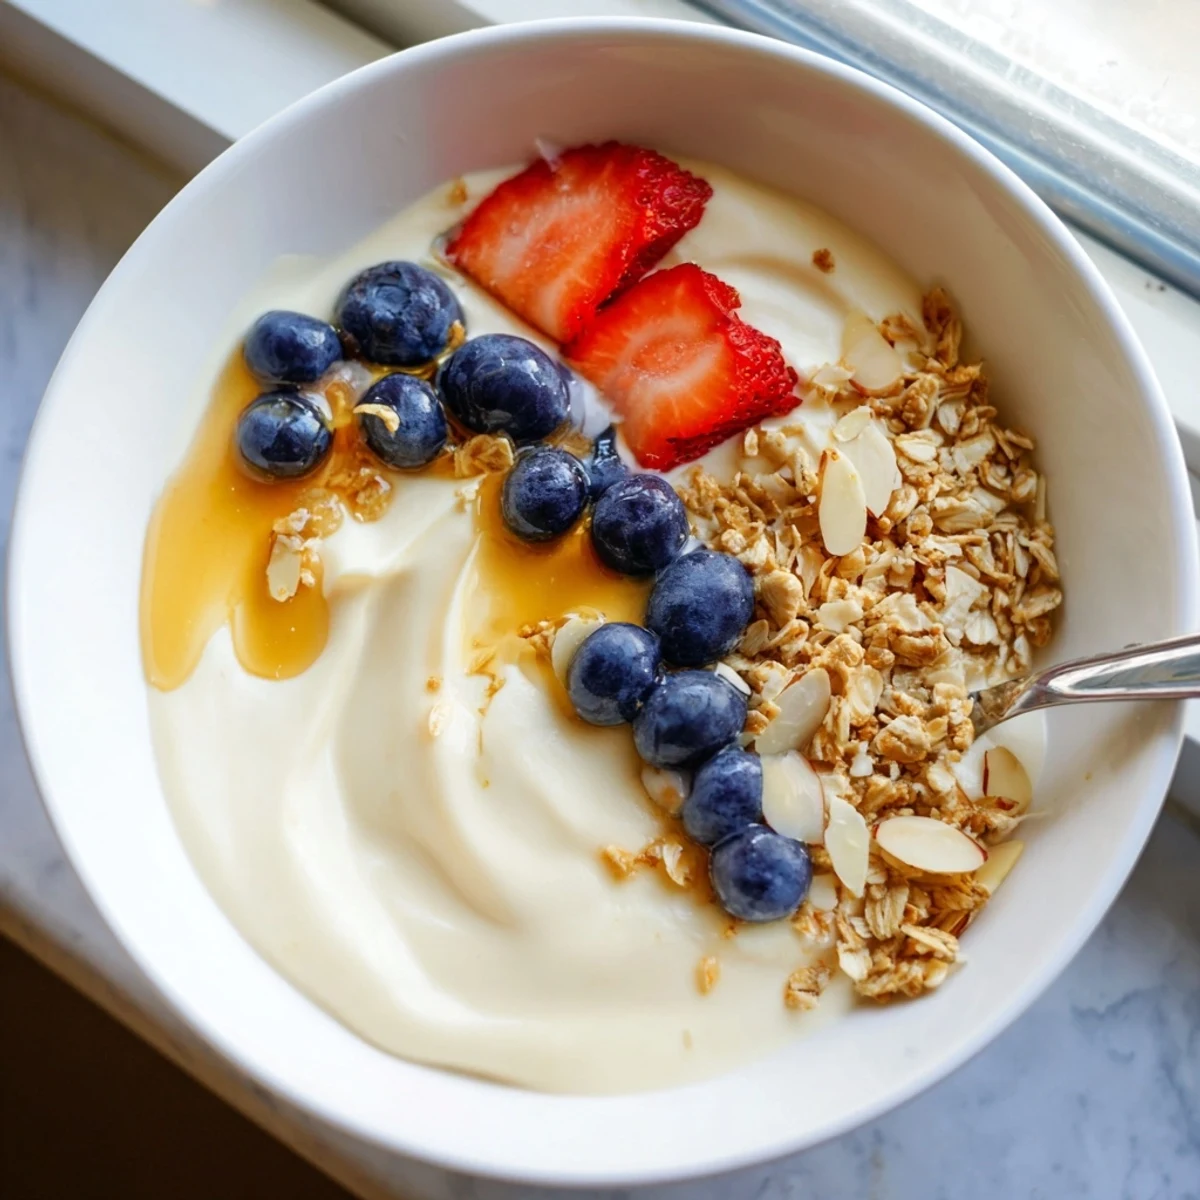
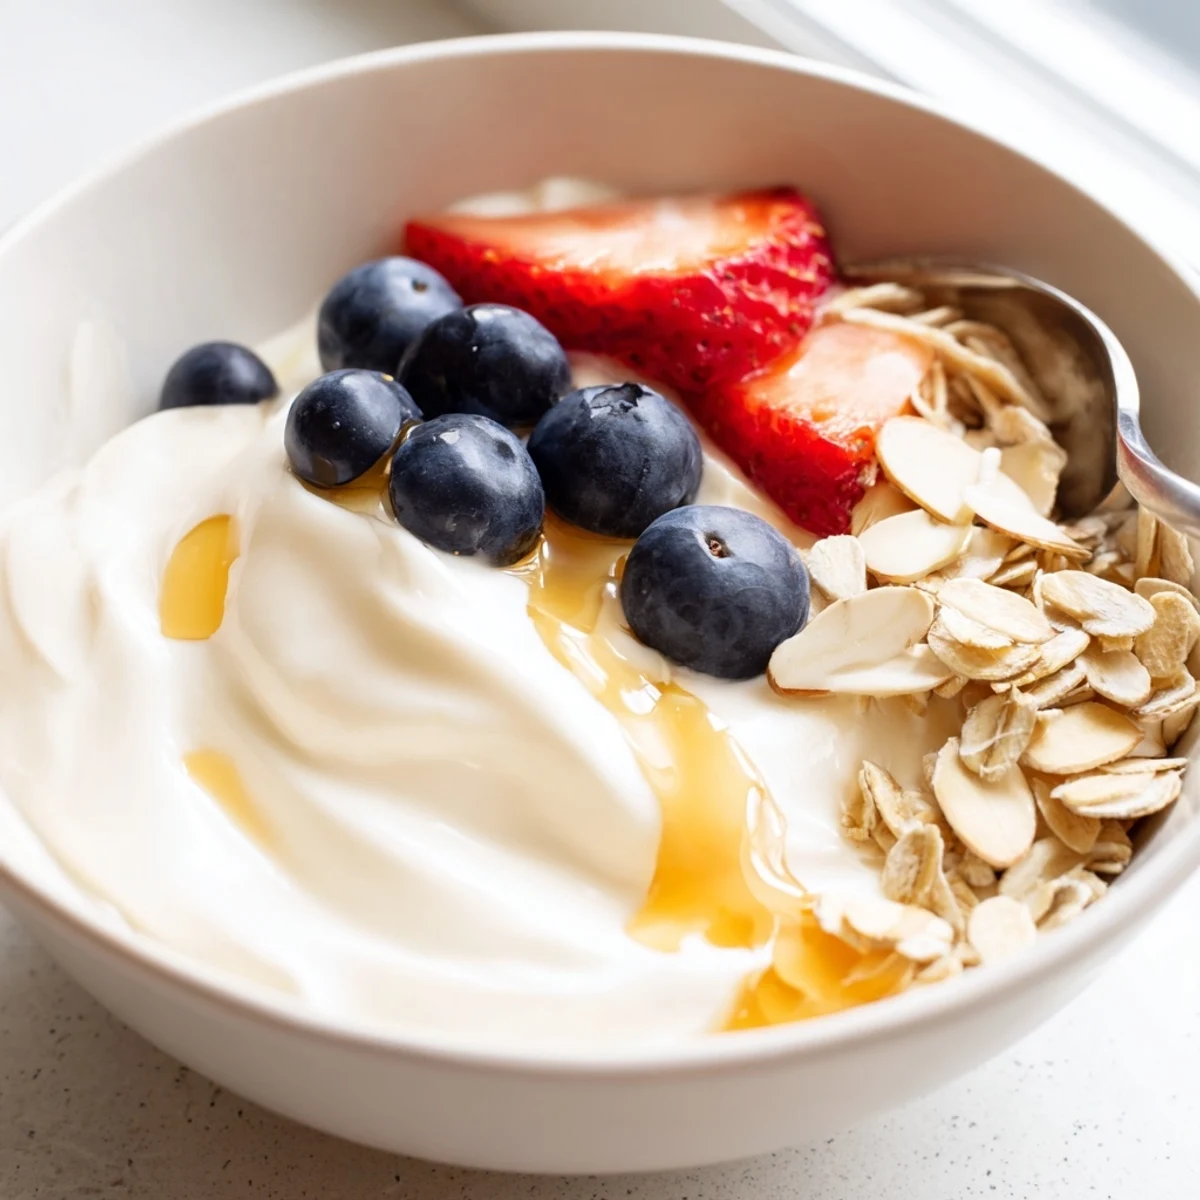
Customize each bowl with fresh fruit, honey, or granola. Save a portion to use as starter for your next batch.
My kitchen smelled like a warm dairy farm the morning I decided to stop buying yogurt from the store for good. It was a Tuesday, oddly enough, and I had a liter of milk sitting dangerously close to its expiration date. What started as a practical decision turned into a quiet weekly ritual I now genuinely look forward to.
I still laugh thinking about the first batch I made while my neighbor was over for coffee. She watched me temperature the milk with a thermometer and asked if I was conducting a science experiment. We both ended up eating the results with honey and walnuts, standing right at the counter, barely bothering with bowls.
Ingredients
- Whole milk (1 liter): Whole milk gives you that luxurious creamy texture but low fat works too if you prefer a lighter result.
- Plain yogurt with active cultures (2 tablespoons): This is your starter and it must contain live cultures so check the label carefully before you buy.
Instructions
- Warm the milk gently:
- Pour the milk into a saucepan and heat it over medium, stirring now and then, until it reaches 85 degrees Celsius. Watch it closely because scorched milk is a smell that lingers for days.
- Cool it down patiently:
- Take the pan off the heat and let the milk drop to about 43 to 45 degrees Celsius. This is the sweet spot where the cultures can survive and thrive without being killed off.
- Mingle the starter:
- Scoop a few tablespoons of the cooled milk into a small bowl and whisk it with the yogurt starter until completely smooth. This prevents clumps from forming in your final batch.
- Combine everything:
- Pour the starter mixture back into the saucepan and stir gently but thoroughly. You want the cultures evenly distributed throughout every last drop.
- Transfer and cover:
- Pour the mixture into a clean container or divide it among individual jars, then cover loosely with lids or a cloth. A tight seal can trap heat unevenly and cause inconsistency.
- Let it incubate:
- Place the containers in a warm spot, such as a turned off oven with the light switched on, and leave them undisturbed for 8 to 12 hours. Longer incubation gives you tangier yogurt so taste test around the 8 hour mark.
- Chill before eating:
- Move the set yogurt to the refrigerator for at least 2 hours before you dig in. This final chill firms everything up and gives it that familiar spoonable consistency.
 Save
Save There is something quietly satisfying about opening the fridge and seeing little jars of yogurt lined up, knowing exactly what went into each one of them.
Getting the Temperature Right
A kitchen thermometer is your best friend here, but if you do not have one, the milk at 85 degrees Celsius will have tiny bubbles forming around the edges and steam rising steadily without a full rolling boil.
Making It Thicker
For Greek style thickness, line a strainer with cheesecloth and let the finished yogurt drain in the fridge for several hours. The whey that drains off is nutritious and can be saved for smoothies or baking.
Serving and Storing
Keep your yogurt refrigerated and it will stay fresh for up to a week, though in my house it rarely lasts that long. Top it with whatever you like best.
- Fresh fruit and a drizzle of honey make a simple breakfast feel like a treat.
- Granola and a handful of toasted nuts turn it into something hearty enough for a busy morning.
- Remember to reserve some yogurt as starter before you add any toppings or sweeteners.
 Save
Save Homemade yogurt is less a recipe and more a small act of trust in your own kitchen. Give it time and warmth and it will reward you generously.
Recipe Questions & Answers
- → What type of milk works best for making yogurt?
-
Whole milk produces the thickest, creamiest result, but low-fat milk also works. Avoid ultra-pasteurized milk if possible, as the proteins may not set as well. For dairy-free versions, use a plant-based milk paired with a compatible starter.
- → How do I know when the yogurt is done incubating?
-
The yogurt is ready when it holds its shape after gently tilting the container. A shorter incubation of 8 hours yields milder flavor, while 12 hours or more produces a tangier, firmer set.
- → Why did my yogurt turn out runny?
-
Runny yogurt can result from insufficient incubation time, temperatures dropping below 38°C during incubation, or using milk that was too hot when the starter was added. Straining through cheesecloth for a few hours will thicken it.
- → Can I reuse my homemade yogurt as a starter?
-
Yes, save a few tablespoons from each batch to culture the next one. After several generations the cultures may weaken, so restart with fresh store-bought yogurt containing live active cultures every four to five batches.
- → What is the best way to keep the yogurt warm during incubation?
-
A yogurt maker provides consistent temperature. Alternatives include a turned-off oven with the interior light on, a thermos, or wrapping the container in towels and placing it in a warm spot. The key is maintaining 38–45°C throughout incubation.
- → How long does homemade yogurt last in the refrigerator?
-
Properly stored in a sealed container, homemade yogurt stays fresh for up to one week. Always use a clean spoon when scooping to avoid introducing bacteria that could shorten its shelf life.
