 Save
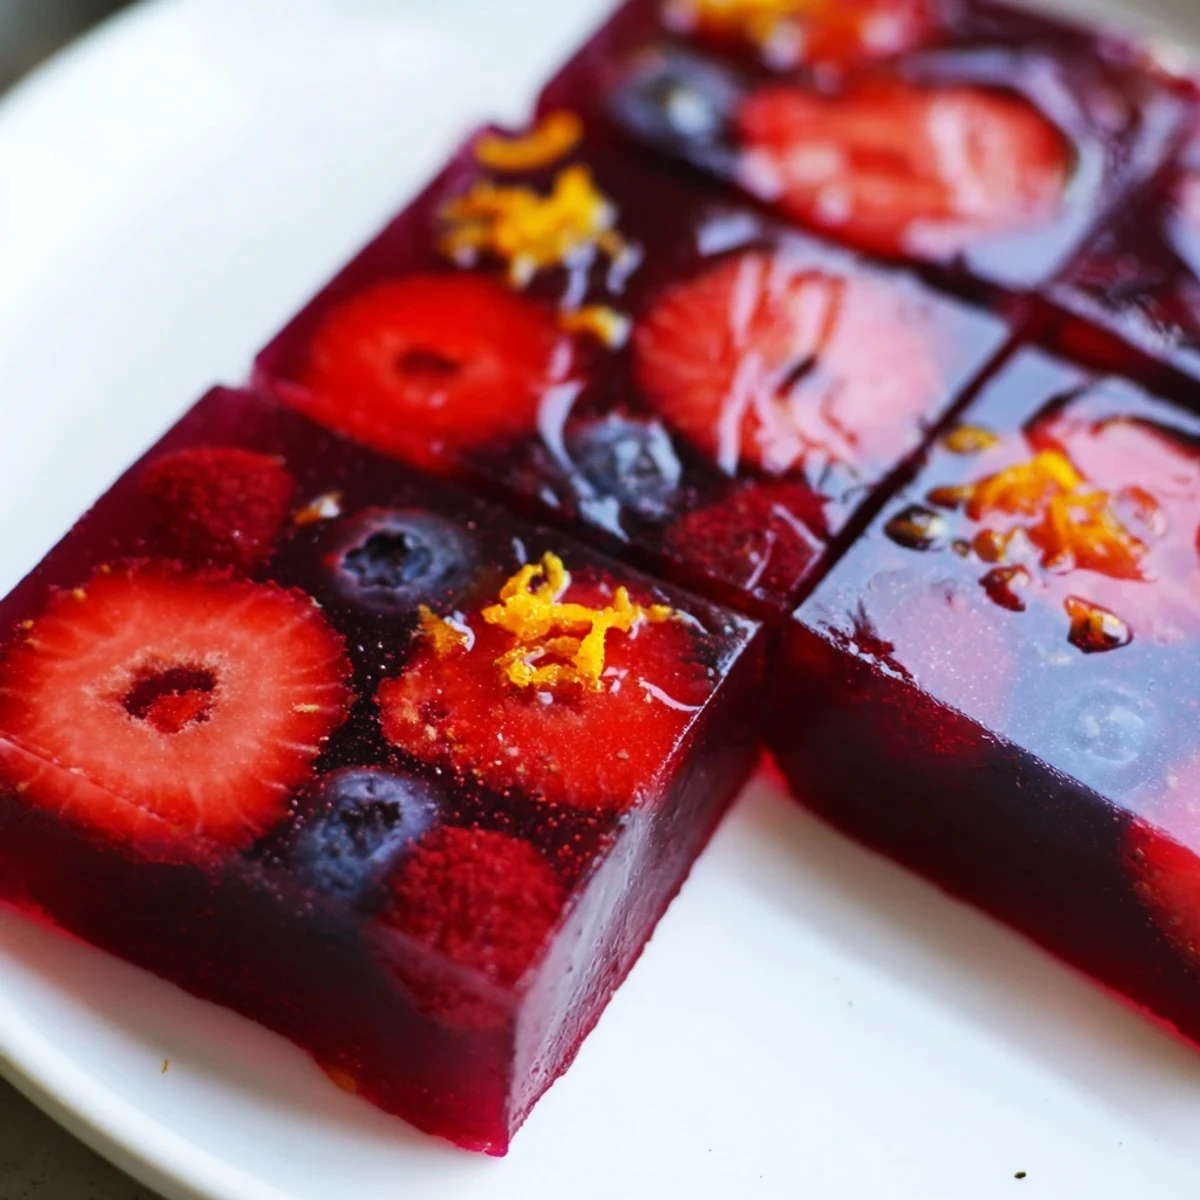
Save These homemade collagen fruit jellies combine pure fruit juice with collagen peptides and a touch of honey for a nourishing, bite-sized treat.
Ready in just 15 minutes of hands-on time plus a couple hours of chilling, they're an effortless way to add protein and fruit-based goodness to your snacking routine.
Gluten-free, low-carb, and easily customized with your favorite juices and fresh fruit garnishes, they're perfect for meal prep or an elegant dessert.
My kitchen counter looked like a science experiment gone wrong the first time I tried making fruit jellies at home. Powder everywhere, juice splattered across the stove, and a silicone mold that refused to release its contents without a fight. But that batch, messy and misshapen as it was, tasted like concentrated sunshine and got me completely hooked on making them.
I started making these on Sunday afternoons as a weekly ritual, portioning them out for afternoon snacks during busy workdays. My neighbor caught wind of the habit and now shows up at my door every Monday expecting her share, reusable container already in hand.
Ingredients
- Pure fruit juice (1 cup): Use 100 percent juice with no added sugar, and choose a flavor you genuinely love because it dominates the final taste.
- Lemon juice (2 tablespoons): This brightens the fruit flavor and helps the gelatin set properly, so do not skip it.
- Collagen peptides powder (2 tablespoons): Unflavored collagen dissolves invisibly and adds a silky protein boost without changing the taste.
- Honey or maple syrup (2 tablespoons): Adjust based on how sweet your juice is, and taste before you pour.
- Unflavored powdered gelatin (2 and a half tablespoons): This is your setting agent, and blooming it properly is the single most important step.
- Vanilla extract (1 teaspoon, optional): Adds warmth and rounds out sharp fruit flavors beautifully.
- Sliced fresh berries or citrus zest for garnish (optional): A visual treat that also adds a fresh burst of texture.
Instructions
- Bloom the gelatin:
- Pour the fruit juice and lemon juice into a small saucepan, then sprinkle the gelatin evenly across the surface without stirring. Let it sit undisturbed for three to five minutes until the powder absorbs the liquid and looks wrinkled and slightly swollen.
- Gently warm and dissolve:
- Place the saucepan over low heat and stir gently with a whisk or spoon until every last grain of gelatin disappears into the liquid. Resist the urge to let it boil, because high heat weakens the setting power and you will end up with soupy disappointment.
- Add the good stuff:
- Take the pan off the heat and stir in the collagen powder, honey or maple syrup, and vanilla extract if you are using it. Keep stirring until the collagen fully dissolves and the mixture looks smooth and glossy.
- Taste and adjust:
- Dip a clean spoon in and taste the liquid right now, because this is your last chance to fix sweetness or add more lemon if it needs brightness. Trust your palate over the recipe.
- Pour and garnish:
- Carefully pour the mixture into silicone jelly molds or a lightly oiled square baking dish lined with parchment paper. Drop sliced berries or a pinch of citrus zest into each mold if you want them to look as good as they taste.
- Chill until set:
- Transfer to the refrigerator and let them rest for at least two hours, though overnight is even better if you can wait that long. They should feel firm and slightly bouncy to the touch when ready.
- Unmold and serve:
- Pop the jellies out of the silicone molds by pressing gently from the bottom, or cut the pan version into neat squares with a sharp knife. Serve them chilled straight from the fridge for the best texture.
 Save
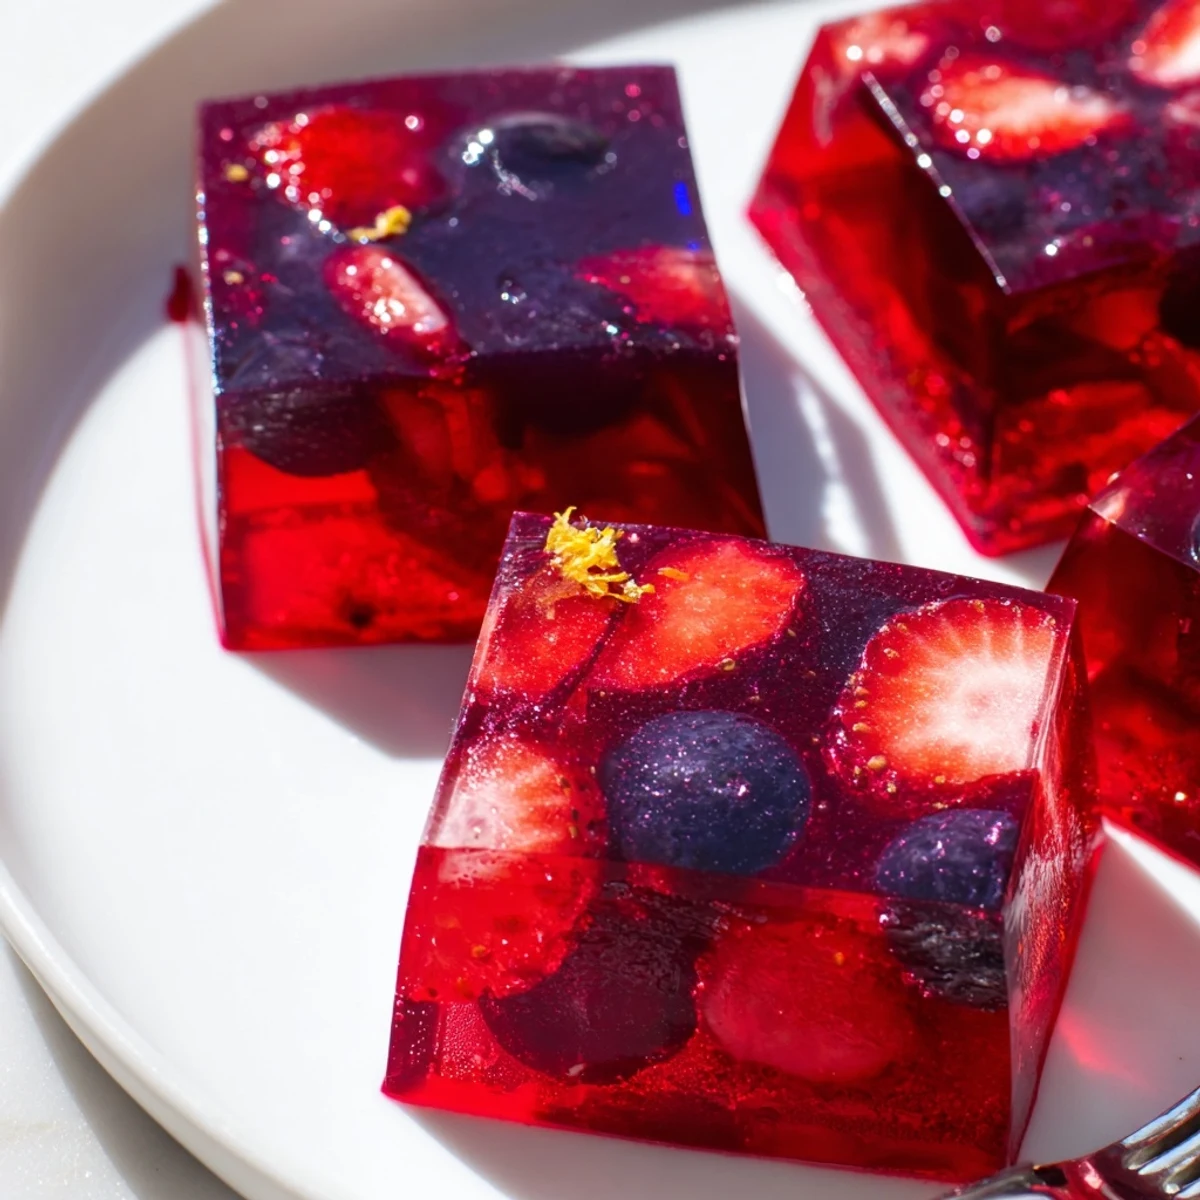
Save I brought a batch of these to a friend's potluck dinner last summer and watched a table full of adults fight over colorful wiggly jellies like children.
Picking the Right Juice Makes All the Difference
Not all juices behave the same way in this recipe. Pineapple, mango, and kiwi contain enzymes that break down gelatin and will prevent setting entirely unless you heat the juice first to neutralize them. Berry blends, orange, apple, and grape work beautifully every single time.
Storing Them So They Stay Perfect
Keep the finished jellies in an airtight container in the refrigerator and they hold their texture for up to five days, though mine rarely last past day two. Do not leave them out at room temperature for more than an hour or they start to weep and lose their bounce.
Fun Variations to Try Once You Master the Basics
Once you feel confident with the basic method, the possibilities open up wide and the experimenting becomes the best part.
- Layer two different juice flavors by pouring the first layer, chilling until set, then adding the second layer on top for a striking striped effect.
- Sweeten with honey. Maple syrup is fine, but honey pairs especially well with orange and lemon juices and gives a cleaner floral sweetness.
- Always grease your mold lightly. Even silicone can be stubborn, and a quick rub of neutral oil saves you from torn or crumbled jellies.
 Save
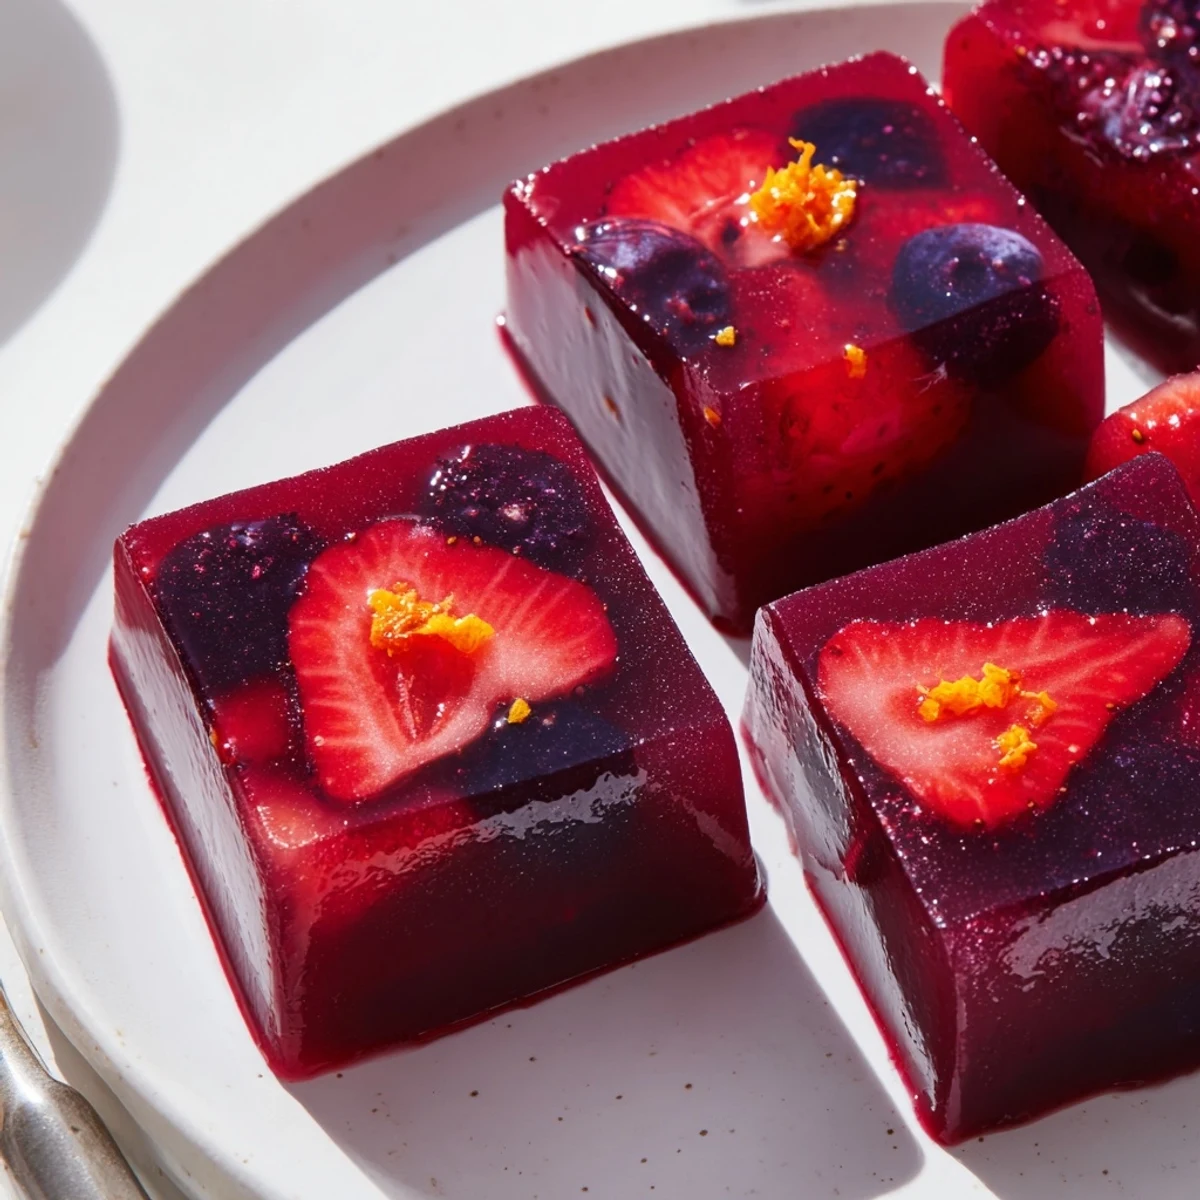
Save These little jellies turned my afternoon snack game upside down in the best possible way. Make a batch this weekend and I promise you will be hooked before the first one hits your lips.
Recipe Questions & Answers
- → Can I use any type of fruit juice for these jellies?
-
Absolutely. Orange, berry, apple, or tropical juices all work beautifully. Stick with 100% pure juice without added sugars for the cleanest flavor and best setting results.
- → Why won't my jellies set properly?
-
The most common issue is not allowing the gelatin to bloom fully before heating, or boiling the mixture which can weaken its gelling power. Sprinkle gelatin evenly over cold juice, let it rest 3–5 minutes, then warm gently over low heat until dissolved.
- → How long do collagen fruit jellies last in the fridge?
-
Stored in an airtight container, they stay fresh and firm for up to 5 days refrigerated. The texture is best within the first 3 days.
- → Can I make a vegan version without gelatin and collagen?
-
Yes. Swap both the gelatin and collagen for 2½ tablespoons of agar agar powder. Keep in mind the texture will be slightly firmer and you'll lose the collagen protein benefits, but the fruit flavor and setting ability remain solid.
- → Do collagen peptides dissolve well in the juice mixture?
-
They dissolve best once the juice is warm and off the heat. Stir thoroughly for about 30 seconds and you should get a smooth, lump-free liquid before pouring into molds.
