 Save
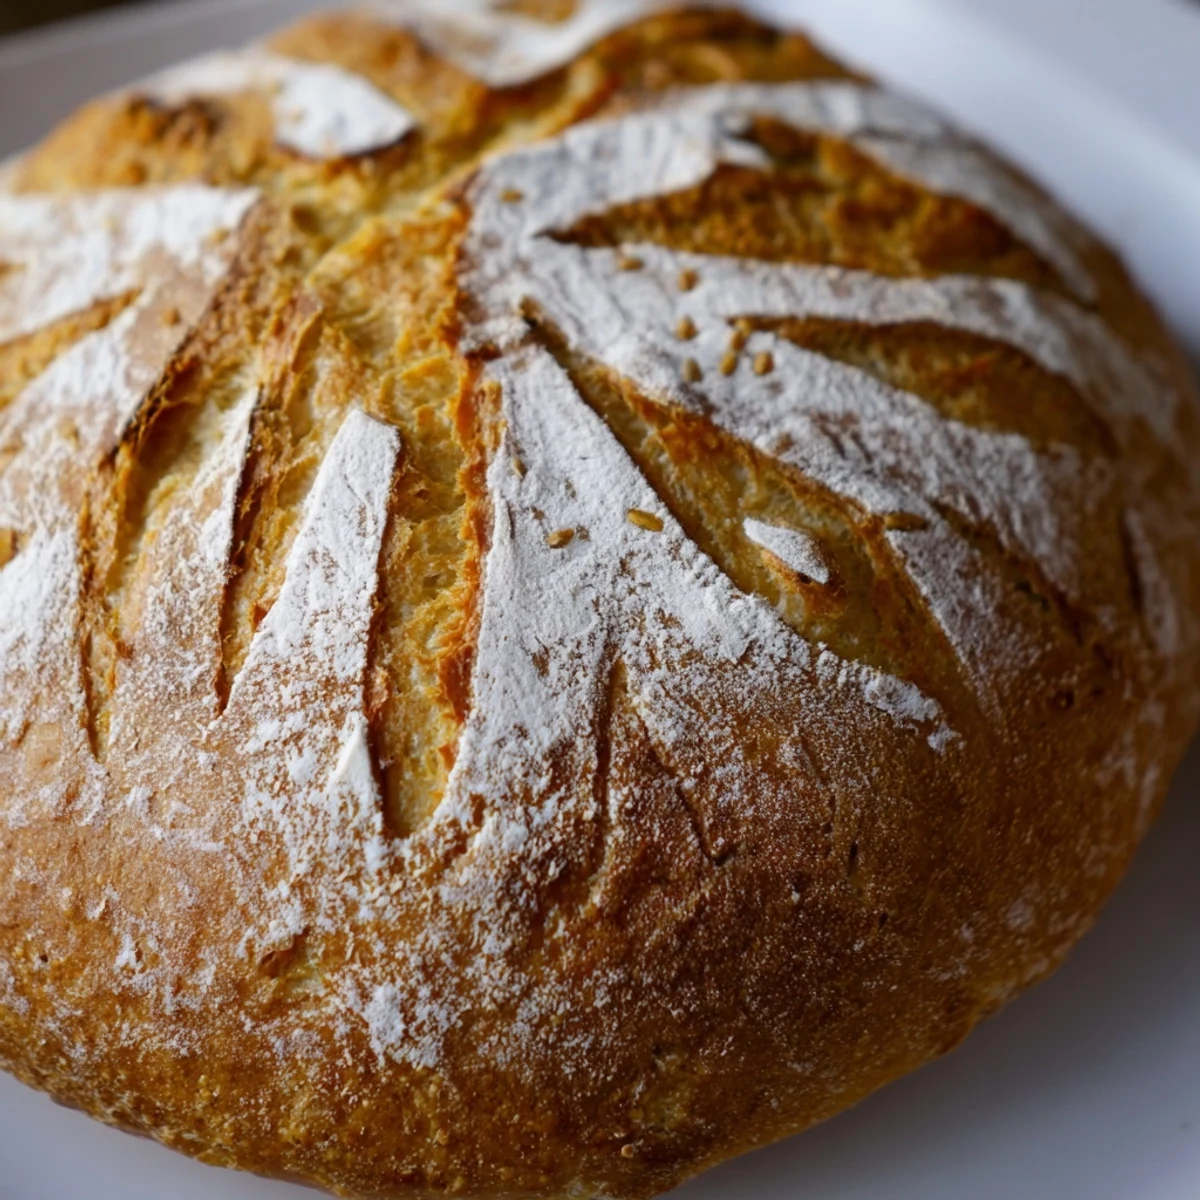
Save Create an exceptional traditional loaf using wild yeast fermentation. This method produces the signature tangy sourdough flavor through extended fermentation, while developing a professional bakery-quality crust and tender interior. The process combines ancient bread-making techniques with accessible home kitchen methods, delivering results rivaling artisan bakeries.
The stretch-and-fold technique builds proper gluten structure without intensive kneading. Cold fermentation in the refrigerator develops complex flavors and creates the characteristic open crumb structure. Baking in a preheated Dutch oven generates steam for optimal oven spring and creates that coveted crackling crust.
There's something almost meditative about the rhythm of sourdough—mixing, folding, waiting, watching. I started my first starter during a particularly snowy winter when I couldn't get to the bakery, and now I can't imagine life without that bubbly jar living on my counter. The smell of baking bread filling the house on a slow Sunday morning has become my favorite kind of alarm clock.
Last summer my neighbor knocked on my door while this bread was baking, assuming I'd bought it from some fancy bakery downtown. Seeing her face when I told her I'd made it myself—well, that's the moment I really understood why people get obsessed with sourdough. Now she begs for a loaf every time I fire up the oven.
Ingredients
- Bread flour: Higher protein content than all purpose gives you that satisfying chewy structure
- Water: Room temperature helps your starter wake up and get to work faster
- Active sourdough starter: The heart of everything—make sure it's bubbling and doubled before using
- Fine sea salt: Don't skip this or reduce it—salt is crucial for proper fermentation
Instructions
- Mix the dough base:
- Combine flour and water in a large bowl until no dry flour remains—shaggy is perfect. Cover and let it rest for an hour to hydrate fully.
- Add the living ingredients:
- Drop in your bubbly starter and salt, then squeeze everything together with your hands until the dough comes together in a cohesive mass.
- Build strength through folding:
- Every thirty minutes for two hours, grab one edge of the dough and stretch it up over the center, rotating the bowl four times each session.
- Let it rise:
- Cover the bowl and leave it alone for four to six hours until the dough has puffed up dramatically and feels airy when you poke it.
- Shape your loaf:
- Turn the dough onto a lightly floured surface and fold the edges toward the center to create tension, then flip it over and shape into a tight round.
- Cold ferment overnight:
- Place the dough seam side up in a floured proofing basket, cover, and refrigerate for eight to twelve hours while flavors develop.
- Preheat properly:
- Put your Dutch oven in the oven and crank it to 450°F at least thirty minutes before baking—thermal mass matters here.
- Score and bake:
- Gently flip the dough onto parchment, slash the top with a confident swift motion, then bake covered for twenty minutes before uncovering for twenty more.
 Save
Save The first time I successfully sliced into a loaf I'd made, steam curling up from the most perfect open crumb I'd ever achieved, I actually called my mom at seven in the morning just to brag. She pretended to be impressed but really just wanted the recipe for herself.
Understanding Fermentation
Cold fermentation in the refrigerator does more than fit baking into your schedule. The slower yeast activity at cooler temperatures allows enzymes to break down starches into simple sugars, creating deeper flavor complexity that room temperature proofs can't match. Plus, the chilled dough is much easier to handle and shape without sticking to everything.
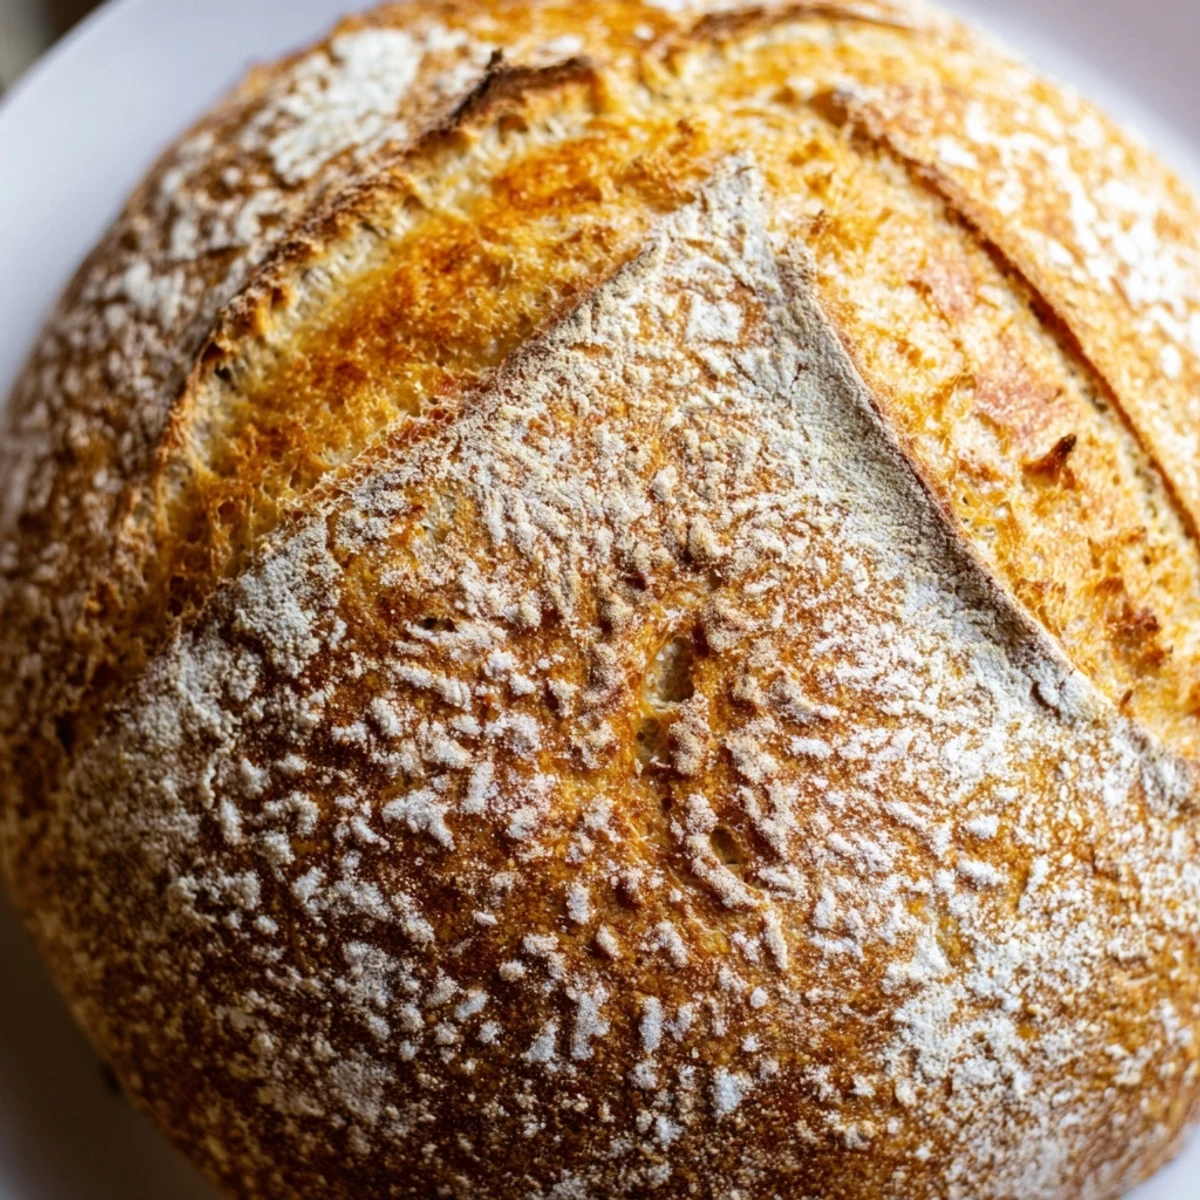
Steam Creates the Crust
That gorgeous crackly crust happens because baking in a covered Dutch oven traps steam from the dough itself. The steam keeps the surface soft longer, allowing the bread to expand fully before the crust sets and hardens. Removing the lid for the final twenty minutes lets that crust develop its deep golden color and satisfying crunch.
Timing Your Schedule
Sourdough rewards planning but forgives imperfect timing. I've mixed dough before work, done stretches during commercial breaks, and shaped it while half asleep before bed. The fermentation window is surprisingly flexible once you understand how temperature affects the rate—the warmer your kitchen, the faster everything happens. Just pay attention to how the dough looks and feels rather than watching the clock.
- Rice flour in your proofing basket prevents sticking better than wheat flour
- A thoroughly preheated Dutch oven is the secret to maximum oven spring
- Practice your scoring technique on Play-Doh before cutting into your perfect loaf
 Save
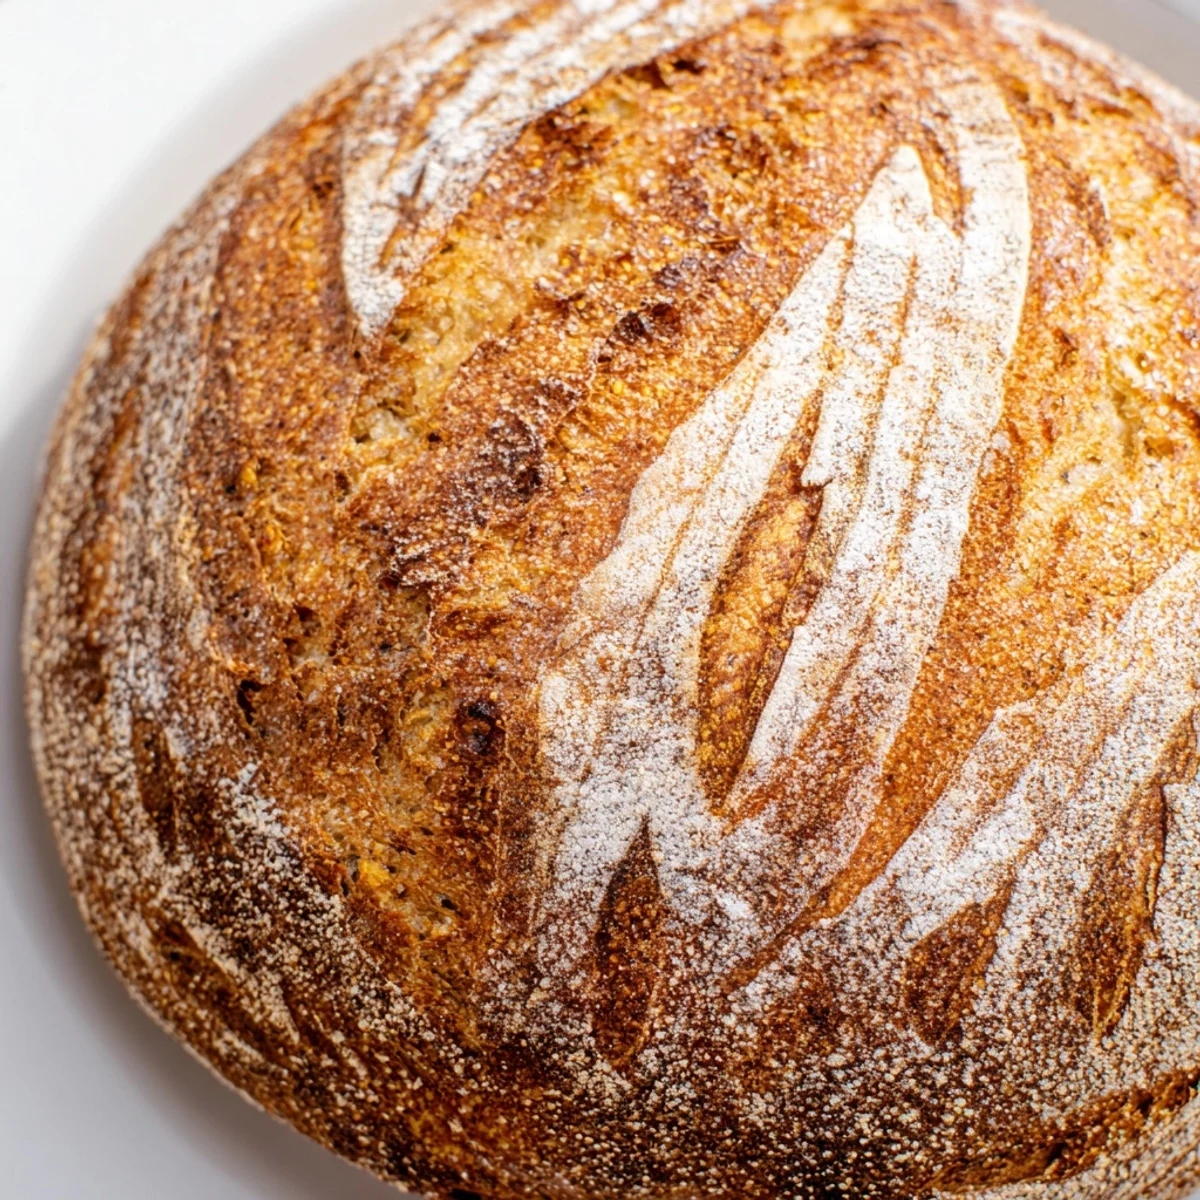
Save There's pure joy in pulling a gorgeously risen loaf from your own oven, hearing that crackle as it cools. Whatever you do, don't skip the butter.
Recipe Questions & Answers
- → What makes sourdough different from regular bread?
-
Wild yeast fermentation creates distinctive tangy flavors and complex aromas that commercial yeast cannot replicate. The extended fermentation breaks down gluten and phytic acid, making nutrients more bioavailable and easier to digest for many people.
- → How do I know when my dough has proofed properly?
-
Look for the dough to increase in volume by approximately 75-100%. When gently pressed with a floured finger, the indentation should slowly fill back in partially rather than springing back quickly or remaining depressed.
- → Can I bake without a Dutch oven?
-
Create steam by placing a metal pan on the bottom oven rack while preheating. Pour ice cubes into the hot pan immediately after loading the dough. Alternatively, cover the loaf with a large metal bowl for the first 20 minutes of baking.
- → Why is cold fermentation recommended?
-
Refrigerating the shaped dough slows fermentation, allowing complex flavors to develop over 8-12 hours. The cold also firms the gluten structure, making the dough easier to score and handle before baking, while improving oven spring.
- → What if I don't have a proofing basket?
-
Line a medium bowl with a clean kitchen towel dusted generously with rice flour or bread flour. The towel creates texture on the dough surface, while the flour prevents sticking during the final proof and transfer process.
- → How should I store finished sourdough?
-
Wrap the cooled loaf in a cotton cloth or paper bag and store at room temperature for up to 3 days. For longer storage, slice and freeze in an airtight container, toasting slices directly from frozen as needed.
