 Save
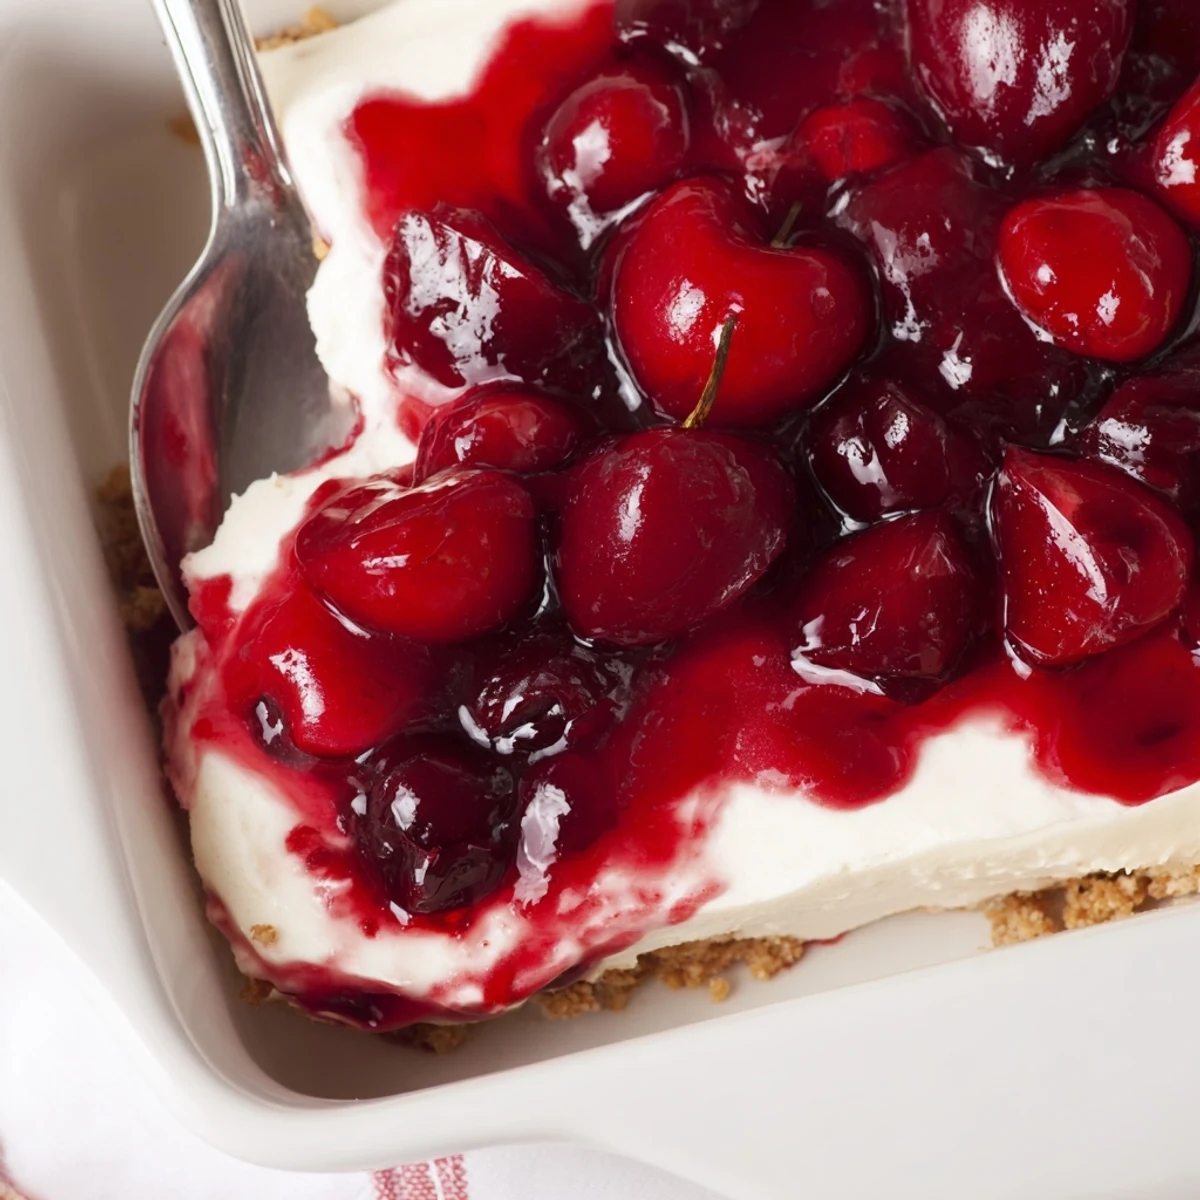
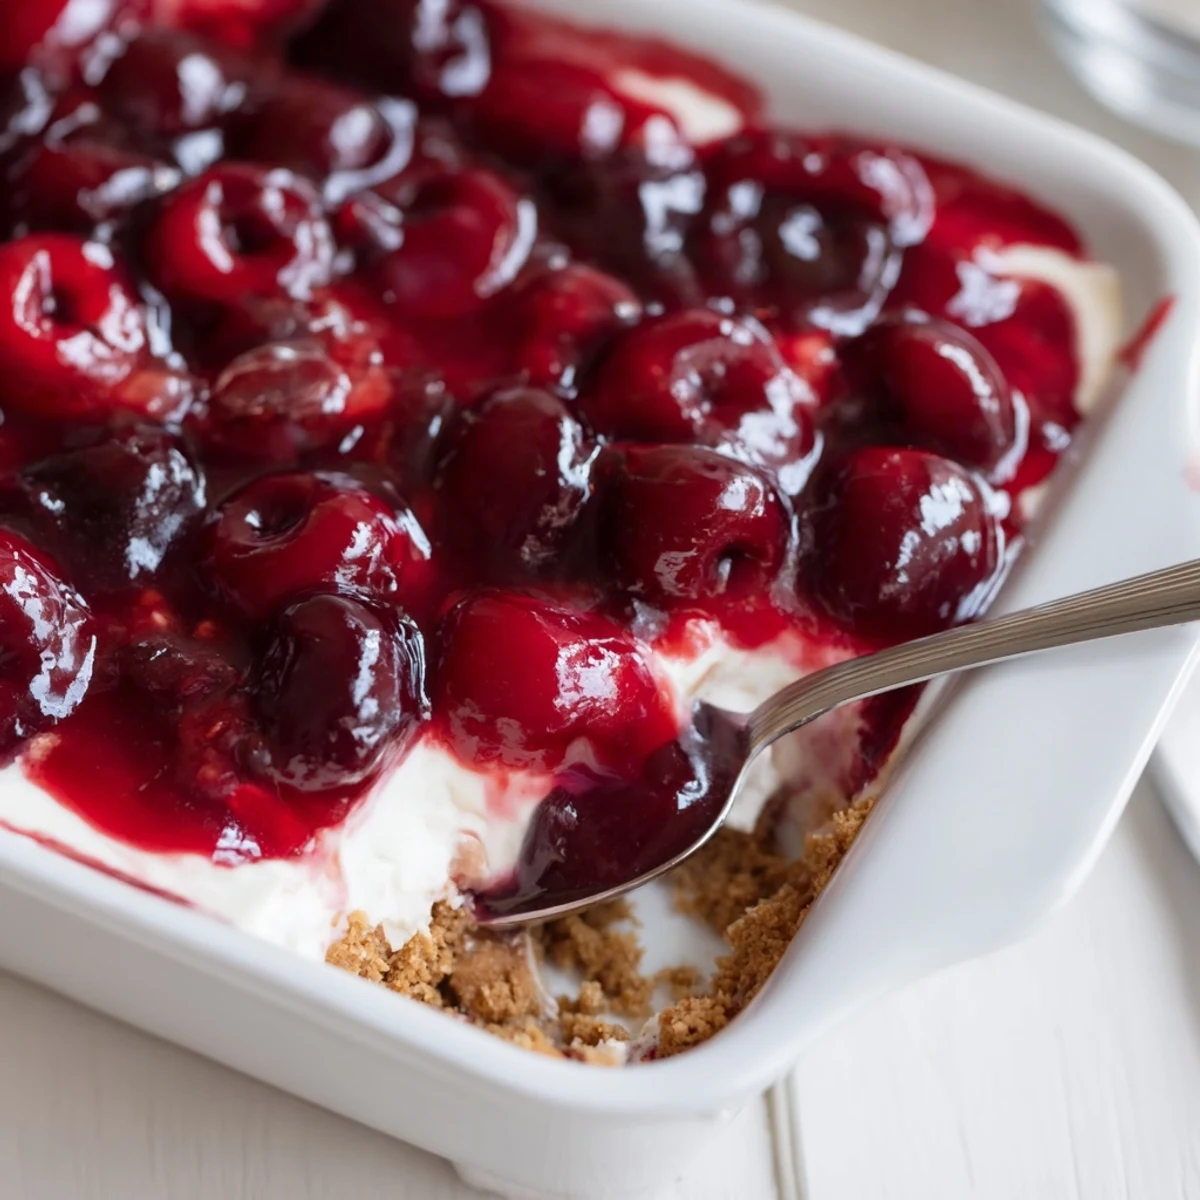
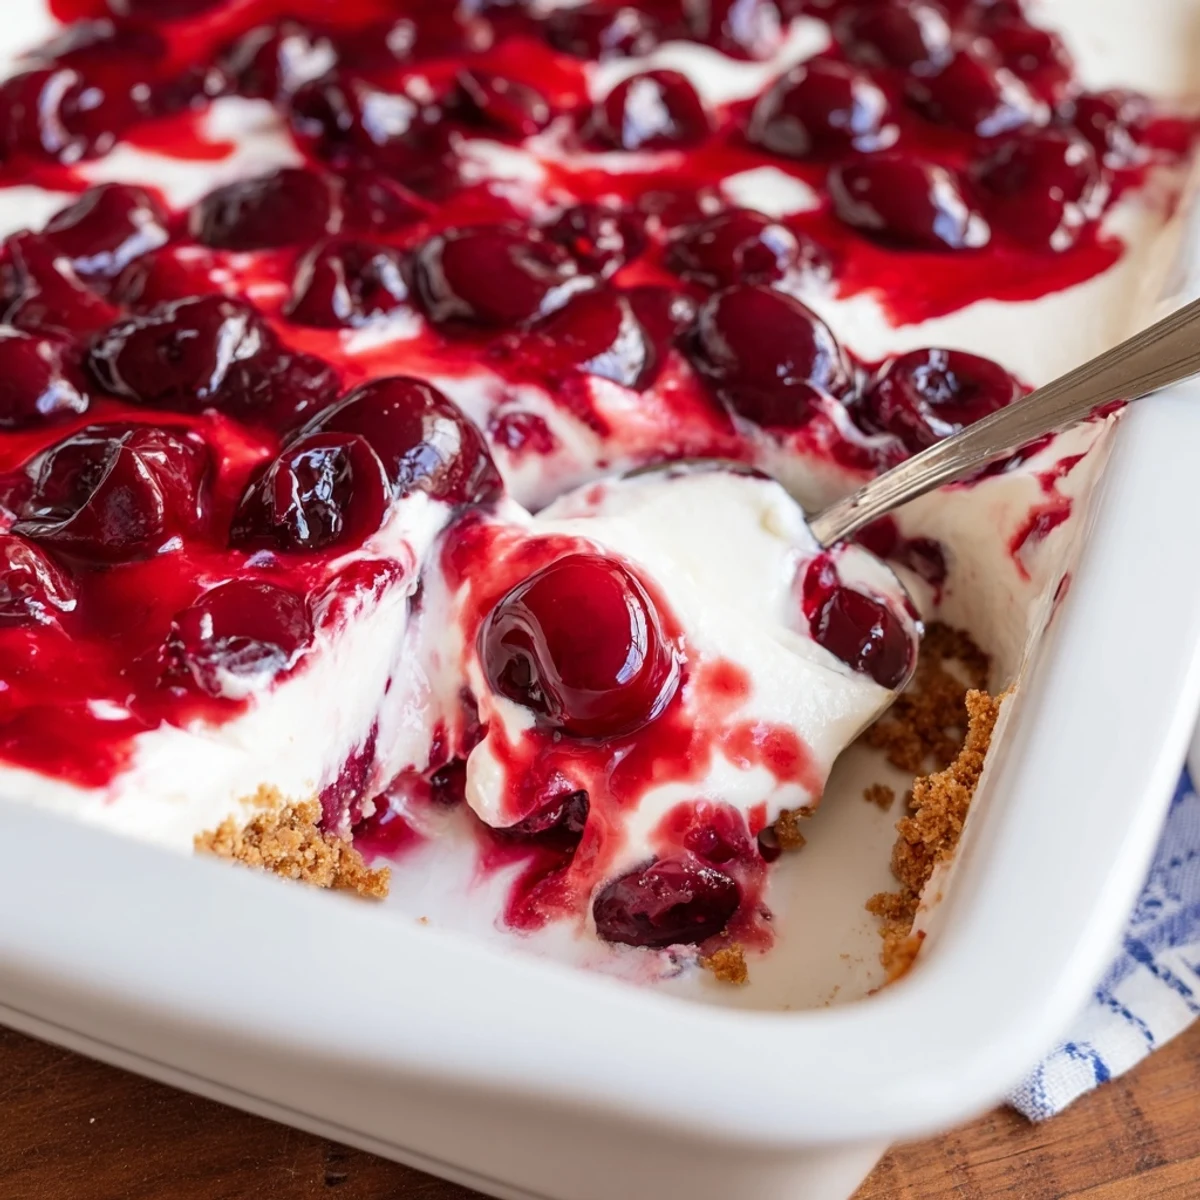
Save This classic cherry delight combines three irresistible layers into one stunning dessert. A buttery graham cracker crust forms the foundation, topped with a smooth and creamy cheese layer that balances sweetness perfectly. The crown jewel is the luscious cherry pie filling, adding vibrant color and tart sweetness to every bite.
Perfect for gatherings, potlucks, or weeknight treats, this no-bake wonder requires just 20 minutes of active preparation. Simply press the crust, whip up the creamy filling, layer everything together, and let the refrigerator do the rest. The result is a restaurant-worthy dessert that tastes even better the next day.
What makes this cherry delight special is its versatility—swap the cherry filling for blueberry or strawberry, use reduced-fat ingredients for a lighter version, or garnish with fresh whipped cream. It's a crowd-pleasing American classic that never fails to impress.
My grandmother kept this recipe in her recipe box, written on a stained index card in her careful cursive. I remember standing on a stepstool at her kitchen counter, pressing graham cracker crumbs into the pan while she explained that firm pressure makes all the difference. Now I make it whenever I need something impressive but completely stress-free.
Last summer I brought this to a potluck and watched three different people ask for the recipe. My friend Sarah actually texted me the next morning saying she dreamed about it. Theres something about the combination of cool creamy filling and bright cherries that makes people remember it long after the dessert plates are empty.
Ingredients
- Graham cracker crumbs: These create that essential buttery crunch that balances the soft creamy layers
- Unsalted butter: Melted butter binds the crust together and adds that rich golden flavor
- Granulated sugar: Just enough sweetness in the crust to make it taste like a treat
- Cream cheese: Make sure its completely softened so you avoid any lumps in your creamy layer
- Powdered sugar: Dissolves beautifully into the cream cheese for silky smooth results
- Vanilla extract: This tiny amount amplifies all the other flavors
- Whipped topping: Lightens up the cream cheese into something cloud-like and dreamy
- Cherry pie filling: Look for one with big plump cherries for the best texture contrast
Instructions
- Build the buttery crust:
- Mix graham cracker crumbs, melted butter, and sugar in a medium bowl until the texture resembles wet sand. Press firmly into the bottom of your dish using the bottom of a measuring cup.
- Whip up the creamy layer:
- Beat cream cheese until completely smooth, then add powdered sugar and vanilla. Fold in whipped topping gently until no streaks remain.
- Layer it up:
- Spread the cream cheese mixture over your crust in an even layer. The key is going all the way to the edges so every bite gets that perfect ratio.
- Add the cherry crown:
- Spoon cherry pie filling over the cream cheese layer and spread gently. Try to distribute those cherries evenly across the top.
- Let it work its magic:
- Cover and refrigerate for at least 2 hours. This chilling time is non-negotiable—it transforms soft layers into something that cuts cleanly and tastes even better.
 Save
Save This dessert has become my go-to for new neighbors and grieving friends alike. Theres something universally comforting about that combination of creamy and crunchy. I once made it for a friend who just had a baby and she told me it was the first thing she had actually wanted to eat in weeks.
Making It Your Own
Sometimes I switch out the cherry filling for blueberry or strawberry depending on what looks good at the store. Once I used a homemade fruit compote and felt ridiculously fancy about it. The beauty of this recipe is how beautifully it adapts to whatever flavors youre craving.
Perfecting Your Technique
I learned the hard way that rushing the chilling step results in a disappointing mess when you try to cut it. Now I plan ahead and make it the night before I need it. The texture improves with those extra hours in the fridge, developing this luxurious firmness that still melts in your mouth.
Serving Suggestions
A warm cup of coffee alongside a cold square of this dessert creates this wonderful temperature contrast that I love. My husband insists it needs a dollop of fresh whipped cream on top, though honestly it hardly needs it.
- Cut it with a sharp knife dipped in hot water for perfect slices
- Let it sit at room temperature for 10 minutes before serving
- Store any leftovers covered in the fridge for up to 3 days
 Save
Save There is nothing quite like pulling this out of the fridge and watching people's eyes light up.
Recipe Questions & Answers
- → Can I make cherry delight ahead of time?
-
Absolutely! This dessert actually improves when made ahead. The flavors meld together beautifully during chilling, and the texture sets perfectly. You can prepare it up to 24 hours before serving. Just keep it covered in the refrigerator until you're ready to serve.
- → How long does cherry delight need to chill?
-
For best results, refrigerate for at least 2 hours before serving. This allows the cream cheese layer to firm up properly and the crust to set. If you have time, letting it chill for 4 hours or overnight makes cutting cleaner and the texture even better.
- → Can I use fresh cherries instead of pie filling?
-
Yes! Cook fresh or frozen cherries with sugar and cornstarch until thickened to create your own filling. Use about 3 cups of pitted cherries, 1/2 cup sugar, and 2 tablespoons cornstarch. Simmer for 10-15 minutes, then cool completely before layering.
- → What's the best way to get clean cuts when serving?
-
Run your knife under hot water and wipe it dry between each slice. A sharp knife dipped in warm water cuts through the layers smoothly without dragging. For extra precision, chill the dessert for at least 4 hours or overnight before serving.
- → Can I freeze cherry delight?
-
Freezing isn't recommended as the texture of the cream cheese layer and whipped topping can become grainy and watery when thawed. This dessert is best enjoyed fresh from the refrigerator within 3-4 days of preparation.
- → What can I substitute for graham cracker crumbs?
-
Vanilla wafers, digestive biscuits, or even crushed shortbread cookies work wonderfully. For a gluten-free version, use certified gluten-free graham-style crumbs or crushed gluten-free vanilla cookies in equal amounts.
