 Save
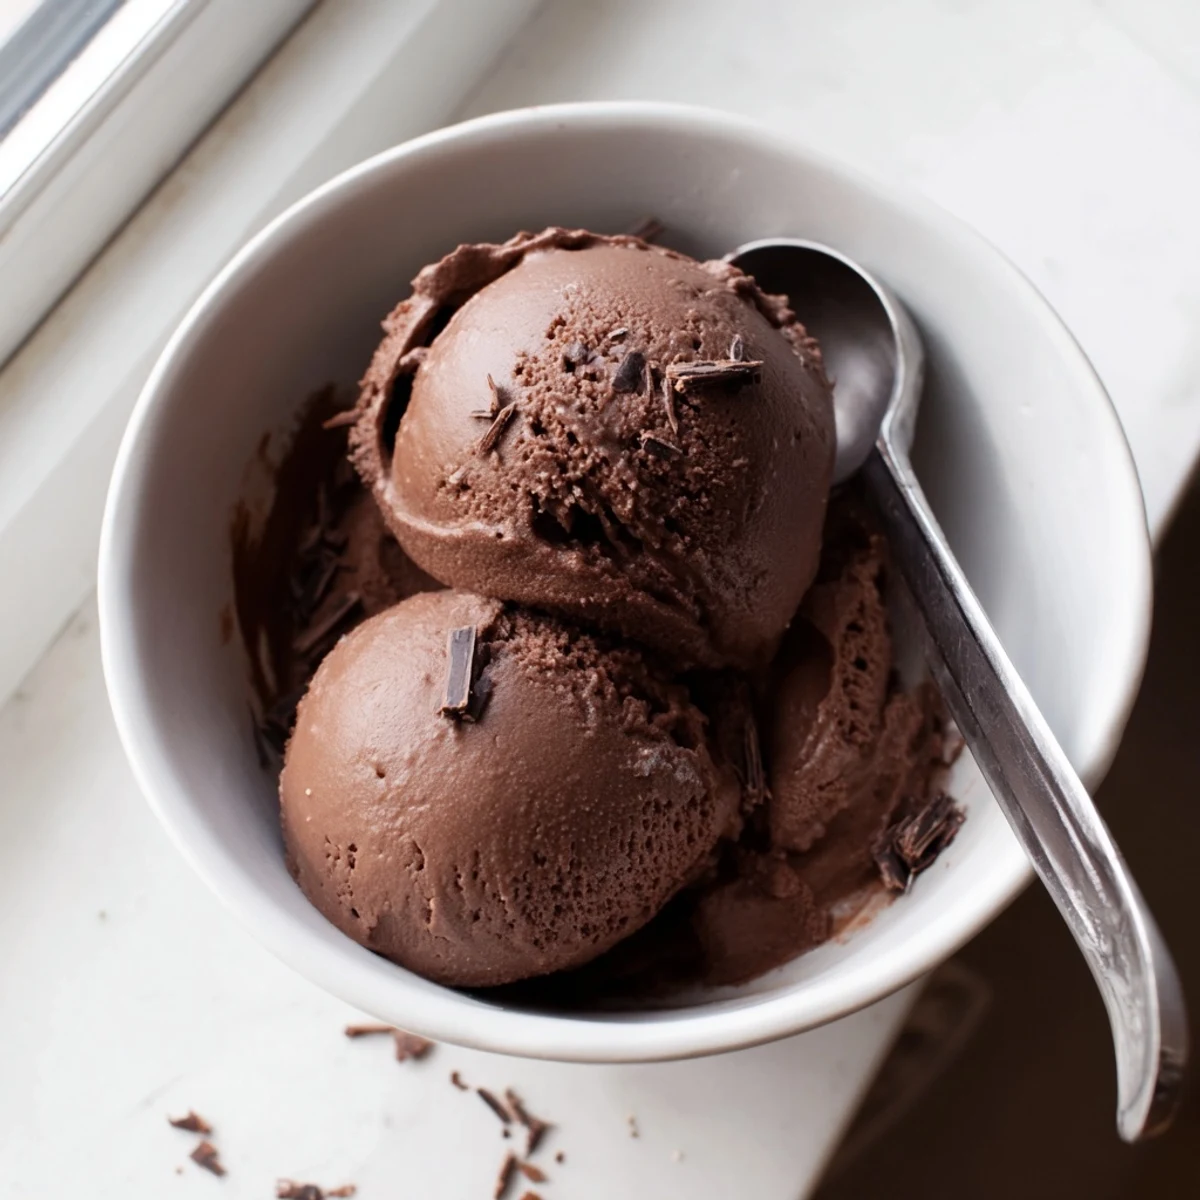
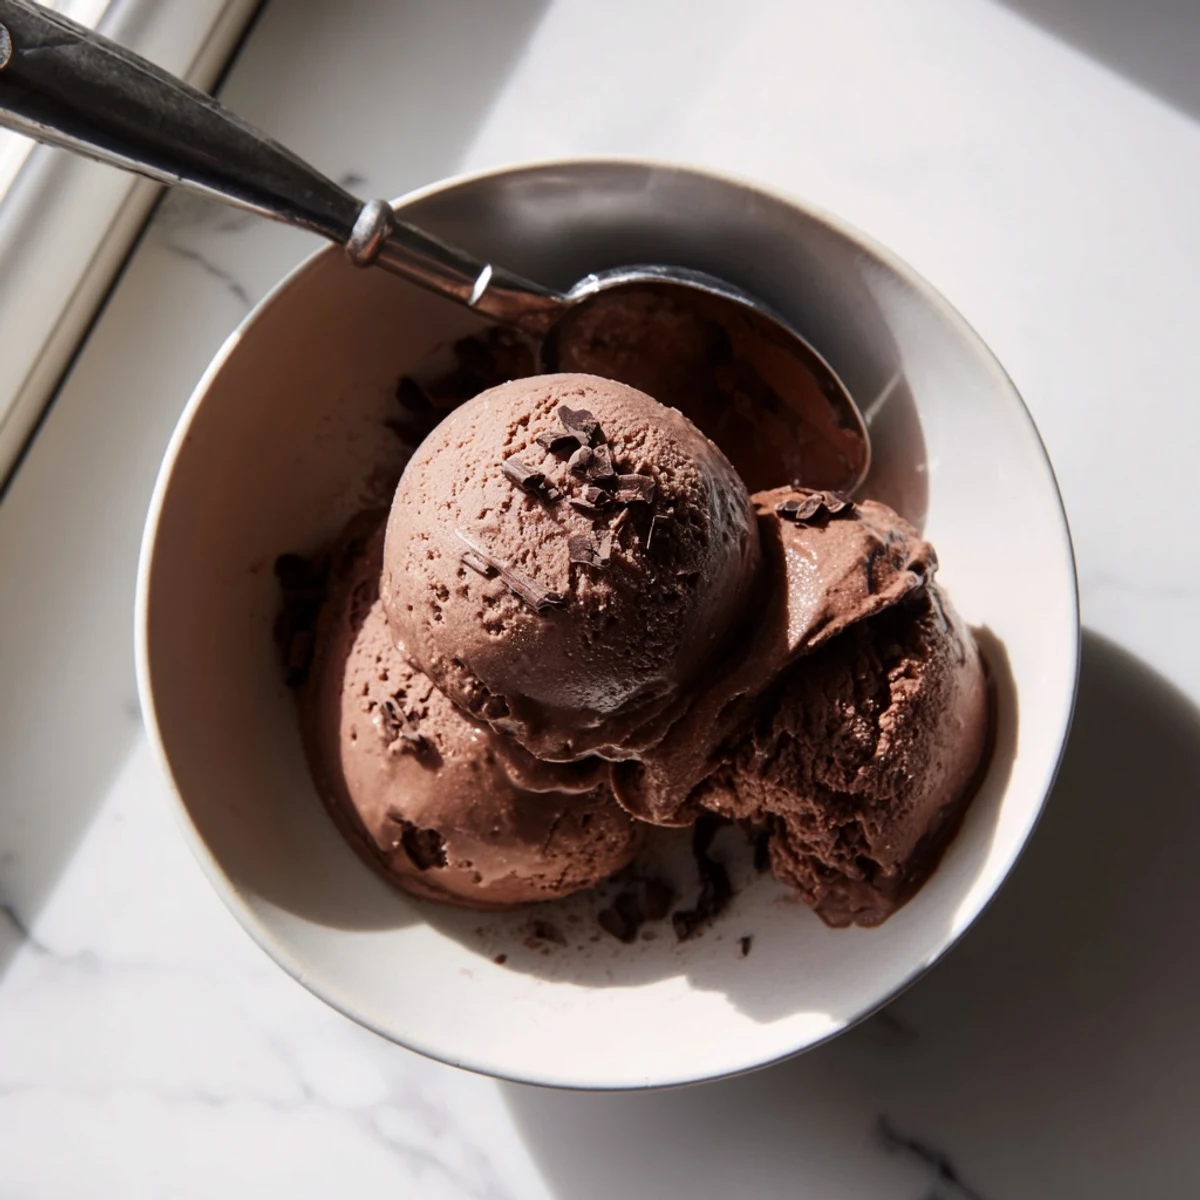
Save This chocolate ice cream combines the velvety richness of dark chocolate with the subtle tang of sourdough starter, creating a uniquely complex dessert. The fermentation notes from the sourdough add depth that cuts through the sweetness, while the custard base ensures an incredibly creamy texture. Perfect for those who enjoy experimenting with unexpected flavor combinations in their frozen desserts.
The sound of my ice cream maker churning at midnight has become something of a ritual, and this chocolate sourdough ice cream is the reason why. It started during a week when my sourdough discard jar was overflowing and I refused to throw away another spoonful. The tang hits you first, then the chocolate sweeps in like velvet, and suddenly you are eating something that feels entirely new.
My neighbor knocked on my door last August holding a bowl of this ice cream I had left on her porch, and she stood there in the hallway just saying more, more, more until I gave her the entire container. I had to make another batch the next day for myself. That is the kind of recipe this is.
Ingredients
- Whole milk (1 1/2 cups): Whole milk is non negotiable here because the fat carries the flavor and gives you that plush mouthfeel.
- Heavy cream (1 1/2 cups): The cream is what makes this scoopable even after a night in the freezer.
- Granulated sugar (1/2 cup): Just enough sweetness to balance the dark chocolate without muting the sourdough tang.
- Egg yolks (4 large): Yolks build the custard foundation, and four is the sweet spot between richness and a texture that still feels light.
- Salt (1/4 tsp): Salt sharpens everything and makes the chocolate taste more like itself.
- Dark chocolate 70% (4 oz, chopped): Use good chocolate here because it is the backbone of the whole recipe.
- Unsweetened cocoa powder (1/4 cup): Cocoa powder deepens the chocolate flavor without adding extra sweetness.
- Active sourdough starter or discard (1/2 cup, room temperature): This is the wild card ingredient that transforms ordinary chocolate ice cream into something people cannot stop talking about.
Instructions
- Warm the milk and cream:
- Pour the milk, cream, and half the sugar into a saucepan and set it over medium heat. Watch it carefully and pull it off the burner the moment you see steam rising, because boiling will scald the dairy.
- Whisk the yolks:
- In a bowl, whisk the egg yolks with the remaining sugar and salt until the mixture looks pale yellow and falls in thick ribbons from the whisk. This takes about two minutes of enthusiastic whisking by hand.
- Temper the eggs:
- Pour the hot milk in a slow thin stream into the yolks while whisking like your ice cream depends on it, which it does. Then pour everything back into the saucepan.
- Cook the custard:
- Stir constantly over low heat until the mixture thickens enough to coat the back of a spoon and a finger drawn through it leaves a clean line. This usually takes five to seven minutes.
- Melt in the chocolate:
- Remove from heat and add the chopped chocolate and cocoa powder, stirring until the mixture is glossy and no streaks remain. The residual heat melts everything perfectly.
- Strain and cool:
- Pour the base through a fine sieve into a clean bowl to catch any cooked egg bits. Let it sit until it reaches room temperature, which is a good time to clean up the kitchen.
- Add the sourdough starter:
- Whisk in the sourdough starter until it disappears completely into the chocolate base. You will notice the mixture become slightly thicker and take on a faint, pleasant acidity.
- Chill thoroughly:
- Cover the bowl and refrigerate for at least four hours or overnight if you can wait that long. The longer it rests, the more the flavors marry together.
- Churn the ice cream:
- Pour the chilled base into your ice cream maker and churn according to the directions until it looks like soft serve. This typically takes twenty to twenty five minutes.
- Freeze until firm:
- Transfer the churned ice cream to a lidded container and freeze for at least two hours so it firms up into proper scoops.
 Save
Save There is something magical about pulling a container of homemade ice cream from the freezer on a random Tuesday and knowing you made it from ingredients most people pour down the drain.
Getting the Tang Right
The first time I made this, I used a freshly fed starter and the tang was barely noticeable, which was fine but not what I wanted. Discard starter that has been sitting on the counter for a day or two has a much more pronounced acidity that cuts through the richness of the chocolate and creates that addictive contrast. I now keep a small jar in the fridge specifically earmarked for ice cream experiments.
Choosing Your Chocolate
I learned the hard way that cheap chocolate makes cheap tasting ice cream, and there is nowhere for mediocre ingredients to hide in a recipe with so few components. Splurge on a bar you would happily eat on its own, something around seventy percent cacao with a snap to it and flavors that linger. The cocoa powder adds depth but the chopped chocolate is doing the heavy lifting.
Serving and Storing
This ice cream is best eaten within a week because the sourdough flavor intensifies over time, which sounds good but can become overpowering if you let it sit too long. Let the container sit on the counter for five minutes before scooping because the texture softens beautifully at just below room temperature.
- A sprinkle of flaky sea salt on top makes the chocolate sing.
- Try folding in mini chocolate chips during the last minute of churning for texture.
- Always press plastic wrap directly against the surface before lidding to prevent ice crystals.
 Save
Save Every spoonful of this ice cream reminds me that the best cooking happens when curiosity meets a full jar of sourdough discard. Share it generously and watch faces light up.
Recipe Questions & Answers
- → What does sourdough add to ice cream?
-
Sourdough starter introduces subtle tangy fermentation notes that complement the rich dark chocolate, creating a more complex flavor profile while helping balance sweetness and enhancing the creamy texture.
- → Can I use fed starter instead of discard?
-
Yes, fed starter works well too. Unfed discard typically has a stronger tang which pairs beautifully with chocolate, but active starter will also create excellent flavor and texture.
- → How long does this need to freeze?
-
After churning, transfer to a lidded container and freeze for at least 2-3 hours for firm scooping. For harder texture, freeze overnight. The base requires chilling 4+ hours before churning.
- → Can I make this without an ice cream maker?
-
Yes, pour the chilled base into a shallow container and freeze, stirring every 30 minutes for the first 3-4 hours to break up ice crystals. The texture will be slightly less creamy but still delicious.
- → What percentage of chocolate works best?
-
Dark chocolate around 70% cacao provides the ideal balance - rich chocolate flavor without excessive bitterness that could clash with the tangy sourdough notes.
