 Save
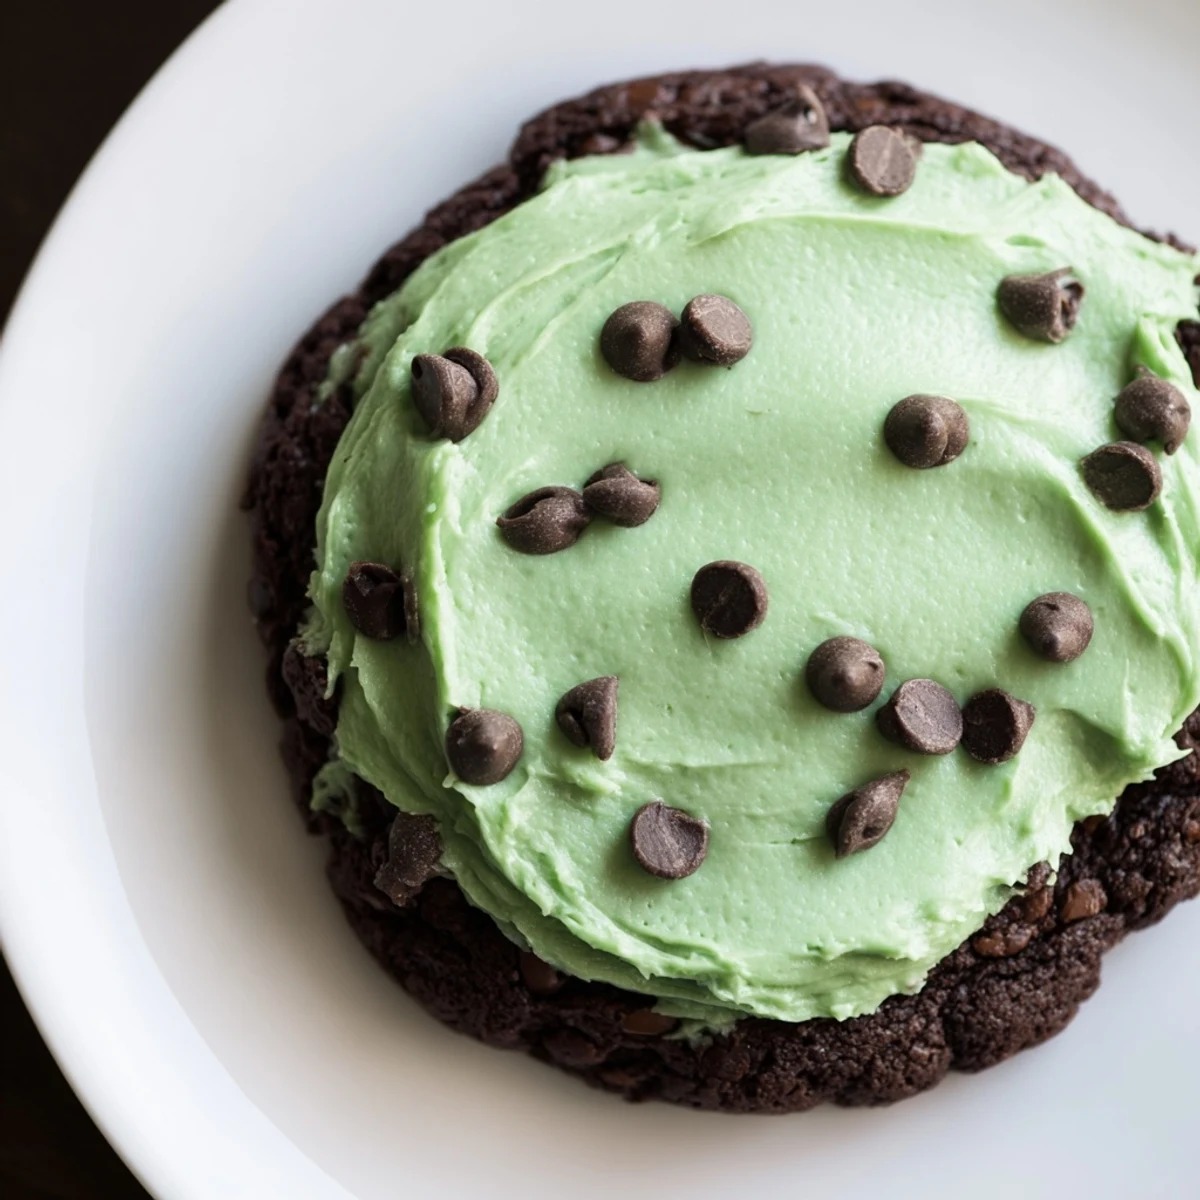
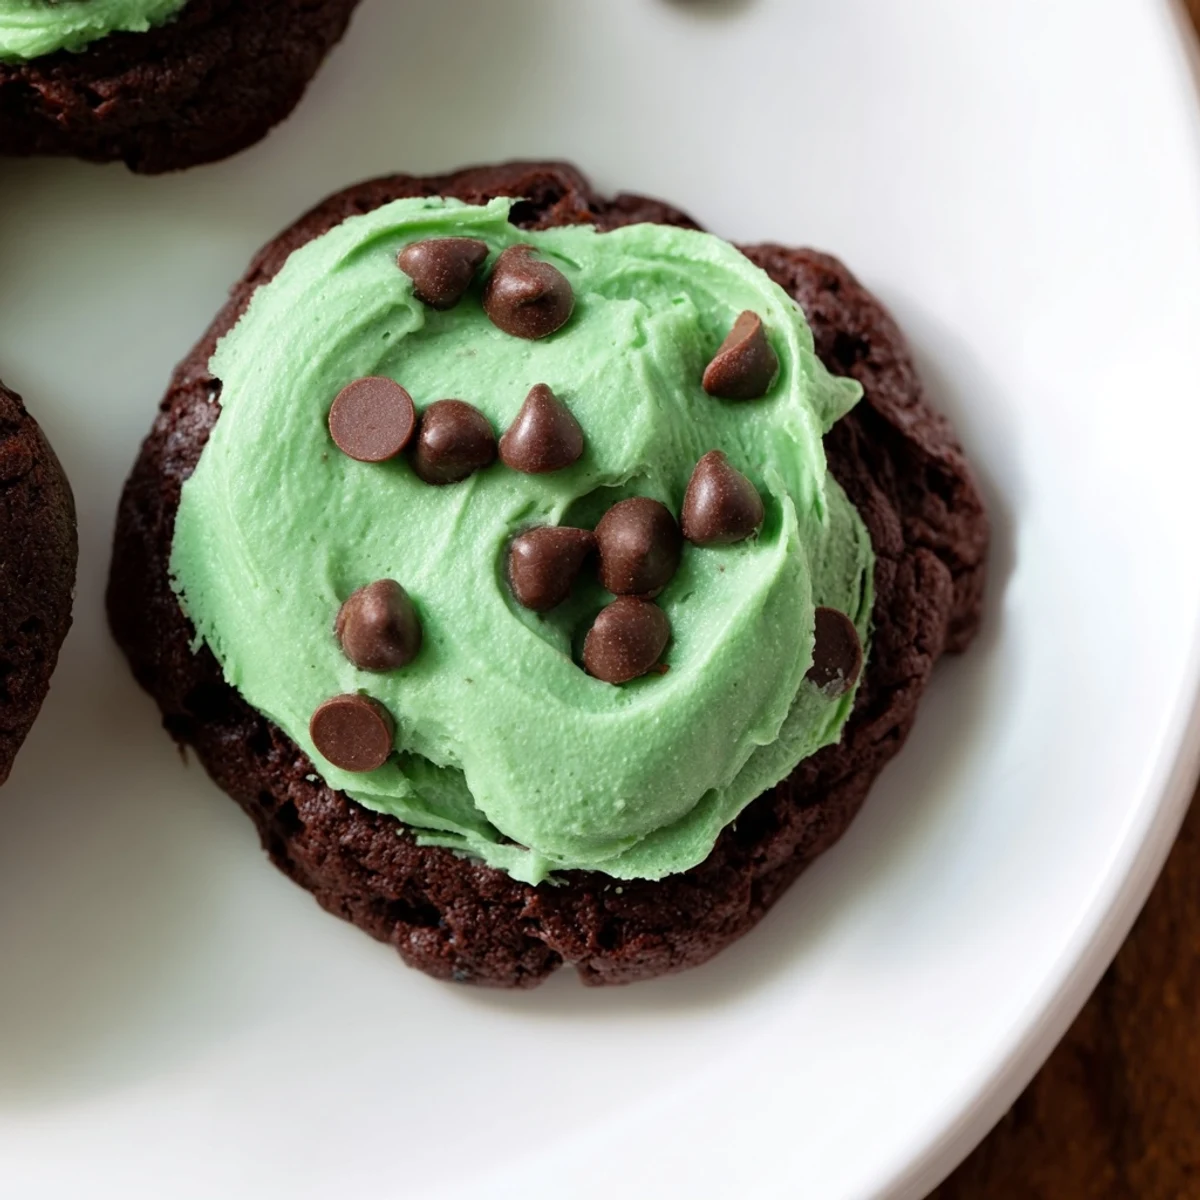
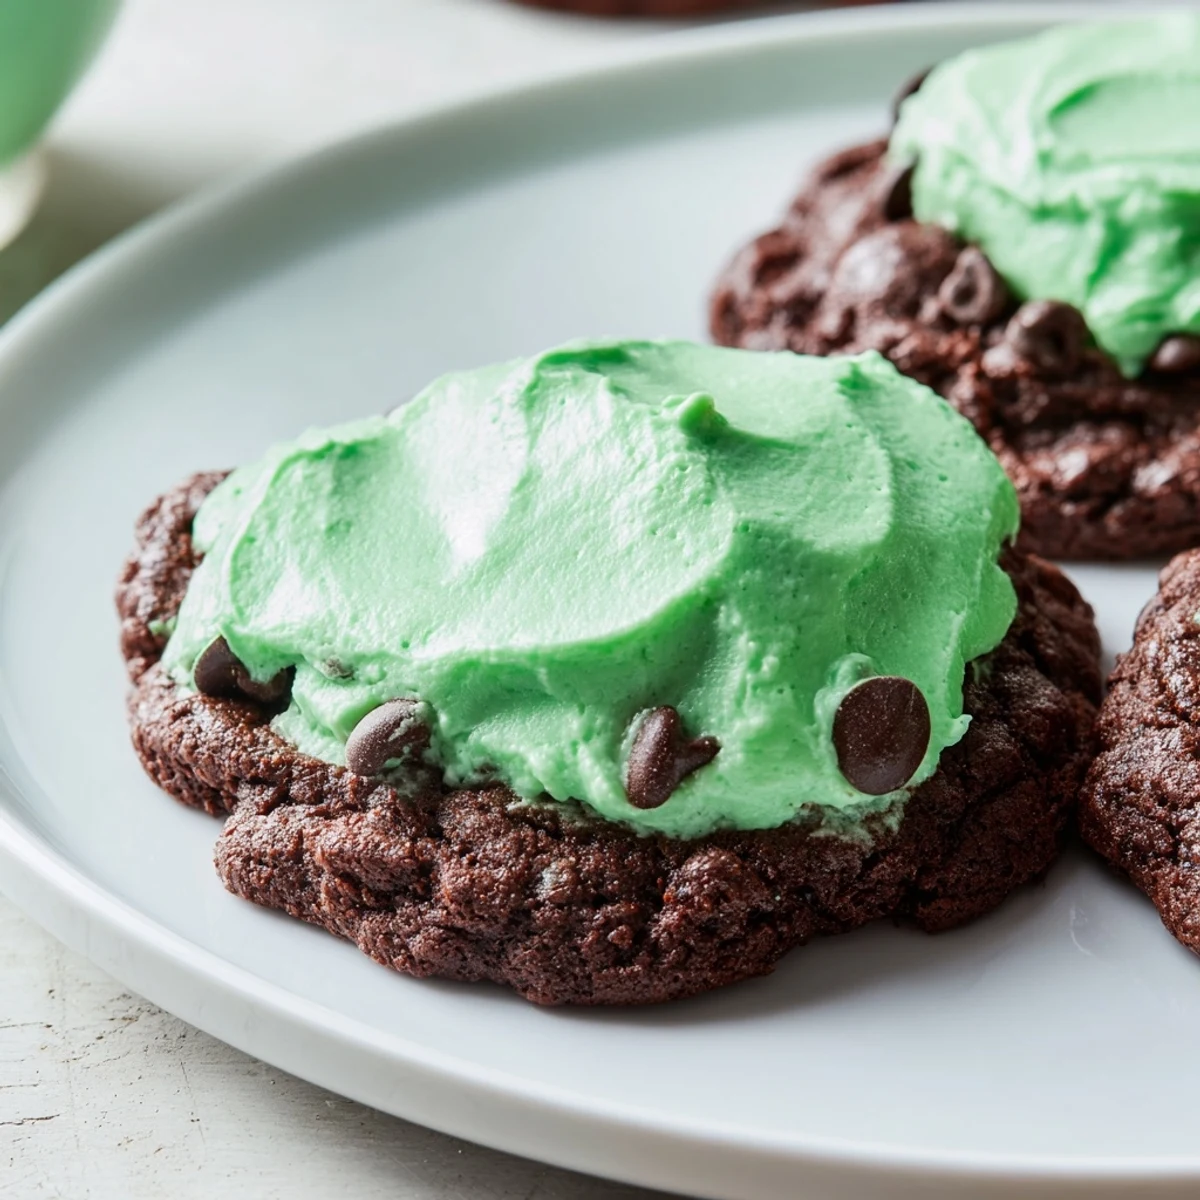
Save These chocolate cookies blend deep cocoa and fresh mint for a rich, fudgy texture. The vibrant green frosting on top enhances the cooling flavor, providing a festive and eye-catching finish. Preparation involves creaming butter and sugars, mixing dry and wet ingredients gently, and baking until edges set. After cooling, creamy mint frosting, tinted green, is spread over each cookie for a smooth, refreshing complement. Ideal for sharing at gatherings or enjoying as a cool, sweet snack.
The scent of peppermint and chocolate baking together always pulls me back to my first apartment kitchen, where I discovered that the simplest ingredients could create something magical. These cookies were my attempt to recreate a holiday treat from a bakery downtown, and somewhere between testing food coloring shades and eating warm dough, I realized my version had become something entirely its own.
My roommate walked in while I was piping the green frosting and immediately declared them the best thing to ever come out of our tiny oven. We ate half the batch standing up at the counter, frosting on our fingers, debating whether they counted as breakfast or dessert.
Ingredients
- Unsalted butter: Room temperature butter is non negotiable here for that perfectly creamy cookie texture and smooth frosting
- Granulated and brown sugar: The combination gives you crisp edges and a chewy center that makes these irresistible
- Peppermint extract: Start with a teaspoon and add more if you love that cooling sensation that makes these special
- Cocoa powder: Use good quality unsweetened cocoa for that deep chocolate flavor that stands up to the mint
- Chocolate chips: Semi sweet adds pockets of melty goodness throughout each cookie
- Powdered sugar: Sifting it first prevents lumpy frosting and makes all the difference in the final texture
- Green food coloring: Gel coloring gives you vibrant color without adding liquid to your frosting
Instructions
- Get ready to bake:
- Preheat your oven to 350°F and line two baking sheets with parchment paper, which saves you from scrubbing baked on sugar later
- Cream your butter and sugars:
- Beat the softened butter with both sugars until the mixture looks pale and fluffy, usually about 3 minutes of serious mixing
- Add the eggs and extracts:
- Drop in the eggs one at a time, then pour in the vanilla and peppermint extracts, letting everything get friendly together
- Whisk the dry team:
- In another bowl, combine the flour, cocoa powder, baking soda, and salt until they are completely blended
- Bring it all together:
- Gradually mix the dry ingredients into the wet ones, stopping as soon as you no longer see streaks of flour
- Fold in the chocolate chips:
- Gently stir in the chocolate chips by hand so you do not overwork the dough
- Scoop and space:
- Drop tablespoon sized balls onto your prepared sheets, leaving about two inches between each for spreading
- Bake to perfection:
- Slide them into the oven for 9 to 11 minutes, pulling them out when the edges look set but centers still seem slightly soft
- Let them rest:
- Cool the cookies on the baking sheets for 5 minutes before moving them to a wire rack to cool completely
- Make the frosting magic:
- Beat the softened butter until creamy, then gradually add powdered sugar, milk, and peppermint extract until smooth
- Add the color:
- Mix in green food coloring drop by drop until you reach your desired shade
- Frost and finish:
- Once the cookies are completely cool, spread or pipe the frosting on top and let it set before serving
 Save
Save These became my go to contribution for every holiday party after the first year when someone actually asked for the recipe instead of just complimenting them. Now I double the batch because they vanish faster than you expect.
Making Them Your Own
I have found that adding chopped mint chocolate candies takes these over the top, especially during the holidays when they are readily available. The extra mint chunks create little pockets of intense flavor that make people wonder what your secret ingredient is.
Getting The Frosting Right
After years of making these, I have learned that room temperature ingredients are the difference between frosting that spreads like silk and frosting that turns into a greasy mess. Take your butter out of the fridge at least an hour before you plan to start baking.
Storage And Serving
These cookies actually taste better on day two when the mint has had time to meld with the chocolate. Store them in an airtight container with parchment paper between layers.
- Let the frosted cookies set for at least an hour before stacking them
- They freeze beautifully before frosting, just wrap them well
- Bring them to room temperature before serving for the best texture
 Save
Save Every time I pull a fresh batch from the oven, that mint chocolate scent reminds me why baking is about so much more than food. These cookies have become part of the story.
Recipe Questions & Answers
- → What imparts the mint flavor in the cookies?
-
Mint flavor is added using peppermint extract, which is mixed into the butter and sugar to evenly distribute its cool essence.
- → How is the green frosting made?
-
The frosting combines softened butter, powdered sugar, milk, and peppermint extract, with green food coloring added for a vibrant appearance.
- → Can these cookies be made gluten-free?
-
Yes, by substituting the all-purpose flour with a gluten-free blend, these cookies can accommodate gluten-free diets.
- → What is the best baking temperature and time?
-
Bake the cookies at 350°F (175°C) for 9–11 minutes until the edges are set but the centers remain soft.
- → How should the cookies be cooled before frosting?
-
Allow the cookies to cool completely on a wire rack to prevent the frosting from melting upon application.
- → Are there options to enhance the mint flavor?
-
Adding chopped mint chocolate candies into the dough intensifies the mint flavor and adds texture.
