 Save
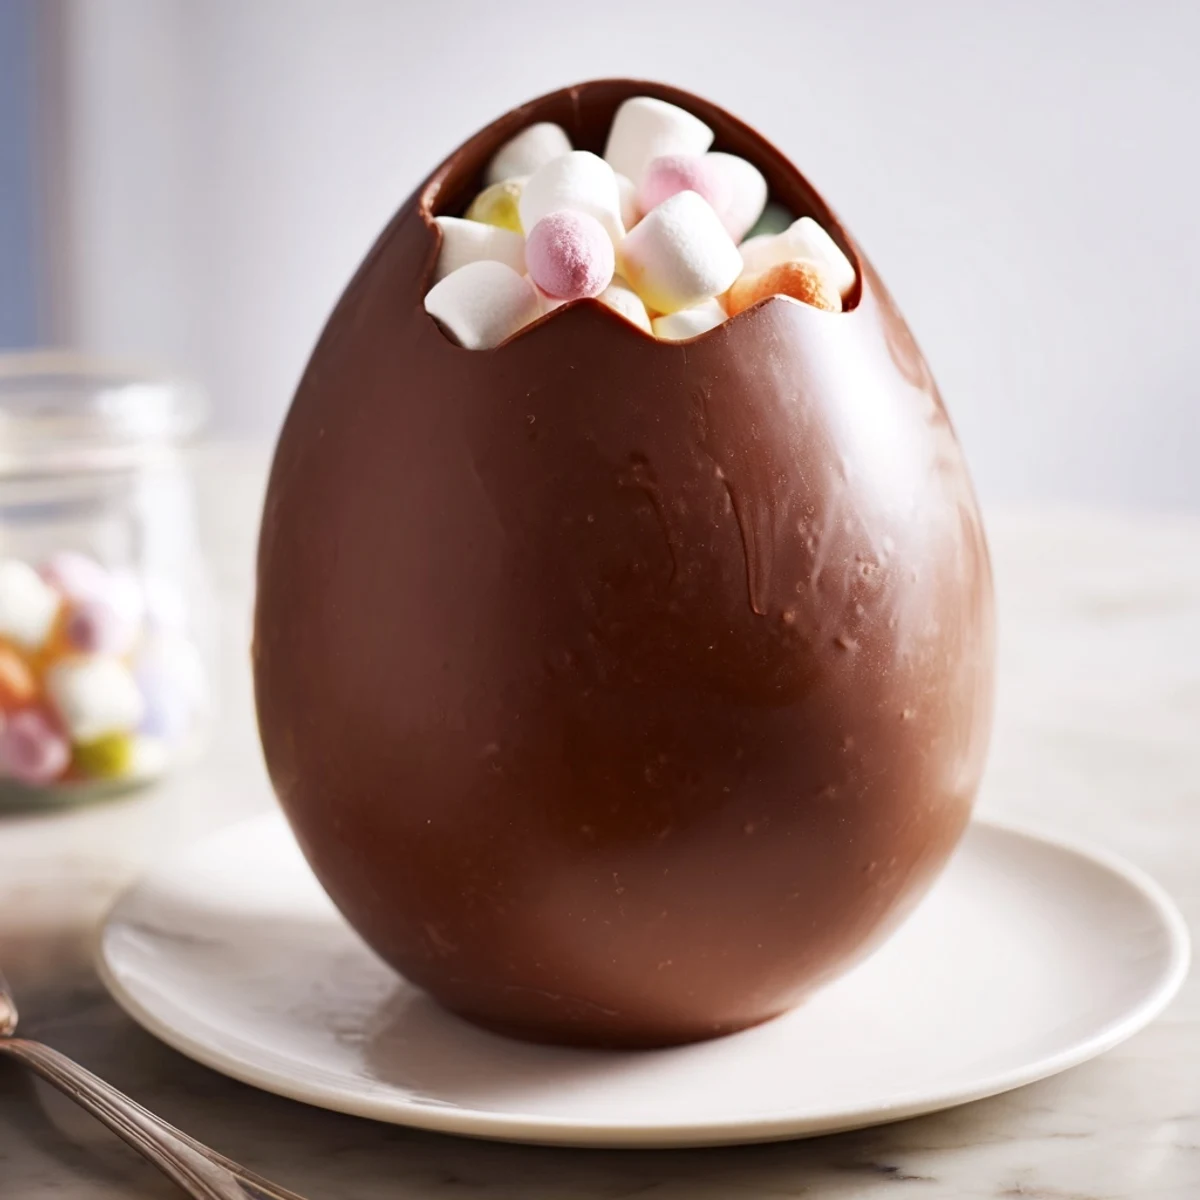
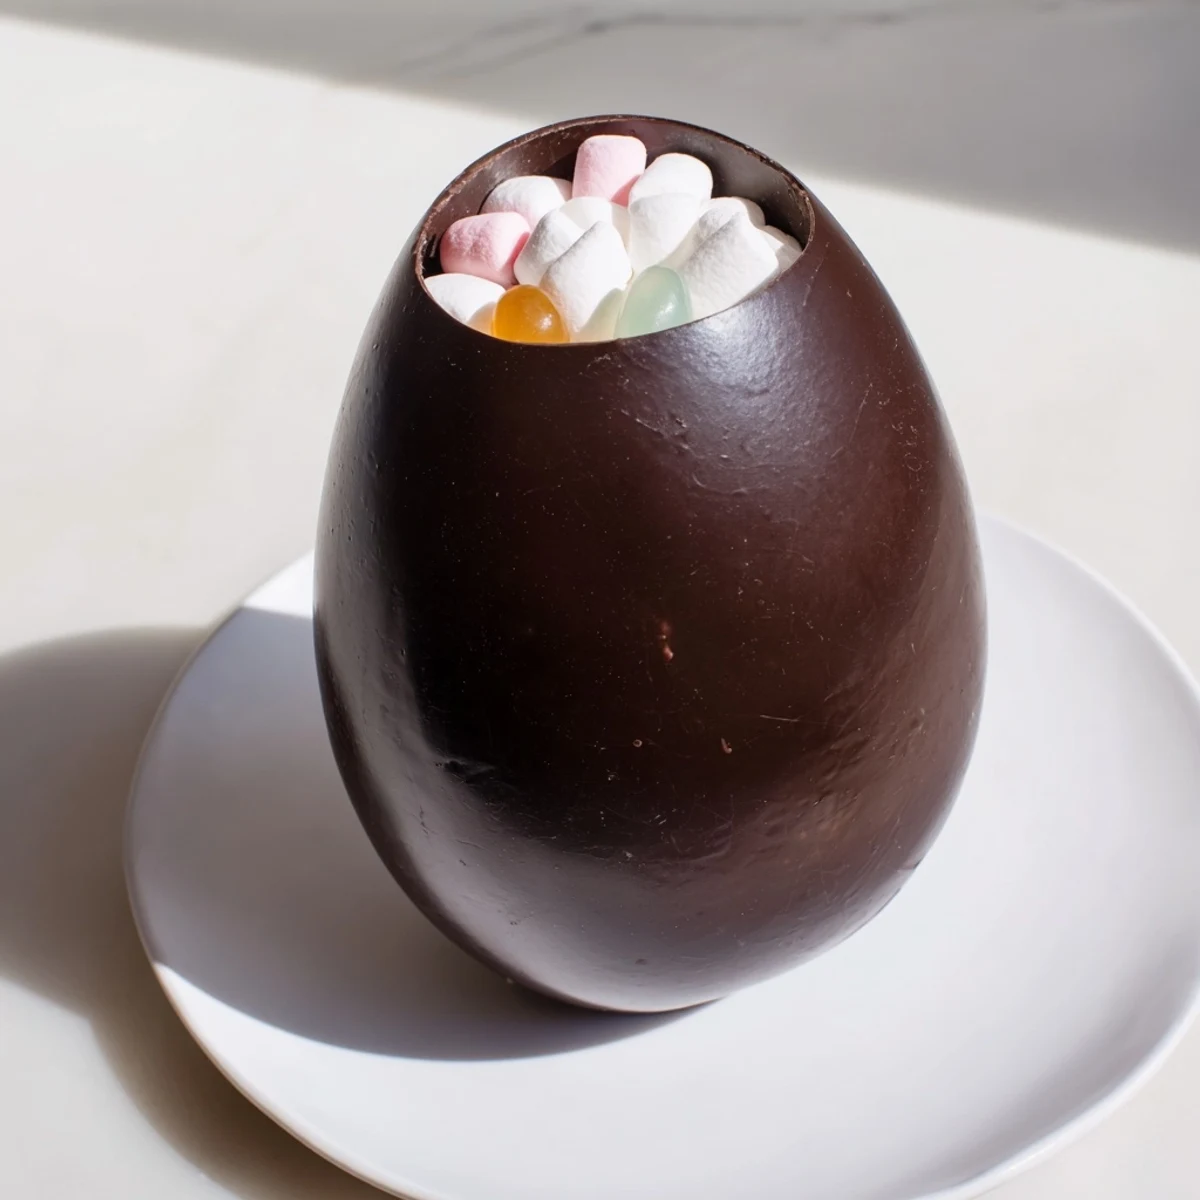
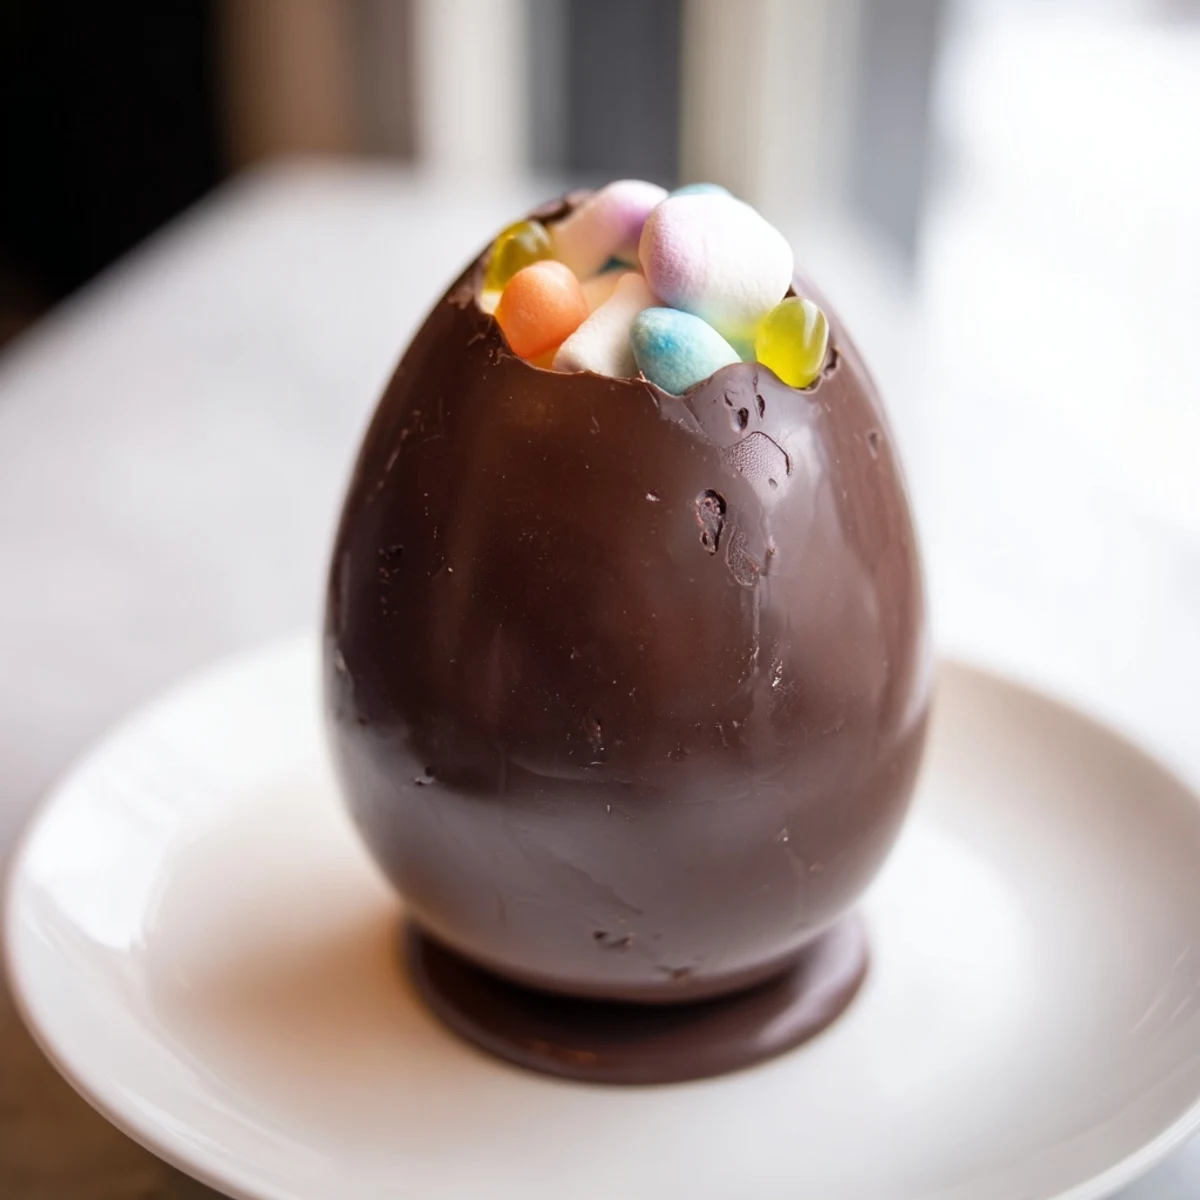
Save This indulgent chocolate egg features a crisp shell crafted from high-quality tempered chocolate. Optional fillings such as candies, praline paste, or caramel add delicious surprise inside. The process involves carefully melting and tempering chocolate to achieve a glossy finish, coating molds evenly, chilling shells, and sealing halves gently. Perfect for festive occasions or heartfelt gifts, this treat combines rich flavor with beautiful presentation. Decorating tips include sprinkles, edible paint, or gold leaf for an elegant touch.
I first discovered making chocolate eggs while searching for a fun way to celebrate Easter at home. The process of melting smooth chocolate and seeing it transform in molds always felt like a little magic unfolding in my kitchen.
I remember the first time unexpected guests arrived, and I nervously offered them these homemade chocolate eggs. Their eyes lit up with delight, and from that day, they’ve been a go-to special treat whenever friends drop by.
Ingredients
- Chocolate: I always reach for high-quality dark, milk, or white chocolate chopped finely to melt evenly, ensuring smooth results every time
- Optional Fillings: Mini marshmallows, jelly beans, praline paste, or soft caramel bring fun textures and flavors to the eggs
Instructions
- Get Everything Ready:
- Make sure your molds are clean and completely dry as any moisture can ruin the chocolate’s shine
- Tempering Time:
- Gently melt two-thirds of the chocolate over simmering water, stirring until smooth, then stir in the remaining chocolate to cool to the perfect temperature for a glossy, crisp finish
- Coating the Molds:
- Pour or spoon the tempered chocolate into molds and swirl to cover every nook. Invert to let excess drip and scrape edges clean — smells rich and chocolaty here
- Chill to Set:
- Place the molds in the refrigerator for about 10 to 15 minutes until the shells harden beautifully
- Second Coat If Desired:
- For a thicker shell, repeat chocolate coating and chilling for sturdiness that snaps just right
- Adding Fillings:
- Optional, but adding candies or praline to one half before sealing adds delightful surprises
- Sealing the Eggs:
- Warm a baking sheet and gently press egg halves against it to slightly melt edges, then press together to seal—listen for that satisfied click
- Final Chill & Decorate:
- Return eggs to the fridge to set completely before unmolding and decorating with sprinkles or edible paint
 Save
Save This recipe became more than food when I gifted a set of beautifully sealed chocolate eggs to my family last Easter. The smiles, the shared excitement, and the warmth in the room made the effort truly worth it.
Keeping It Fresh
Store your chocolate eggs in a cool, dry place to maintain that perfect snap and shine. Avoid the fridge for long-term storage as moisture can cause sugar bloom.
Serving Ideas That Clicked
Try breaking the eggs open at the table to reveal the hidden candies inside — it’s such a fun surprise that sparks conversation instantly.
A Time This Recipe Saved the Day
When last minute guests arrived unexpectedly during the holidays, having a batch of these eggs ready was a lifesaver—they felt personal and fancy without last minute stress.
- Remember to prep your molds well in advance for smooth demolding
- Oh wait one more thing: use a thermometer to master the tempering temperatures
- Always decorate after the eggs are fully set for the best finish
 Save
Save Thanks for joining me in this chocolate adventure! Have fun, experiment a little, and don’t forget to enjoy every delicious bite.
Recipe Questions & Answers
- → How do I temper chocolate for a glossy finish?
-
Melt two-thirds of chopped chocolate over simmering water, remove from heat, add remaining chocolate, and stir until cooled to specific temperatures depending on chocolate type for shine and snap.
- → Can I customize the fillings inside the egg?
-
Yes, optional fillings like candies, praline paste, nut butter, or soft caramel can be added to one half before sealing for flavor variation.
- → What molds work best for shaping chocolate eggs?
-
Plastic or silicone egg molds are ideal for easy shaping and removal once the chocolate sets.
- → How long should the chocolate shells chill before assembly?
-
Chill each coated half-shell in the refrigerator for 10–15 minutes until set; repeat coating if a thicker shell is desired.
- → How can I seal the two halves properly?
-
Warm a baking sheet and briefly press the edges of each half-shell to gently melt, then press halves together and chill to set fully.
- → Are there any allergy considerations to keep in mind?
-
Chocolate contains milk and soy lecithin; fillings may have nuts or gluten. Always check ingredient labels for allergens.
