 Save
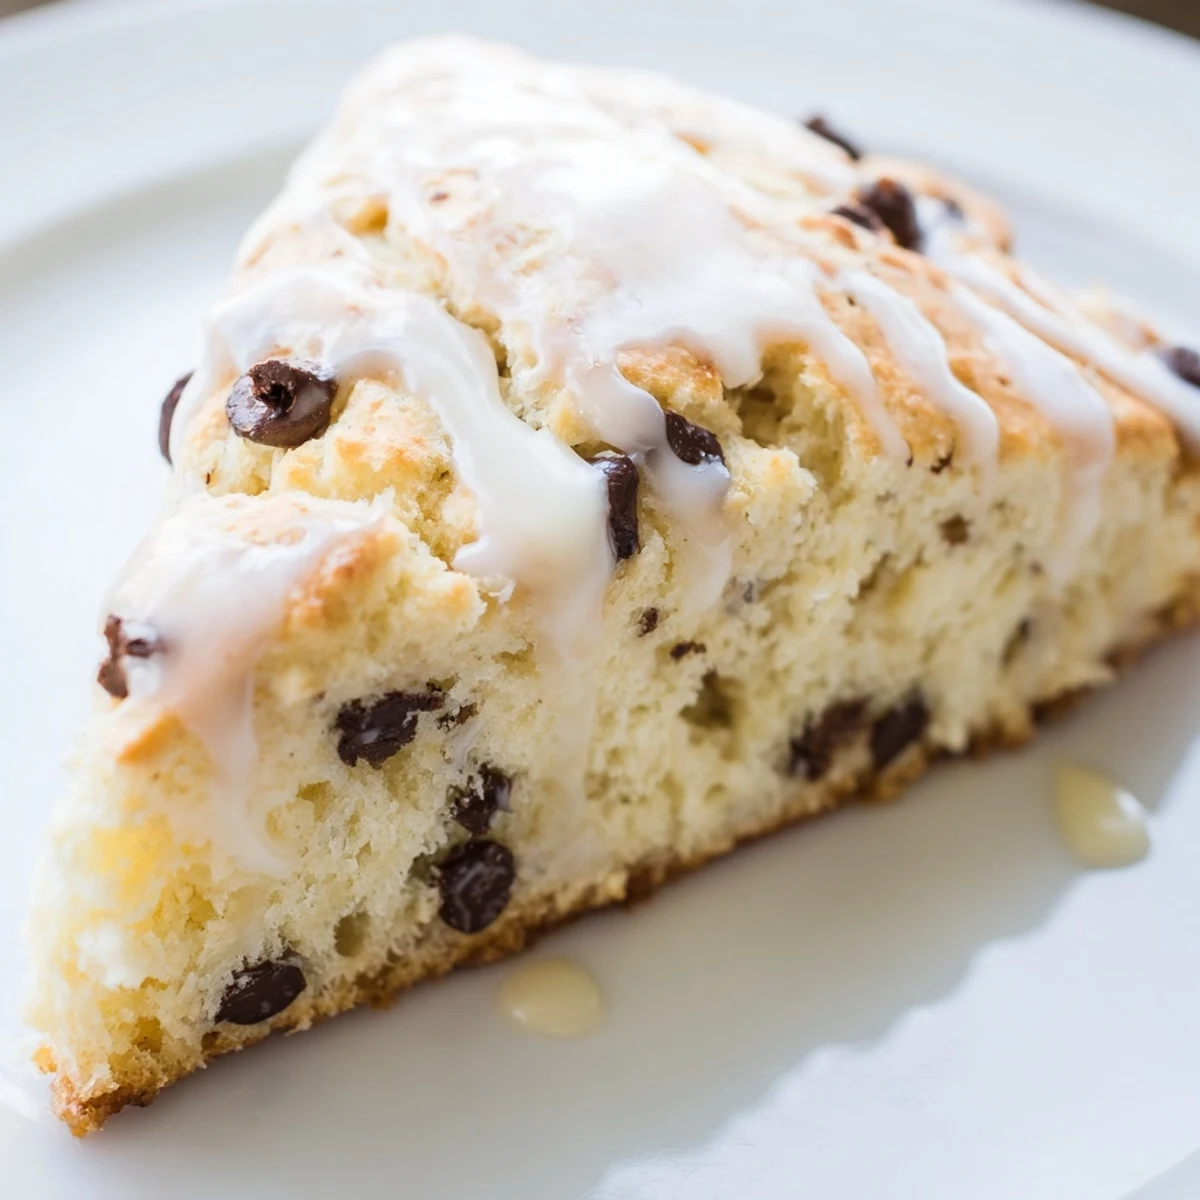
Save Make bakery-style chocolate chip scones by cutting cold butter into flour, sugar, and leavening agents. Gently mix in buttermilk, egg, and chips before baking until golden. Top these tender treats with a luscious vanilla glaze for the ultimate morning or afternoon indulgence.
There's something magical about pulling a batch of warm scones from the oven on a lazy Sunday morning—that moment when the kitchen fills with the smell of butter and chocolate, and suddenly everyone's drawn to the kitchen like it's the coziest place on earth. My sister brought over a tin of British scones years ago, and I became obsessed with recreating them at home, but with my own twist: melted chocolate chips scattered through the tender crumb. The first time I nailed the texture—light, fluffy, just barely crumbly—I knew this would be a recipe I'd make again and again.
I made these for a friend who was going through a rough patch, and watching her face light up when she bit into one—that chocolate hitting her tongue just right, the glaze still warm—reminded me why I love feeding people. She asked for the recipe that day, and now she makes them for her own gatherings. There's a quiet joy in knowing a recipe becomes part of someone else's kitchen story.
Ingredients
- All-purpose flour (2 cups): The foundation of tender scones; I always spoon and level it rather than scooping directly from the bag to avoid packing it down.
- Granulated sugar (1/3 cup): Gives subtle sweetness without overwhelming the vanilla glaze that comes later.
- Baking powder and baking soda (2 tsp and 1/2 tsp): These two together create that signature light, airy crumb—don't skip either one.
- Salt (1/2 tsp): A pinch that makes the chocolate taste richer and rounds out all the flavors.
- Cold unsalted butter, cubed (1/2 cup): The secret to flaky scones is keeping the butter cold; I sometimes freeze it for 10 minutes before cutting it in.
- Cold buttermilk (2/3 cup): Adds tang and tenderness that regular milk can't match—don't warm it up.
- Egg (1 large): Binds everything and creates a light golden exterior when baked.
- Pure vanilla extract (2 tsp in dough, 1/2 tsp in glaze): Use real vanilla, not imitation; the difference is noticeable in the final bite.
- Semi-sweet chocolate chips (3/4 cup): The heart of these scones; I sometimes use a mix of semi-sweet and dark chocolate for deeper flavor.
- Powdered sugar (1 cup) and milk (2–3 tbsp): The glaze that makes people come back for seconds.
Instructions
- Set the stage:
- Preheat your oven to 400°F and line a baking sheet with parchment paper so your scones won't stick and will have a golden bottom.
- Blend the dry team:
- Whisk together your flour, sugar, baking powder, baking soda, and salt in a large bowl. This distributes the leavening agents evenly throughout so every scone rises beautifully.
- Cut in the butter:
- Add your cold, cubed butter and work it in using a pastry cutter or your fingertips until the mixture looks like coarse breadcrumbs. You want small butter pockets throughout the dough—they create those tender layers when the scones bake.
- Make the wet mixture:
- In a separate bowl, whisk together the buttermilk, egg, and vanilla extract until combined. Keep this cold.
- Bring it together:
- Pour the wet ingredients into the dry mixture, add your chocolate chips, and stir gently just until everything comes together. Overmixing develops gluten and makes tough scones—resist the urge to keep stirring once you see no dry flour.
- Shape the dough:
- Turn the dough onto a lightly floured surface and pat it gently into a 1-inch thick circle about 8 inches across. Cut it into 8 wedges like a pizza, and place them on your baking sheet with a little space between each one so steam can circulate.
- Bake until golden:
- Bake for 16 to 18 minutes until the tops are a beautiful golden brown. They'll smell incredible and feel firm but still tender when you touch them lightly.
- Make the glaze:
- While the scones cool slightly, whisk together your powdered sugar, 2 tablespoons of milk, and vanilla extract. Add more milk a little at a time until it's thick but pourable—it should coat the back of a spoon without running off immediately.
- The final touch:
- Drizzle the glaze generously over the warm scones and let it set for a few minutes. The warmth helps it flow into all the nooks and crannies.
 Save
Save There was a morning when I made these for breakfast and my teenage nephew walked downstairs, grabbed one without even asking, and managed to eat three before lunch. No words exchanged, just silent approval through chocolate-covered fingers and a smile. That's when I knew I'd nailed it.
Texture and Crumb
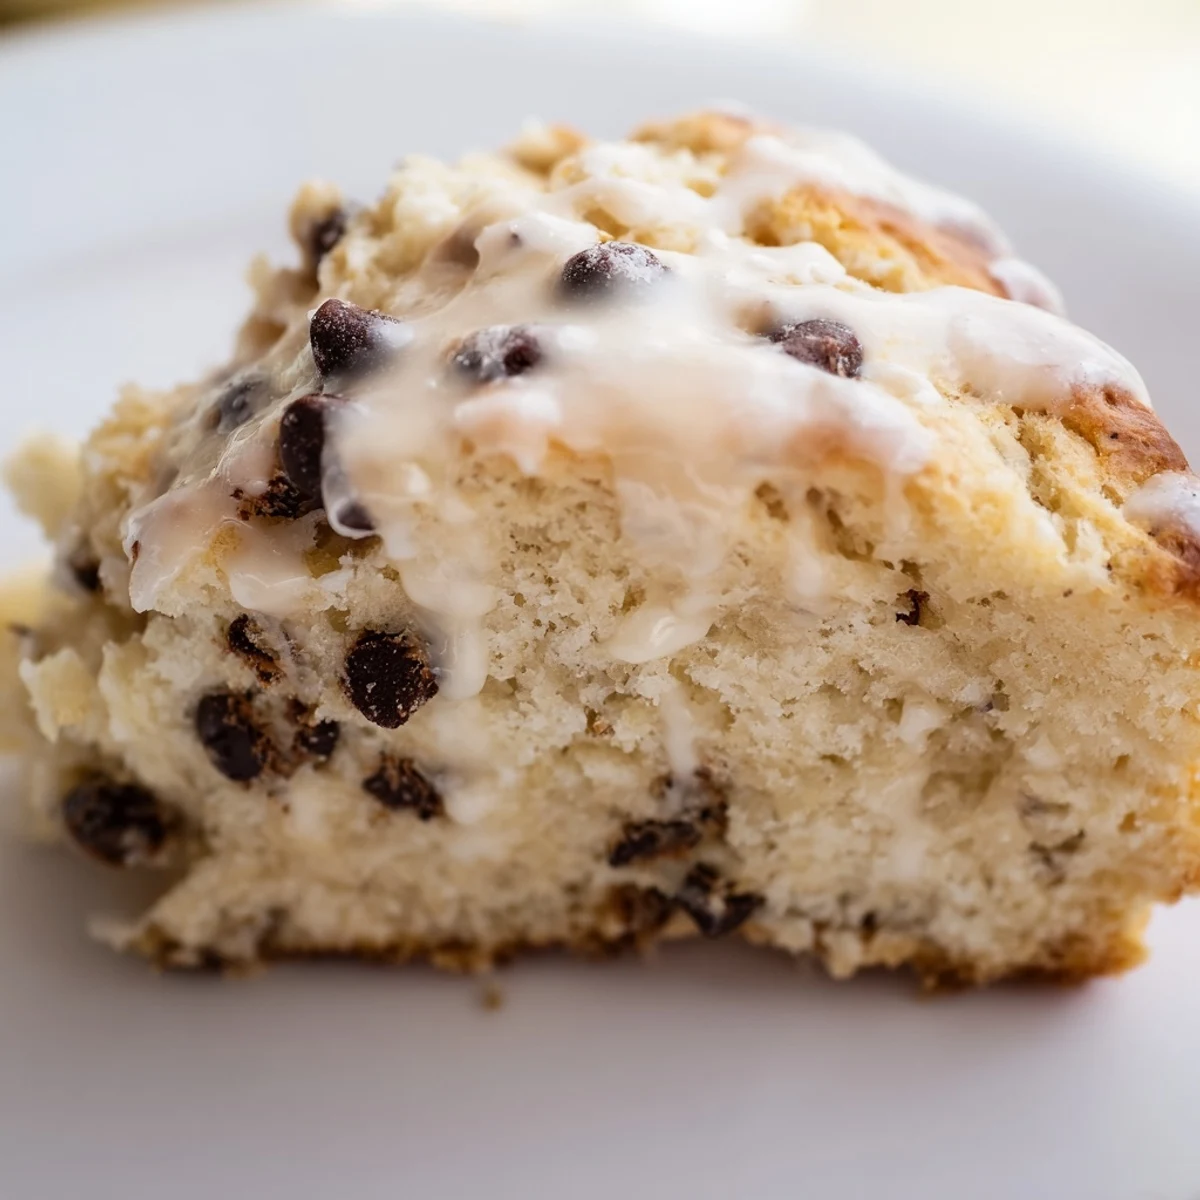
The magic of scones is in the contrast—a crisp, lightly golden exterior that shatters slightly when you bite down, then a soft, almost fluffy interior studded with melted chocolate. Buttermilk is crucial here; it adds a subtle tang that deepens the flavor without being obvious, and it reacts with the baking soda to create that tender, delicate structure. I've learned that the moment you see the mixture just come together, that's when you stop—any extra kneading turns them dense and tough, and you lose that signature scone texture that makes people close their eyes when they take that first bite.
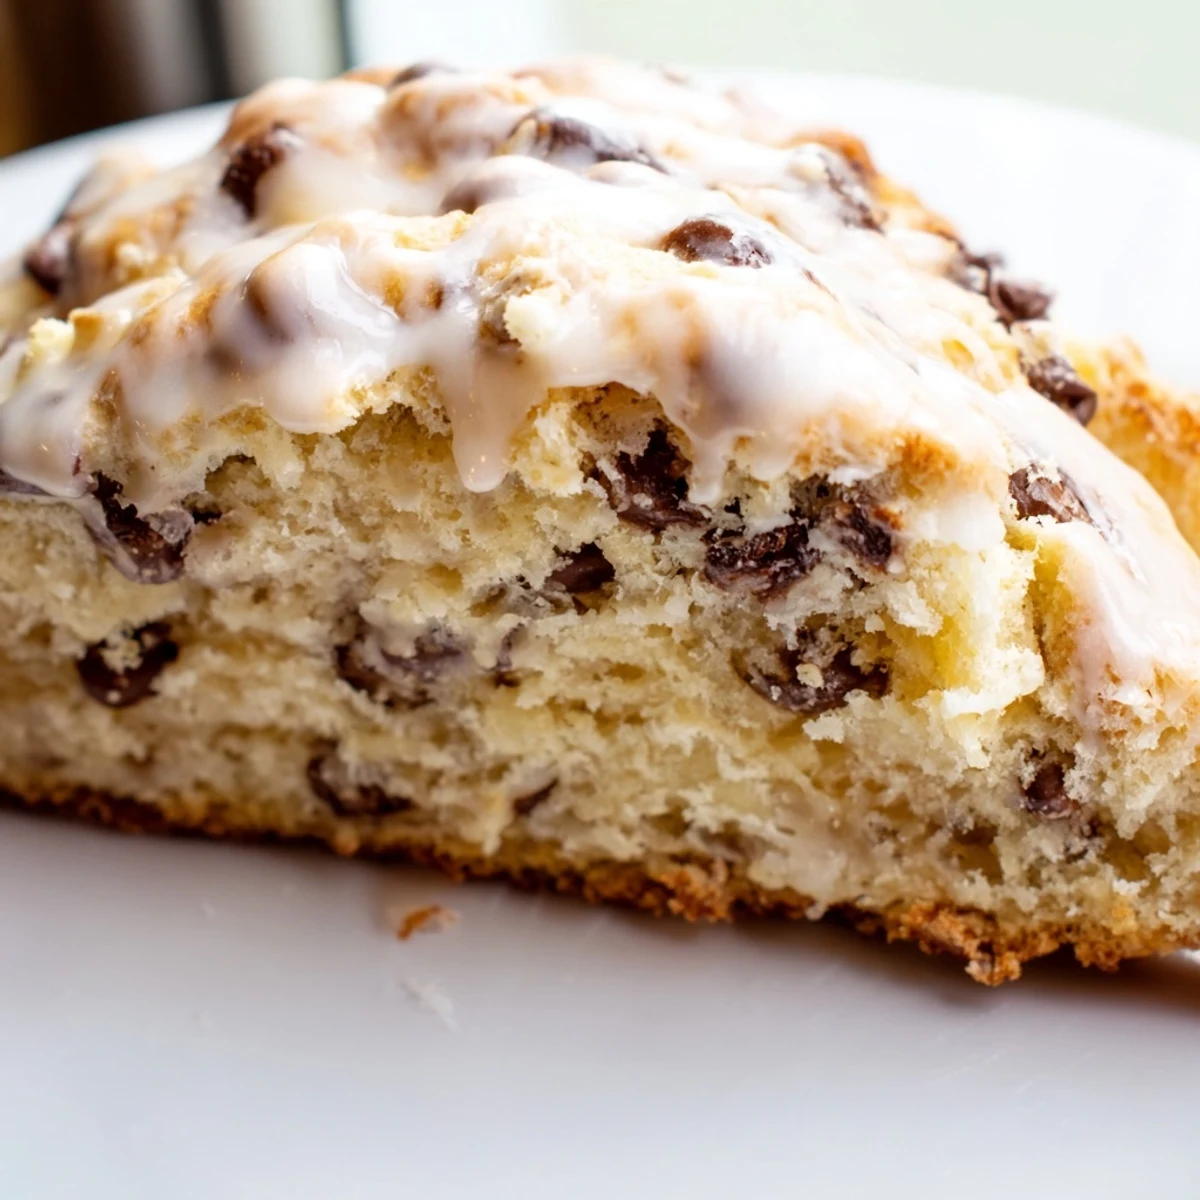
The Vanilla Glaze Secret
The glaze is deceptively simple, but its execution makes the difference between a good scone and one people remember. I always start with a slightly thick consistency and adjust by adding milk gradually; if it's too thin, it slides right off; too thick, and it sits on top like frosting instead of becoming part of the scone. The trick is drizzling it while the scones are still warm enough that it sinks slightly into the crumb and hardens into a glossy, sweet crust as they cool. Some days I add a pinch of sea salt to the glaze to play up the chocolate, or a tiny hint of almond extract for another layer of flavor.
Variations and Make-Ahead Magic
Once you master the basic technique, scones become a canvas for creativity. I've swapped in white chocolate chips with macadamia nuts, made a version with cranberries and orange zest that my mom still asks for, and even experimented with a brown butter glaze for deeper richness. The dough freezes beautifully—I often shape the wedges, freeze them on a baking sheet, then transfer them to a freezer bag, and bake directly from frozen (add 2–3 minutes to the baking time). This means you can wake up on any morning and have fresh, warm scones on the table before anyone's even asked for breakfast.
- Try mini chocolate chips for a different texture, or chop a good-quality chocolate bar into uneven chunks for rustic appeal.
- Make these ahead by freezing the shaped wedges, then baking fresh whenever you want.
- Store cooled scones in an airtight container for up to two days, but honestly, they're best enjoyed fresh and warm with that glaze still soft.
 Save
Save These scones have become my go-to for those mornings when I want something that feels special but isn't complicated, and for afternoons when friends stop by and I want to offer them something homemade. There's something deeply satisfying about pulling a warm batch from the oven and watching people's faces soften as they take that first bite.
Recipe Questions & Answers
- → How do I keep scones tender?
-
Handle the dough as little as possible and use very cold butter to prevent gluten from developing, ensuring a flaky texture.
- → Can I use milk instead of buttermilk?
-
Yes, you can substitute regular milk mixed with a teaspoon of lemon juice or vinegar to mimic the acidity and tenderness of buttermilk.
- → How should I store leftover scones?
-
Store in an airtight container at room temperature for up to 2 days, though they are best enjoyed fresh on the day of baking.
- → Can I freeze the dough?
-
Yes, cut the scones into wedges and freeze them unbaked on a baking sheet. Once solid, transfer to a bag and bake from frozen, adding a few extra minutes.
- → What type of chocolate chips work best?
-
Semi-sweet chips provide a balanced sweetness, but you can easily use dark chocolate, milk chocolate, or even chunks for variation.
