 Save
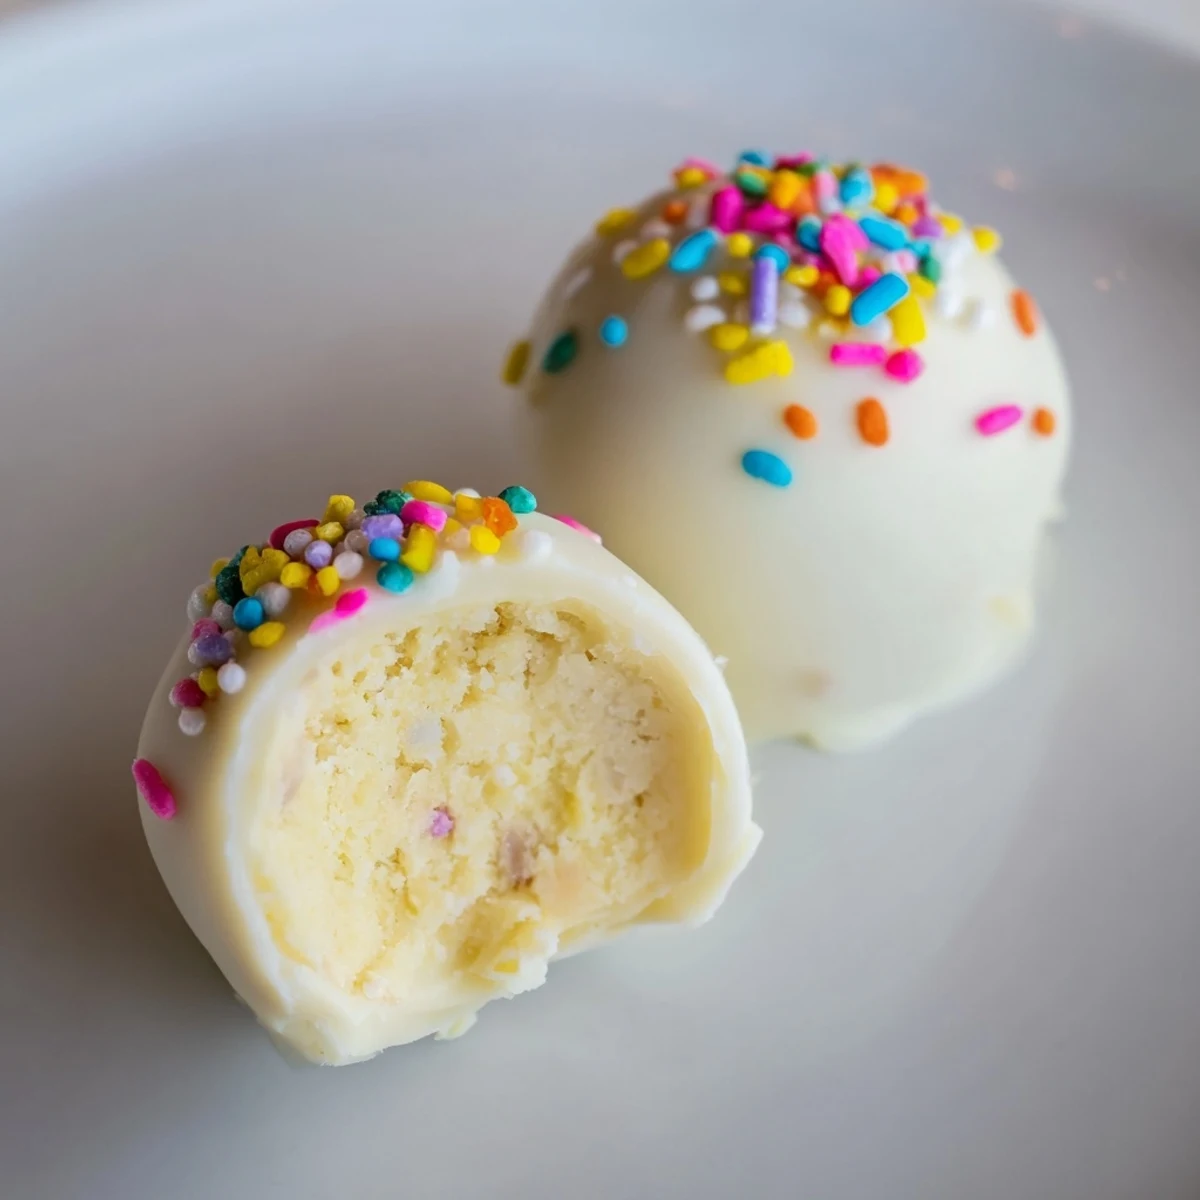
Save These delightful no-bake treats combine the nostalgic flavors of banana pudding with crunchy vanilla wafers, creating bite-sized truffles perfect for Easter gatherings. The creamy filling features instant banana pudding blended with softened cream cheese and crushed vanilla wafers, rolled into balls and chilled until firm. Each truffle gets dipped in smooth white chocolate and decorated with colorful Easter sprinkles or sugar for a festive touch.
The entire process takes just 25 minutes of active preparation, plus chilling time. You can easily customize these by swapping vanilla wafers for graham crackers or adding extra banana extract for intensified flavor. These truffles keep beautifully in the refrigerator for up to five days, making them ideal for preparing ahead of your spring celebrations.
My kitchen counter looked like a pastel explosion last Easter when I decided truffles would be more fun than the usual cake. There were sprinkles everywhere, my daughter was eating more vanilla wafer crumbs than made it into the bowl, and I realized halfway through that white chocolate is deceptively temperamental. But when we bit into that first chilled, creamy banana center with the crunch of cookies, all the mess felt completely worth it. Now they are requested before I even ask what dessert to make.
Last year I made three batches because my husband kept sampling them for quality control and somehow half the tray vanished. We ended up wrapping the remaining ones in little cellophane bags with pastel ribbons for neighbors, and I got more texts about those truffles than any fancy dessert I have ever made. Something about the familiar flavors just makes people happy.
Ingredients
- Cold whole milk: Whole milk gives the pudding base a richer body that holds up better when chilled
- Instant banana pudding mix: Do not use cook and serve pudding, it will not set properly for this no bake application
- Cream cheese, softened: Let it sit out for a full hour so your filling stays smooth without any stubborn lumps
- Vanilla wafer crumbs: Crushing them yourself gives you the perfect mix of fine crumbs and tiny crunchy bits
- White chocolate or candy melts: Candy melts are easier to work with but real white chocolate tastes better if you have patience
- Easter themed sprinkles: Add them immediately after dipping because the chocolate sets surprisingly fast
Instructions
- Whisk the pudding base:
- Pour the cold milk into a medium bowl and add the instant pudding mix. Whisk vigorously for 2 minutes until it noticeably thickens and clings to your whisk.
- Add the cream cheese:
- Throw in the softened cream cheese and beat with an electric mixer until absolutely no lumps remain and the mixture is silky smooth.
- Fold in the crumbs:
- Gently fold in the vanilla wafer crumbs with a spatula until a thick dough like mixture forms that holds its shape when pressed.
- Roll into balls:
- Use a tablespoon or small cookie scoop to portion the dough, then roll between your palms into smooth 1 inch balls. Place them on a parchment lined baking sheet.
- Chill until firm:
- Refrigerate the truffle balls for at least 30 minutes, though an hour is even better so they do not fall apart during dipping.
- Melt the coating:
- Microwave the white chocolate or candy melts in a microwave safe bowl in 20 second intervals, stirring between each until completely smooth and fluid.
- Dip the truffles:
- Drop each chilled ball into the melted chocolate, lift it out with a fork, tap gently to let excess drip off, then return to the baking sheet.
- Add the sprinkles:
- Scatter Easter sprinkles or colored sugar over each truffle right away because the chocolate starts setting within seconds.
- Set and serve:
- Chill the finished truffles for 10 to 15 minutes until the coating is firm, then serve chilled or let them sit at room temperature for 15 minutes before eating.
 Save
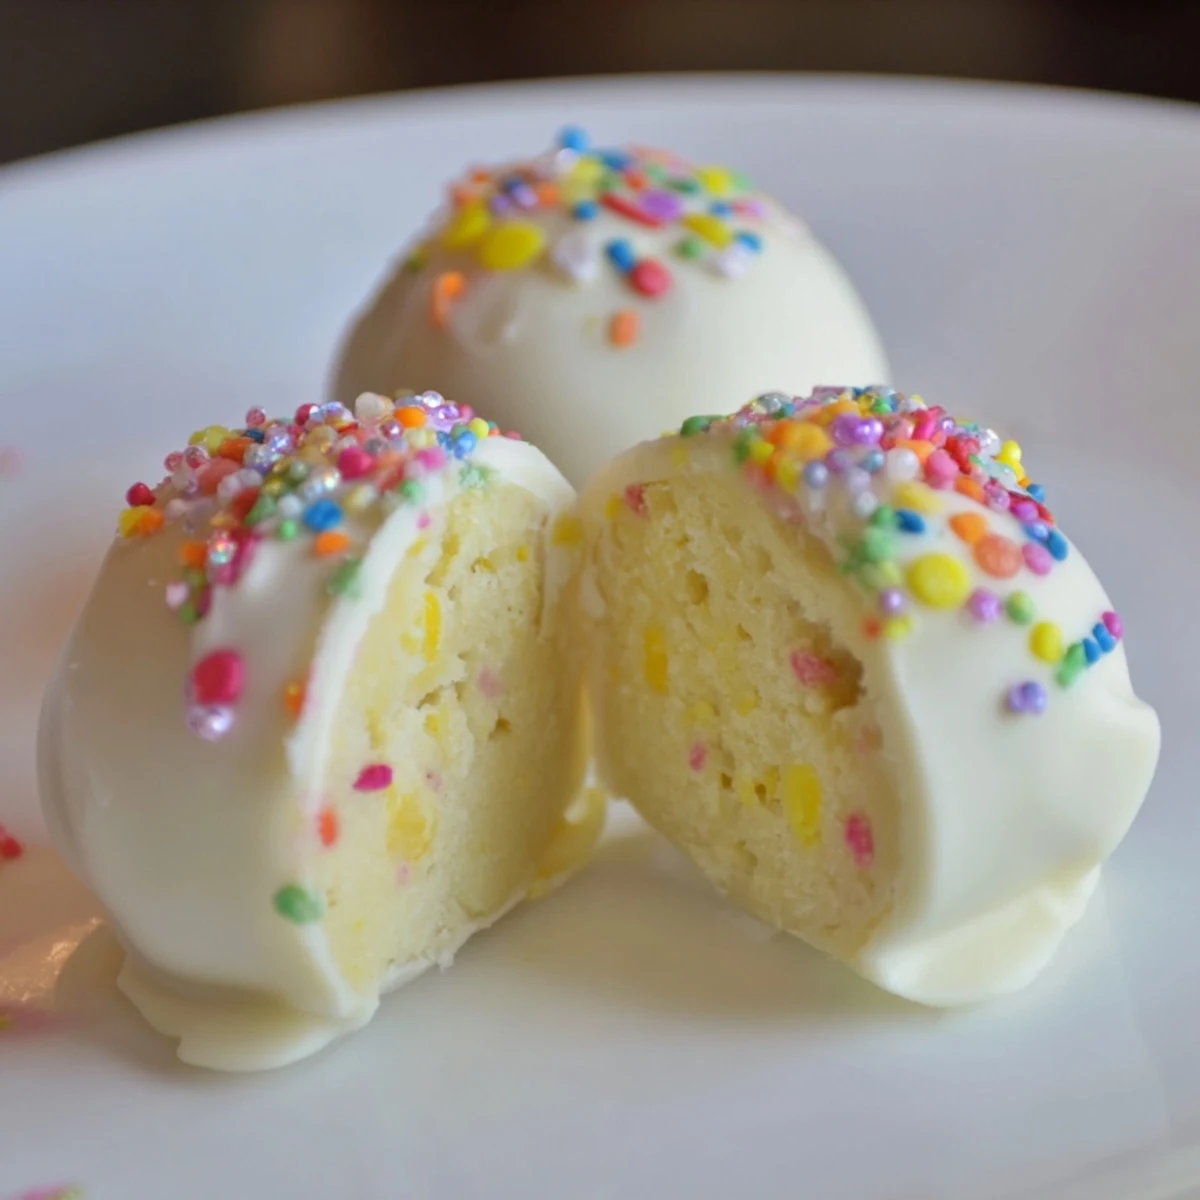
Save The moment these appear on the dessert table, kids and adults alike gravitate toward them like magnets. There is something magical about taking a familiar comfort food and transforming it into something festive and new.
Make Ahead Magic
I learned the hard way that Easter morning is too chaotic to start dipping chocolate. Roll the truffle centers a day or two ahead and keep them tightly covered in the refrigerator, then do the dipping and decorating the night before your celebration.
Dipping Like A Pro
Keep a fork and a toothpick handy, use the fork to lift truffles from the chocolate and the toothpick to nudge them off onto the parchment without leaving ugly fork marks. Working quickly and confidently gives you the smoothest coating.
Flavor Twists
Sometimes I tuck a mini chocolate egg inside each truffle before rolling them for a surprise center. A pinch of sea salt on top of the wet chocolate cuts through the sweetness and makes these taste surprisingly sophisticated. You can also stir some crushed freeze dried strawberries into the coating for a pretty pink speckled look.
- Use yellow candy melts instead of white for banana colored truffles
- Try Nilla wafers versus store brand vanilla wafers, the difference is real
- Set your dipping bowl over a pan of warm water to keep chocolate fluid longer
 Save
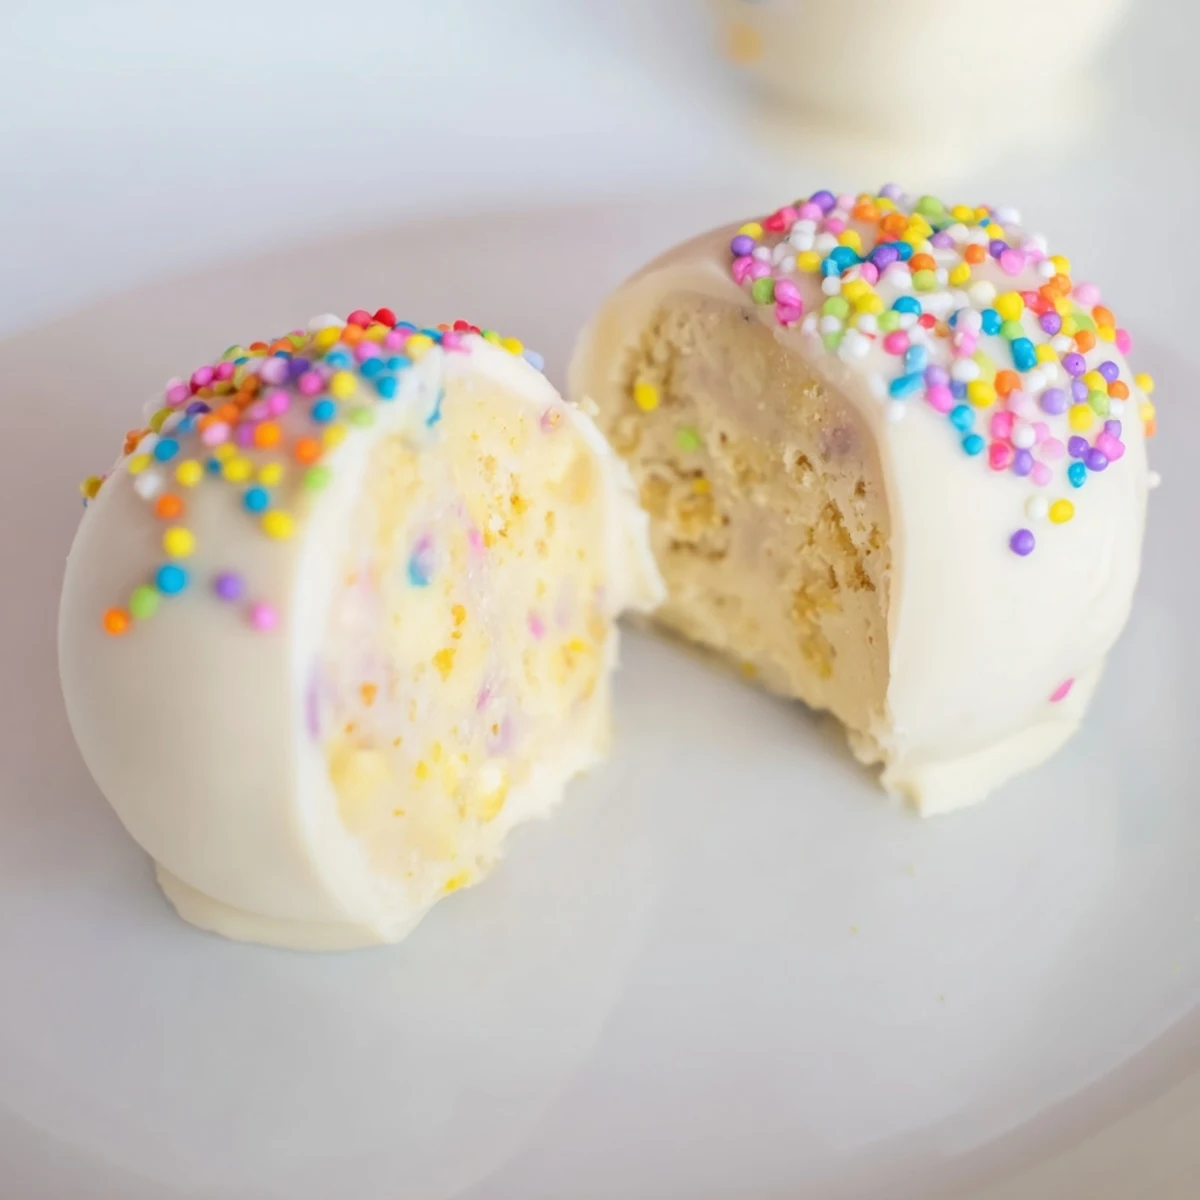
Save These little bites of spring happiness disappear faster than you can imagine, so consider doubling the recipe if you are feeding a crowd.
Recipe Questions & Answers
- → Can I make these truffles ahead of time?
-
Yes, these truffles are perfect for preparing in advance. They can be stored in the refrigerator for up to 5 days, making them an ideal make-ahead treat for Easter gatherings or spring parties.
- → What can I use instead of vanilla wafers?
-
Graham crackers make an excellent substitute for vanilla wafers in this filling. You can also use digestive biscuits or Nilla wafers depending on your preference and what's available in your area.
- → How do I prevent the chocolate from seizing when melting?
-
Melt your white chocolate in 20-second intervals in the microwave, stirring thoroughly between each interval. Avoid getting any moisture into the chocolate, as even a tiny amount of water can cause it to seize and become grainy.
- → Can I freeze these banana pudding truffles?
-
Yes, you can freeze these truffles for up to 2-3 months. Place them in an airtight container with parchment paper between layers. Thaw in the refrigerator overnight before serving for best results.
- → Why did my truffle mixture turn out too soft to roll?
-
If your mixture is too soft, it likely needs more chilling time. The dough firms up considerably after 30 minutes in the refrigerator. You can also add more vanilla wafer crumbs, a tablespoon at a time, until the mixture holds its shape when rolled.
