 Save
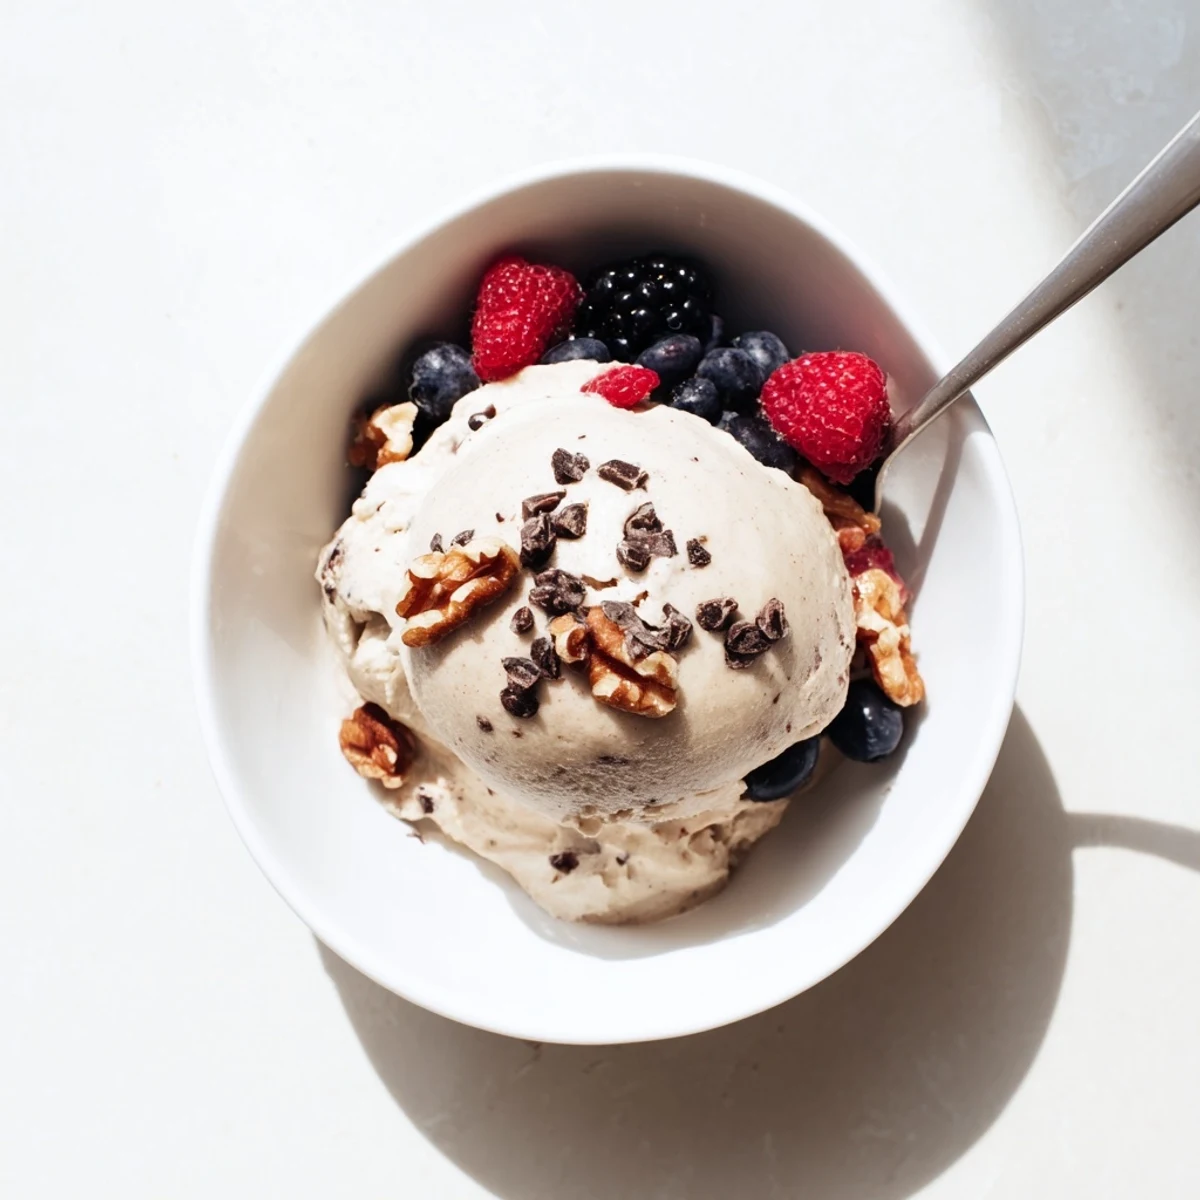
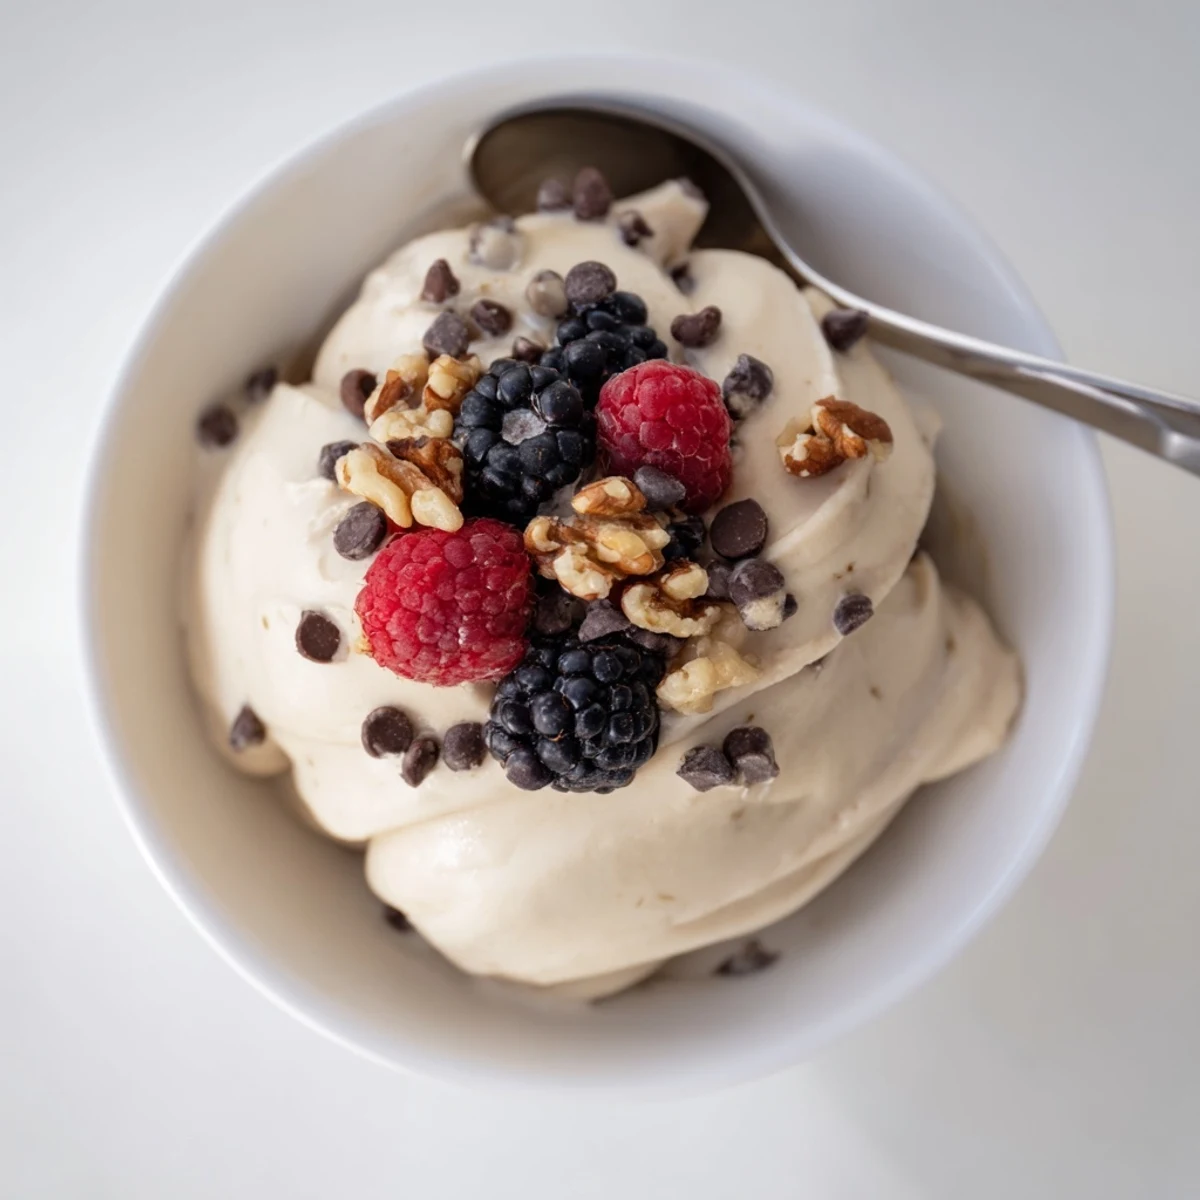
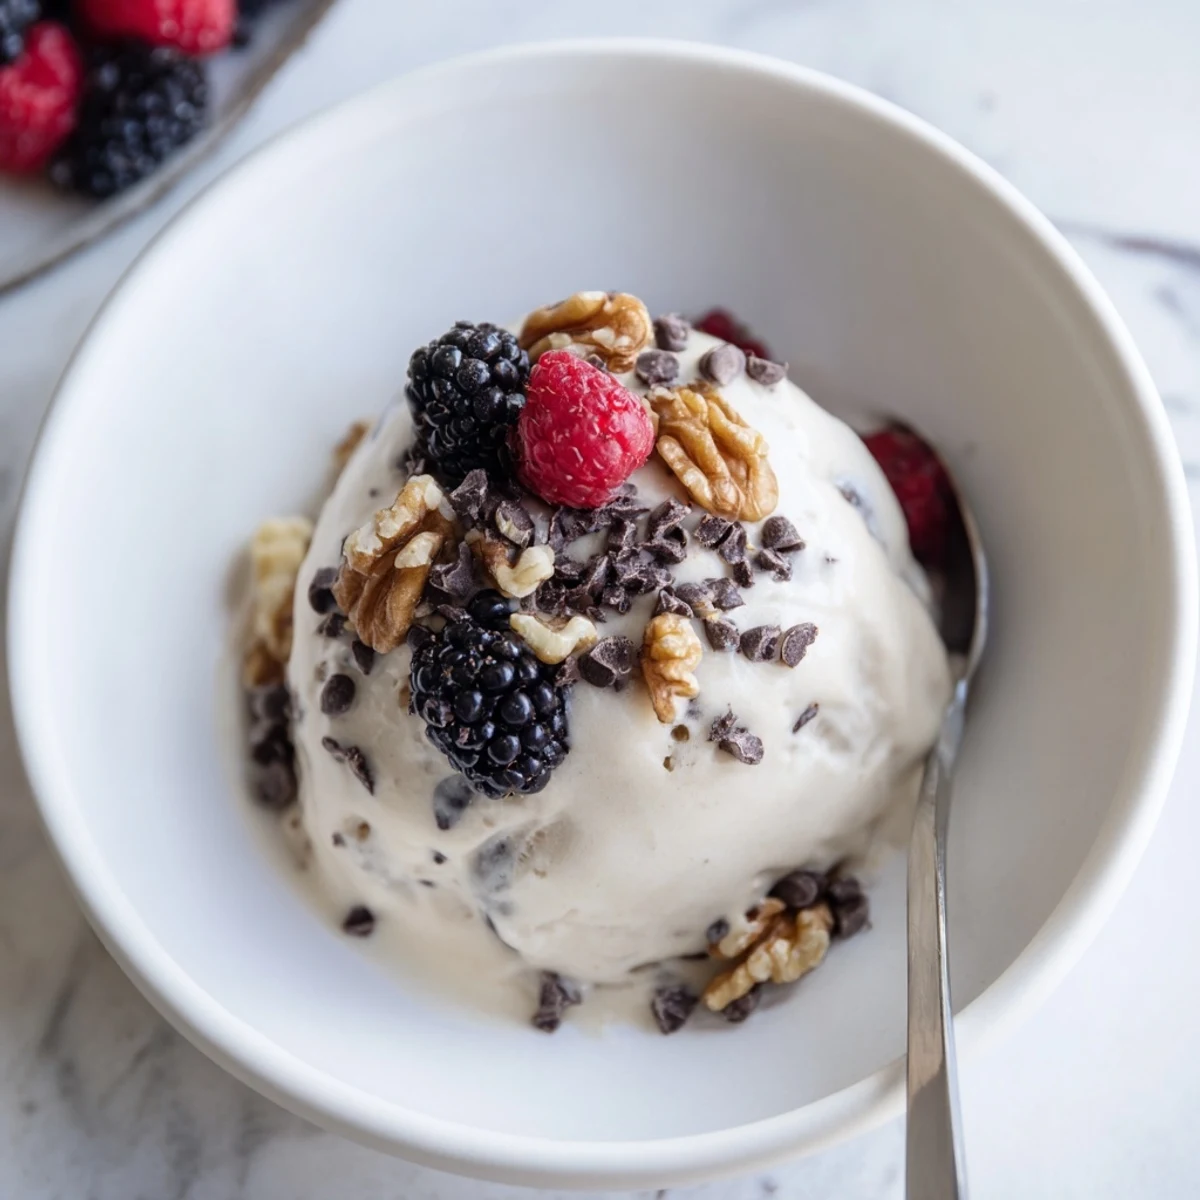
Save Transform frozen ripe bananas into incredibly creamy, dairy-free frozen dessert that rivals traditional ice cream. This simple blend creates a smooth, naturally sweet treat perfect for hot summer days or healthy dessert cravings. Customize with vanilla, cocoa powder, or nut butter for endless flavor variations while keeping it completely plant-based and guilt-free.
My blender was humming at 11pm on a Tuesday, and my roommate walked in looking genuinely concerned about what frozen concoction I was whipping up now. The truth was simple: I had three bananas going brown on the counter and zero patience for actual cooking. What came out of that late night experiment was something so impossibly creamy and sweet that we stood in the kitchen in our socks, eating straight from the blender with two spoons.
I have made this for friends who claimed they hated healthy desserts, and every single one of them went back for seconds without a hint of shame.
Ingredients
- 3 large ripe bananas: The darker and more speckled the peel, the sweeter and creamier your nice cream will be, so embrace the ugly bananas.
- 1 tsp vanilla extract: This little splash rounds everything out and makes it taste like actual dessert rather than just frozen fruit.
- 1 to 2 tbsp unsweetened cocoa powder: For those chocolate craving nights when plain banana simply will not do.
- 2 tbsp nut butter: Adds richness and body, turning a light treat into something that feels genuinely indulgent.
- Fresh berries, chopped nuts, or dark chocolate chips: Toppings are where you get to play and make it your own.
Instructions
- Peel and Slice:
- Peel those spotty bananas and cut them into coins about an inch thick. Try to make them roughly even so they freeze uniformly, though perfection is not required here.
- Freeze Solid:
- Spread the slices on a parchment lined baking sheet in a single layer and tuck them into the freezer for at least two hours. They need to be rock hard before the blender touches them.
- Blend Until Dreamy:
- Toss the frozen chunks into your food processor or high speed blender and let it rip. It will look crumbly and hopeless at first, but keep scraping and blending until it suddenly transforms into silk.
- Add Your Flair:
- Now is the moment for vanilla, cocoa powder, or a generous spoon of nut butter. Blend again just until everything is mixed through and glorious.
- Serve or Set:
- Eat it right away for soft serve vibes, or spoon it into a container and freeze another hour or two if you want scoopable firmness.
- Top and Devour:
- Pile on whatever toppings make your heart happy and dig in before anyone asks you to share.
 Save
Save Somewhere along the way this stopped being a recipe and started being a ritual, the thing I reach for when I need something sweet but do not want to feel heavy afterward.
Freezing Makes All the Difference
I once tried rushing the freeze time because patience has never been my strength, and the result was a chunky, lukewarm mess that barely held together. Those extra hours in the freezer are nonnegotiable if you want that velvety texture that makes people close their eyes on the first bite. Spread the slices out so they do not clump into a frozen brick, because individual pieces blend far more smoothly than one solid mass. Your future self will thank you for the small effort now.
Making It Your Own
The beauty of nice cream is how wildly you can riff on it once you understand the base technique. Toss in frozen mango chunks with a squeeze of lime for something tropical and bright, or swirl in a spoon of jam for ribbons of fruity sweetness throughout. My current obsession is a spoonful of tahini with a drizzle of maple syrup on top, which sounds strange until you try it and realize it is magnificent. Let whatever is lingering in your pantry guide you.
Storing and Serving
If you end up with leftovers, which is rare in my experience, transfer them to a freezer safe container and press a piece of parchment directly against the surface before sealing. It will firm up considerably overnight, so let it sit at room temperature for ten minutes before scooping. The texture is never quite the same as fresh blended, but it is still plenty wonderful.
- A quick splash of plant milk while reblending can revive leftovers beautifully.
- Toasted coconut flakes on top add a crunch that makes everything more interesting.
- Remember that this is supposed to be fun, so do not overthink it.
 Save
Save Keep a bag of frozen banana slices in your freezer at all times, and you will always be ten minutes away from dessert that makes you feel good inside and out.
Recipe Questions & Answers
- → Is nice cream actually creamy?
-
Yes, when you blend frozen banana pieces thoroughly, they break down into a remarkably smooth, creamy texture that closely resembles traditional dairy ice cream without any added cream or milk.
- → How long should I freeze the bananas?
-
Freeze banana slices for at least 2 hours until completely solid. Overnight freezing works even better and ensures the creamiest texture when blended.
- → Can I make this ahead of time?
-
You can freeze the blended mixture for 1-2 hours for firmer consistency, though it's best served immediately for soft-serve texture. Store leftovers in the freezer and re-blend briefly before serving.
- → What blender works best?
-
A high-speed blender or food processor with strong blades handles frozen bananas best. Stop frequently to scrape down sides and help break down chunks for smooth results.
- → Why use overripe bananas?
-
Overripe bananas contain more natural sugars, providing better sweetness and creaminess without requiring additional sweeteners. Brown-spotted bananas yield the smoothest, sweetest results.
